HOME | DD
 Ozz-the-Wanderer — Tails: Going the Distance
by-nc-sa
Ozz-the-Wanderer — Tails: Going the Distance
by-nc-sa
Published: 2011-10-03 04:03:41 +0000 UTC; Views: 7864; Favourites: 24; Downloads: 56
Redirect to original
Description
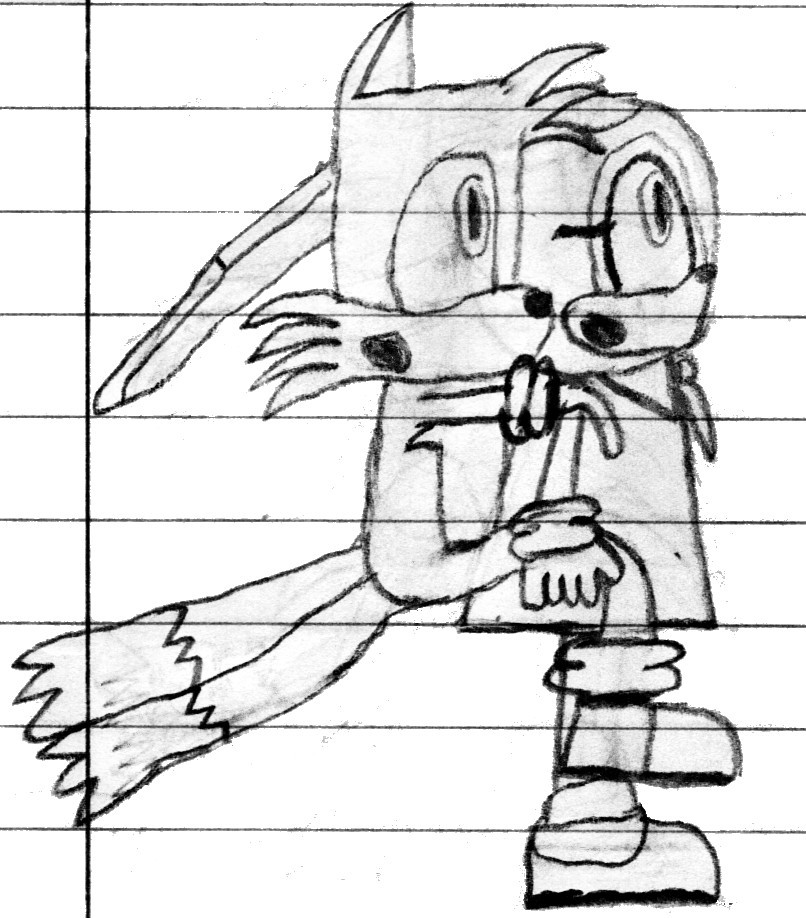
Edit: I reduced the file size one metric crap-ton. Hopefully this picture will load faster for you now. I also removed the blur effect I put on the picture, so if you download the file, it'll still be sharp. Let me know if anyone likes or dislikes this change.Some of you may remember when I uploaded "Tails: Flying, Fist-Clast" [link] . No? Then you just saved yourself some time not looking at it (unless you did just now, in which case hold onto your receipt and I'll see if I can refund your time). Anyway, in preparation for the requests I'm supposed to be doing and just plain wanting to better myself as a person, I touched the old pencil sketch up with Adobe Illustrator and Photoshop with the ultimate goal of getting a crisp, clean finish and, for the first time ever, SHADING! The above picture is the result.
There isn't too much concept to this scene, so I'll save any exposition for later. For now, I'll go over my process for anyone out there aspiring to improve their artistic skills...and are coming to me for some reason
 .
.The first thing I did was upload my old pencil sketch into Adobe Illustrator and went over all the lead outlines with its line tools. Illustrator has a lot of tools, but most of them confused me so I just stuck with the Line Segment (straight line) and Arc Tool (lines that can be adjusted to curve, etc). It actually took me a long time to figure out how these tools work, which is embarrassing when one realizes just how easy they are to use. Just a little heads-up to anyone following this word-by-word: you adjust Arc lines by using the Direct Selection Tool to reveal the Arc's adjustment anchors and playing around with them. Technically, you should make all of your Illustrator lines a separate layer from your original artwork to make it easier to work with them independently, but Illustrator does a good job of keeping them apart regardless. While laying down all your lines, do as my self-assigned friend ~Silvervest (who never answers my phone calls or acknowledges all the times I break into his house) does and make sure your lines are MANblack! This means not simply using the black AI starts you off with, but bringing up the color chart and painstakingly choosing the blackest black you can find. The easiest way to do this is to wait for all your lines to be down, delete your original artwork, select all your lines and go MANblack on their sorry a**es!...Ahem. Moving on.
Illustrator has tools with which to color your piece, but I could never figure out how they work. That's when I exported my work to Photoshop. Illustrator's weird in that it cannot save files to formats like JPEG, PNG, etc by normal means. Instead of going to "Save," go to "Export" under the "File" menu. "Export" gives you all the formats you could want. Why Adobe wanted you to go out of your way to do such a basic thing anyone's guess.
Photoshop, in my opinion, is much easier to navigate than Illustrator is and that's a good thing because I did A LOT more work in PS than I did in Illustrator. In the case of this picture, I rearranged my lineart frm Illustrator into panels to somewhat tell a story. I still find the shape tools annoying in PS and I don't think my panels here turned out as nicely as they could have in more experienced hands, so I'm gonna skip that process altogether (lucky you). When opening your exported AI file, all for your individual line segments will not be one big image, so you must use the Rectangular (or whatever) Selection Tool to cut them up into separate characters/etc and place them where you will. Be sure to name all of your layers, as it will be hard to distinguish "Layer" 1" from "Layer 323" after a while, no matter how good you think you are!
If your lineart has any white inside, use the Magic Wand tool to highlight all the white and simply cut it out. Just be weary of the Wand's options as leaving the "Contiguous" box unchecked will have Magic Wand will select ALL the white/etc in your piece. Once your selected character is empty, make a new layer and call it "Character Colors" or something along those lines. If you haven't guessed it yet, you're gonna use this layer to color in your character.
"But we can just use Paint Bucket to fill in the characters!" you whine at me in your nasally tween voice that breaks every other word.
"You simpleton!" I respond, my voice filled to the brim with confidence and charisma. "Paint Bucket's easy to use, but the results are normally lackluster!"
To elaborate on that point, Paint Bucket sometimes leaves a few spots around pixels uncolored, leaving you with ugly, uncolored bits of character. The superior coloring method is to make a separate layer for colors and use the paint brush to color everything in. Make sure your color layer is below your original layer so that you don't go over the lines. Everything gets colored in, even white (or whatever your workspace's background is). In this picture, I colored all the white parts green first then used Paint Bucket to change it white afterwards. It's okay to use Paint Bucket now as you're coloring the blob of color behind the lineart, no the spaces in between, so it should cover everything you see and not leave little ugly bits behind. Once everything's colored in, we go the the next level.
Once we have our character and our color, you'll want to add some depth to it. I suggest letting it study abroad and meet new people...wait, that's the wrong kind of depth. To give your character shadows, etc on their body, you'll want to go up to the "Layer" menu and select "New Adjustment Layer." This will give you a few options with which to affect the colors you just laid down (provided the last layer you worked with is the color layer). I used "Hue/Saturation here, but there are many options. When you select your adjustment type, you'll be taken to a dialogue box asking for the adjustment layer's name and whether or not you want it to link to a previous layer. Name it something you'll recognize and, this is crucial, MAKE SURE YOU LINK IT TO A PREVIOUS LAYER! By linking it to a previous layer, you ensure the changes you're about to wreak will only affect that layer (in our case, the colors), not the whole flipping picture! Next, you'll be taken to a chart giving you color options, brightness, etc, blah blah blah. With Hue/Saturation, I only moved the "Lightness" slider over to a shade I felt was acceptable. Once you move the slider, your character will be engulfed in whatever level of darkness you picked (though you can change it anytime with the slider). Here's where things get interesting (though not in a bad way). Obviously, you don't want your whole character to be dark, so you whip out the Eraser tool and start cutting away at whatever areas you don't want to be dark. I suggest using a soft-edged eraser as it will leave a fading-in/fading-out buffer between your colors and shades, making it look more natural than a flat cut you'd get from a regular eraser. Once you've gotten rid of and kept all the shading you want, your picture is looking pretty good, but there's still something missing: lighting. If you're like me, lighting works EXACTLY the same as shading does, but instead of moving the Lightness slider down, you move it up. Rinse and repeat from last time and you have a shaded and lighted character. If you ever need to move your character after they're colored in, remember that your lineart, colors, shading and lighting are all separate layers, so keep track of your movements. I wouldn't recommend merging any layers until you're certain you're done with the piece or getting there.
Once your character is all dressed up and ready to go, you have to get them off the Photoshop format and onto something accessible. Fortunately, PS makes more sense than Illustrator, so you can just go to Save/Save As instead of some new, made-up option. I suggest PNG formats as I think they retain their clarity at almost any size and aren't too big.
I thought I was done after I exported my colored picture, but I ran into a snafu. The lineart looked great in PS, but when I uploaded them here, they were very pixelated. I didn't think very long on what to do, so the best option I came up with was to take my picture to Paint.NET. That's right, I edited an Illustrator-PS picture in freeware! I think there's a new circle of Hell reserved just for me. In Paint.NET, I used the Unfocus tool to make everything a little smoother, thusly eliminating my pixel problem. The side effect to this is that the full-full size of this picture (if you enlarge it twice in DA) is now blurry as crap whereas it was just the way I wanted it without the filter. If a lot of you are seeing a blurry picture or want to download a non-crappy version of this picture, let me know and I'll upload the original version here too.
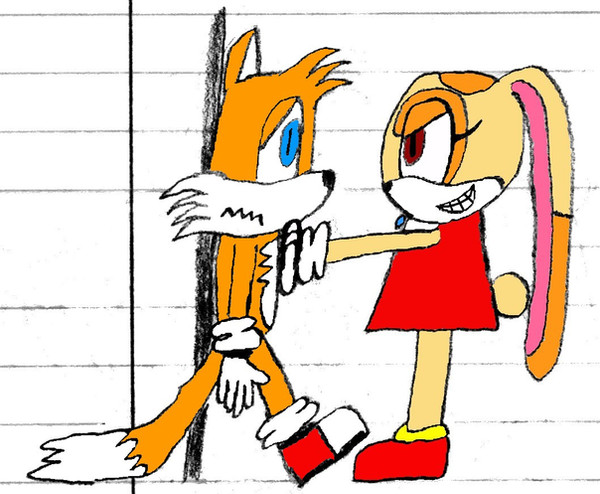
Lucky for you, that's all the technical notes I'm giving out today! Everything else I did is simple and none-too-pretty, so I won't bother discussing it. I'll just say that Cream in panel 4 comes from a sketch I did years ago. I thought it would be nice to include Cream in this scene (since Cheese is never seen without her), but didn't feel like drawing up a whole new Cream for this piece. I imported her in Photoshop, half-a**edly put a surprised mouth on her, blurred her up for the background (she could be blurry in my opinion) and BAM! Instant audience of one!
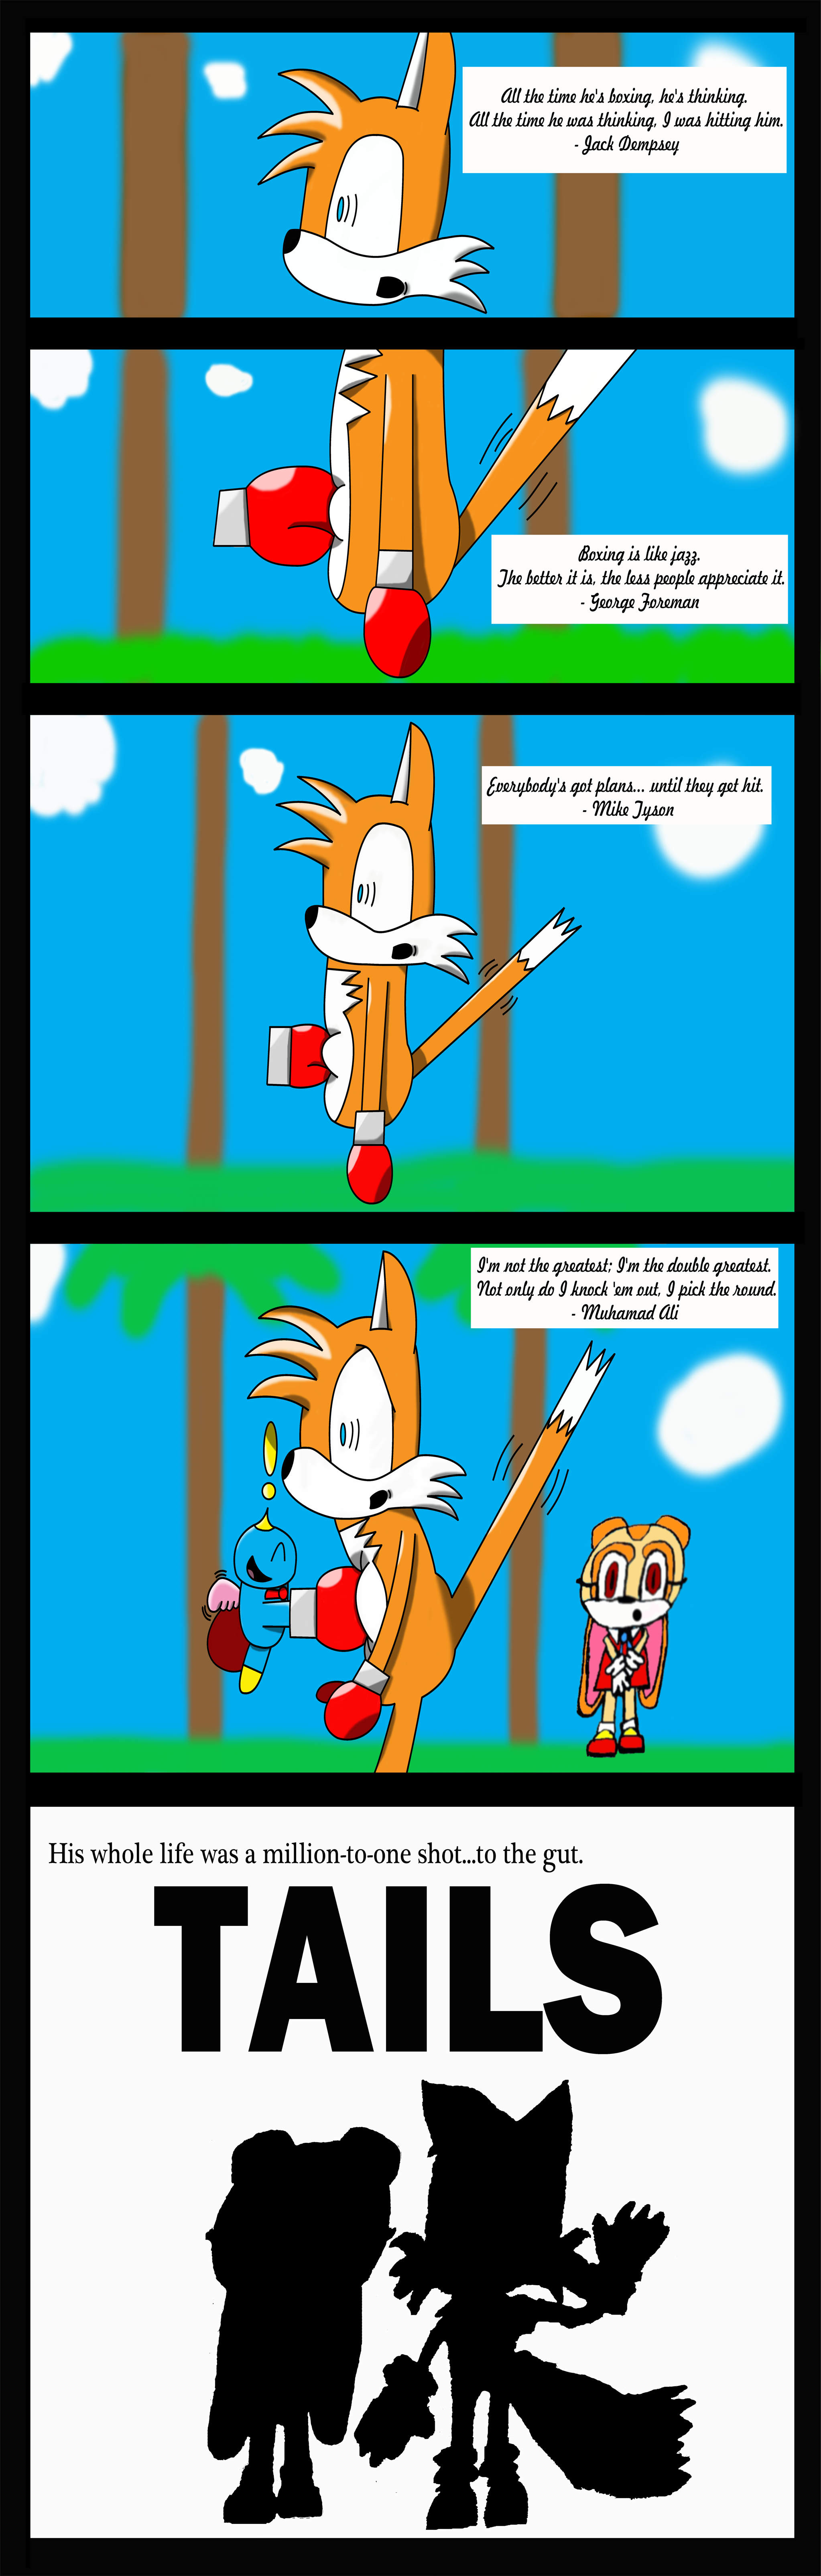
Now, for those who scrolled through all those many paragraphs of useless, monotonous technical information, here's the story concept: Set in an atmosphere more akin to the actual Sonic games (as Cream here isn't some kind of soulless queen of torment as she is in my usual work), Tails was at his workshop one day when he was visited by Cream. Cream brought her pet Cheese over (does anyone ever wonder what happened to Chocola?), saying that he's been wanting to play all day but he plays too rough with her anymore. With a bat of her eyelashes and an extra high-pitched "Pleaaaaaaaaaase," Cream convinced Tails to play with Cheese until he got tired.
No problem, right? Well, things got a little weird when Tails saw that the game Cheese wanted to play was not fetch or tug-of-war, but boxing (not to be confused with Chinese Boxing). Chuckling to himself, Tails strapped his gloves on and was ready to play...or so he thought. Before Cream could ring the imaginary bell or Don King could embezzle an imaginary athlete's money, Tails felt a sharp pain and a sinking feeling dead center in his stomach. Confusion overrode him and left him helpless as Cheese effortlessly drove his fist deep into the fox's belly and soon off his feet. Apparently, Tails never played Sonic Adventure 2, or else he'd know that all Chaos are martial arts experts. Chalk this up as another lose for Tails.
Just for shoots and giggles (and also because the first panel looked to vague), I threw in some boxing quotes into each panel. Some I found were funny, almost all of the Muhammad Ali ones were inspiration (was this guy a boxer or a prophet?), but I was suddenly reminded just how brutal the world of boxing is when I looked up Mike Tyson quotes. I think he's tamer now, but the quotes I found on him were absolutely insane and bloodthirsty! Disturbing stuff. The quote I used here was the tamest one I could find that still pertained to boxing. Then, because I had one extra panel and didn't know how to get rid of it at the time, I made a little mock-up of the original Rocky poster using blacked-out sketches of Cream and Tails I had on my computer.
Well, I've held you all up long enough. There's spelling errors and grammar mishaps galore here, but I'm too tired to fix them now. In the meantime, anyone who is expecting a request from me, look at this picture and tell me if you like what you see, as I will likely be applying a similar outline and color scheme to your request.
Related content


Comments: 64

Purty much. I relied on flash drives for my first two years of college, but I eventually learned that it was much easier to work on my projects (academic and leisurely) when I could take my whole database with me and not rely on the whims of the campus computer labs. More importantly, dA is prone to malware and campus computers are usually not equipped to handle that kind of stuff. Better to use your own (undoubtedly) better-protected computer for any downtime you might get. Besides, there isn't too much a tower computer can do that a lappy can't these days and lappies cost less in most cases. It might also get you better acquainted with the digital frontier, which is a must for today's workforce. Is this job one you have now, one you're getting or one you hope to have in the future?
Yes, it has been a long time. Sadly, I've found someone else in that time, so the boat's sailed for us.
(Pulls over a cardboard cut-out of a person with the word "FRIEND" messily written on its chest in marker.)
For what it's worth though, I'll read your Journal and see what's up...This is only your second Journal here, right?
I saw that you came up in my Inbox but I only saw the thumbnail of what looks like Sonic Private Eye (which looks a lot like official artwork without my taking another look at it). I will bare witness to Demon Cream's glorious return at a time I can give her proper attention. Can't wait to see everything.
👍: 0 ⏩: 1

That's true. I have a friend though who is building me a home computer already. So maybe I'll get both. Can't count on a laptop to do all my work for me.
Yeah you definitely want to look at the new stuff I put up. It looks really good and I hope to stay this good too.
👍: 0 ⏩: 1
You have someone making a computer for you? Awesome. Are they charging you much for it? All I have is a laptop and it's been doing well for me, but if you're already getting one computer I'd say there's no need to fork out the money for another one; especially with prices these days.
I glanced over some of your new stuff. Here're my notes without so far,
1) Demon Cream is scary. As Hell.
2) Oh my God, your Sonic drawing!? Your Sonic drawing, oh my God!
3) I've only seen the thumbnails, but oh my God, I think you killed John. You bastard! (Is that line still relevant even though South Park doesn't kill Kenny anymore?)
👍: 0 ⏩: 1
He is actually doing it for free. He is a good friend of mine and he goes to college for that kind of stuff. So I'm very grateful for what he is doing for me! I think I am going to get myself a laptop as well at some point. That way I have a mobile spot and then a home spot. I can keep the now's on my mobile and everything on my home.
1)Good, I hope she looked scary now! I think it would be cool to get her as scary as a Necromorph (From DeadSpace) at one point.
2)I know right! That drawing I free-looked showed me I need to try and put more detail in my work, which I am trying to do.
4)I kind of left it open to whether if he dies or not. I plan to pick up the series in the future when I have gotten better and see what happens.
👍: 0 ⏩: 1
For free!? Wowzers, you're lucky! You're gonna owe him big time for this, aren't you? Like, your first-born child legally belongs to him at this point or something like that. Before you worry about a laptop, I'd focus on getting a printer and a scanner you can take with you to college (provided, of course, you don't already have these things). There's nothing more annoying than relying on school equipment to do your work.
1) Good God Almighty those things are creepy! Why would anyone wanna play that game!? But seriously, Demon Cream's made leaps and bounds since I first wrote her, but she's still got a ways to go before she's as disturbing as things that have their heads split open. Maybe giving her gigantic spider legs that come out of her mouth or something. For inspiration on this endeavor, I recommend the works of Todd McFarlane, the monsters from Silent Hill, Fallout and, of course, Dead Space.
2) I never thought of copying another picture to show myself what I'm lacking. Did you get that idea from somebody or did you just decide to draw Sonic and learned something in the process? Either way, I have half a mind to recommend that piece for a Daily Deviation or entry into a Group's gallery (the Group thing is definitely doable).
3) I saw the ending. Haven't really thought of a good comment for it, but I'm not sure if I could say anything about it you didn't already say yourself. I hope you do pick the series up again, but return it to its comedic roots. I feel that's where the story's strength is.
4) In your previous response, you skipped 3 and went straight to 4. I've informed the High Council and they aren't happy.
👍: 0 ⏩: 1
I hope to fascinate him with pretty pictures or something cool to pay up for it. He was doing this before I knew about it for a while, so it was real nice of him. I'll have to see about buying one of them puppies, didn't even think about it.
1)I have a friend that absolutely loves the Dead Space games. Not sure how he does though. It's cool though she has developed more, and she is so much fun to draw too, I think I'll be drawing more of her in the future too.
2)Like I believe I stated in the artist comments of the drawing, I did it because it was a comic book cover for the Archie Sonic comics, and it looks incredibly awesome to see Sonic in a suit.
3)I'm skipping three again
4)The school council will have to deal with it.
👍: 0 ⏩: 1
Yes, this conversation is very old and I'm only now getting to it.
If you're still looking for a scanner, you can find them for not too much. I use a Cano Scan LiDE...I forget the model number. All it does is scan, but it does it fairly well. I don't think it comes with any interesting software though. Anywho, I think you can find them in a $50-$80 range.
👍: 0 ⏩: 1
Alright, thanks. Yeah don't have to worry about one for now, but I'll be keeping eyes peeled for one, that way I can continue to post things on the Internet.
👍: 0 ⏩: 1
Any time.
You're not gonna need to look for one until you go away to school, right? Considering you're going to an art-based school, I bet the students and faculty there will have some pointers for you too.
👍: 0 ⏩: 1
I think they would, but I remember you saying something about it's good to have your own so you don't need to wait in lines or get your sloppy seconds.
👍: 0 ⏩: 1
I did say that. Gold star for listening in class!
But what I meant was to ask faculty and students what they use for their personal projects to get a better idea of what you'd want to buy for yourself.
If it is at all preventable, I'd say never rely on school equipment (unless you have to print a report).
👍: 0 ⏩: 1
I will need to remember that, so I'll try and see about getting myself around with some equipment. However I suppose some should wait until I go to college because it's going to be a trip for me no matter where I go.
👍: 0 ⏩: 1
Ain't it the truth? I found a college that was relatively close to where I live, and even then it was an hour's drive and a toll to get there.
Well, it sounds like you have a handle on this issue. I'll stop beating you in the head with suggestions...for now.
👍: 0 ⏩: 0
<= Prev |