HOME | DD
 panzerheavy — How to create an XPS model from scratch in notepad

#turorial #tutorials #xpsmodel #xps_posing_studio
Published: 2021-06-17 13:07:29 +0000 UTC; Views: 4866; Favourites: 19; Downloads: 29
Redirect to original
Description
You will need Notepad++ and the textures from this download. Perss the Download button above for the textures.In this tutorial i will show you how to create a basic XnaLara/XPS model from
scratch by using only Notepad ++ and three textures.
1. Make a folder called PiramydXPS
2. Put the textures in to the folder
3. Open Notepad ++ and create a new file (File -> New)
4. Save file as Generic_Item.mesh.ascii.mesh.ascii.mesh.ascii
5. Lets start. Save your file often.
The Generic_Item.mesh.ascii.mash.ascii.mesh.ascii file has no
special header so will proceed to define the root bone:
Write:
1 # bones
root ground
-1
0 0 0
Now we have a root bone! So, not change the values. Changing these
will give you the " this model ignores the root bone rule" kind of
message when are you loading in xps.
Time to create a MESH!
It will be a basic, one mesh model with 4 faces and 12 verticles.
Write:
1 # meshes
Now we have a mesh! but it is not ready yet.
It is time to choose a render group, a mesh name and some
parameters for the render group:
Write:
27_Mesh1_0.2_16_16
So, we have now a mesh called Mesh1. The render group
will be 27 and the render parameters are 0.20 0.16 0.16
Each mesh have UV layers. Ours will have one layer with 4
textures because we will use the diffuse as a mask for the
render group 27.
Write:
1 # uv layers
We have an UV layer. Let`s add the textures!
Write:
4 # textures
tex1_diff.jpg
0 # uv layer index
tex1_bump.jpg
0 # uv layer index
tex1_env.jpg
0 # uv layer index
tex1_diff.jpg
0 # uv layer index
Now THE REAL DEAL!
Time to DRAW the model!
Because we have four faces there will be 12 verticles.
Each face will have 3 verticles.
Write:
12 # vertices
Now we have set up the verticle amount.
Lets draw the first one:
Write the coordinates:
2.35 0 1.129627
Then write these:
0 -1 0
now we have estsabilished a relation between
the verticle and the root bone.
Setting up the color and the opacity of the verticle:
The first three values are the RGB. The last one is
the opacity: 0-full transparency, 255 - full opacity
write
255 255 255 230
write (Those are about how texture will appear on the face.
Higher values will make the texture to look tiled, stretched,
etc.):
-0.7709974 1.370612
define the face array by writing these:
0 0 0
1 0 0
The next 11 verticles. There will be repeating
coordinates because each verticle is connected
to another in at least one point.
Imagine a 3d empty world with only one point in the
center. This is the ORIGIN. In our case is the root
bone too. These coordinates are representing the
position in this world of each tip of the triangle.
Each verticle is in fact the coordinates of a
triangle tip!
Write:
-2.35 0 1.129627
0 -1 0
255 255 255 230
0.7709974 1.370612
0 0 0
1 0 0
-3.609557E-16 0 -2.259253
0 -1 0
255 255 255 230
1.184238E-16 0.2587753
0 0 0
1 0 0
-3.609557E-16 0 -2.259253
-0.7241465 0.4727068 -0.5021555
255 255 255 230
-0.6091049 1.199662
0 0 0
1 0 0
-2.35 0 1.129627
-0.7241465 0.4727068 -0.5021555
255 255 255 230
0.7438986 1.199662
0 0 0
1 0 0
0 2.4 0
-0.7241465 0.4727068 -0.5021555
255 255 255 230
0 0.3061261
0 0 0
1 0 0
-3.609557E-16 0 -2.259253
0.7241465 0.4727068 -0.5021555
255 255 255 230
0.6091049 1.199662
0 0 0
1 0 0
0 2.4 0
0.7241465 0.4727068 -0.5021555
255 255 255 230
0 0.3061261
0 0 0
1 0 0
2.35 0 1.129627
0.7241465 0.4727068 -0.5021555
255 255 255 230
-0.7438986 1.199662
0 0 0
1 0 0
0 2.4 0
7.0472E-19 0.4258633 0.9047875
255 255 255 255
5.135813E-35 0.2875689
0 0 0
1 0 0
-2.35 0 1.129627
7.0472E-19 0.4258633 0.9047875
255 255 255 230
-0.7709974 1.15783
0 0 0
1 0 0
2.35 0 1.129627
7.0472E-19 0.4258633 0.9047875
255 255 255 230
0.7709974 1.15783
0 0 0
1 0 0
How do I get the coordinates?
That is math! It is about analityc geometry.
There are formulas. If you want an easy way
use some math sheets and the scientific calculator
app from your computer or your phone.
Now to set up the face array of entire
model. Write this matrix:
4 # faces
0 2 1
3 5 4
6 8 7
9 11 10
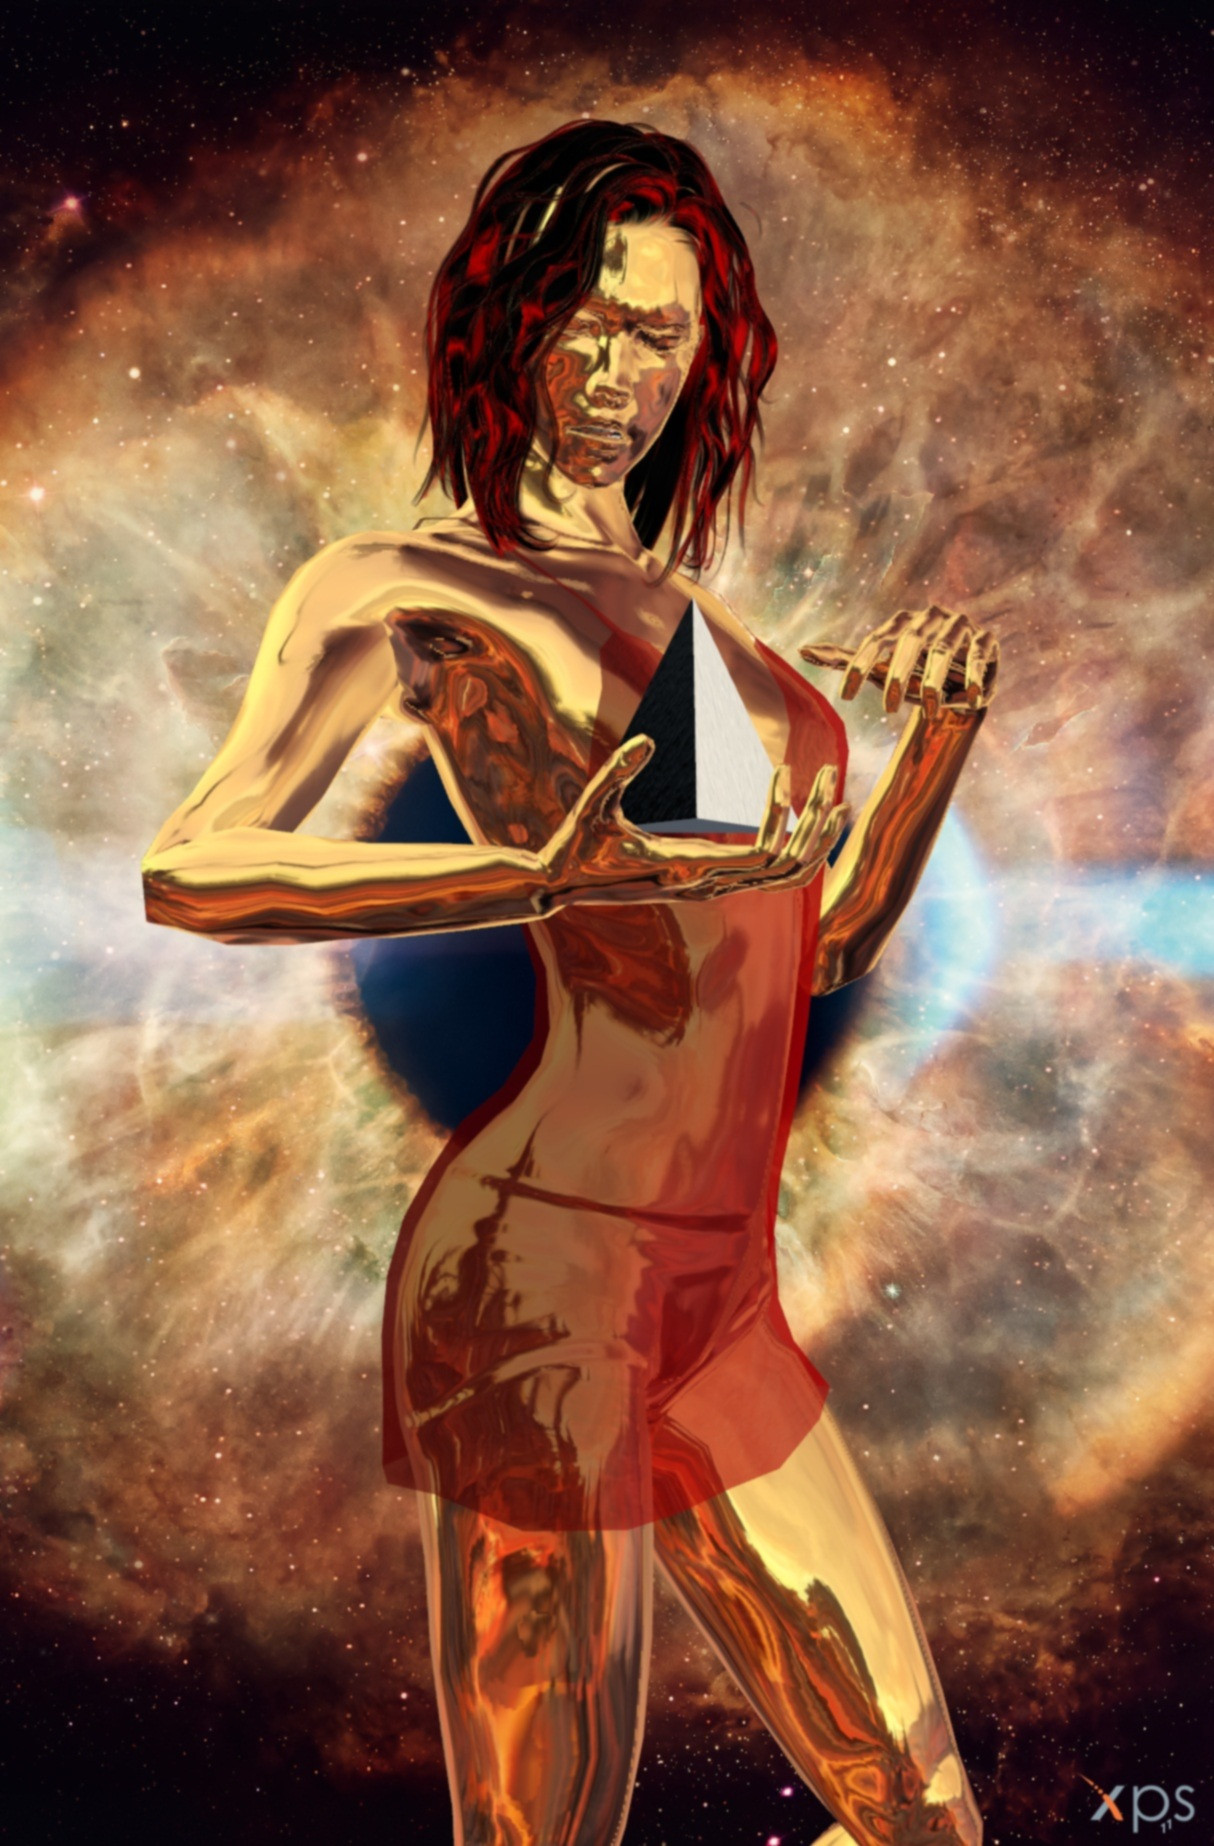
Done! you have made a piramyd from scratch!
Be carefull! Do not let any empty line or
unnecesary spaces between the characthers
that you have typed. The file name must be
Generic_Item.mesh.ascii.mesh.ascii.mesh.ascii
Once you have load it in XPS it can be saved as
an XPS file.
Related content
Comments: 4

👍: 1 ⏩: 1

👍: 0 ⏩: 0

👍: 0 ⏩: 1

👍: 1 ⏩: 0


