HOME | DD
 PhoenixAureus — Horse Prep Tutorial
Published: 2013-06-06 19:10:42 +0000 UTC; Views: 4077; Favourites: 52; Downloads: 4
Redirect to original
Description
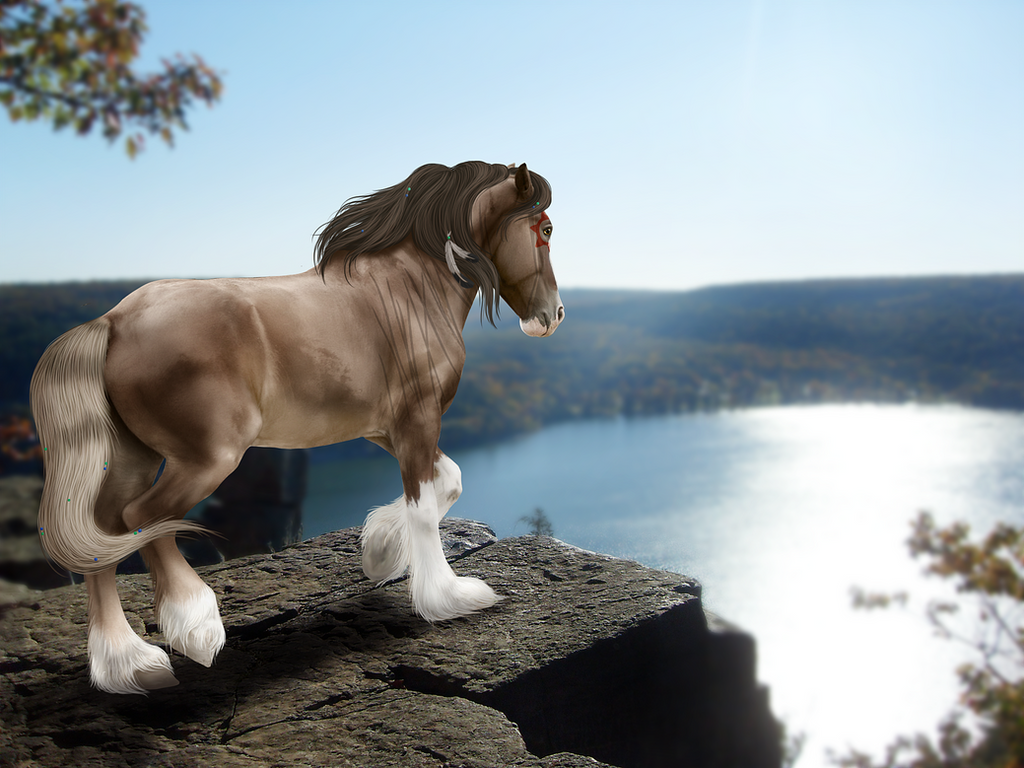
1. Start with your cut-out horse. Make any color/marking changes needed before starting.2. Duplicate layer and smudge using a large, soft brush on about 30%. Lower opacity and ground it to the horse layer.
3. Create a new layer and ground it. Take a dark shade from your horse (not black) and block in where the main shadows will go with a 7-8px brush. Feel free to be as messy as needed.
4. Gaussian blur and smudge the vague shadows into place. Set layer on either "overlay" or "soft light."
5. Use a 2-3px hard, round brush to define specific muscles, veins, etc. Set layer on "multiply."
6. Repeat steps 3-5 with a very light color. I normally do highlights all on the same layer, since they aren't as prominent.
I hope this helps! I didn't want to make a huge long tutorial, so here's just the basic steps I use with an accompanying .gif. Let me know if you need anything clarified!
Stock: [link]
See the finished manip here: [link]