HOME | DD
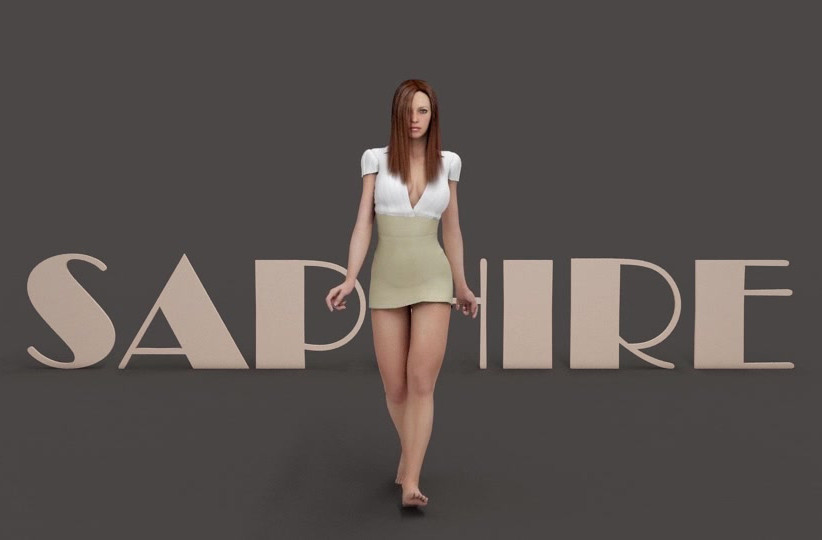
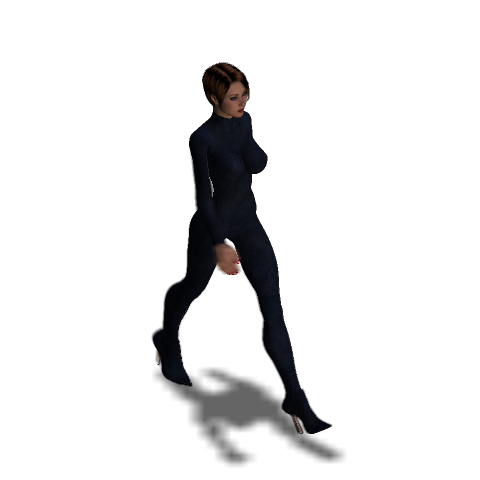
 SaphireNishi — walk cycle 07
Published: 2013-02-24 18:13:51 +0000 UTC; Views: 25877; Favourites: 195; Downloads: 1933
Redirect to original
Description
and an other attempt to make a walk cycles from scratch.. this time with motion blurring but that created a big problem on the hair now.. that would be the next thing to figure out how to fix now..")
489 frames @ 1280x540 pixels
total render time: 6 hours 42 minutes 18 seconds (50 seconds average per frame)
program used:
photoshop
poser
zbrush
3ds max
Related content


Comments: 313

👍: 0 ⏩: 1

👍: 0 ⏩: 0


Gods, I love her curves... and the way they move!
👍: 0 ⏩: 1


woww this is amazing!!! I Loved! Great Job !!! Congratulations!!
👍: 0 ⏩: 1
thank you very much..!!!
👍: 0 ⏩: 0

Love those thick legs and all that ass!
Pardon my coarse language but I LOVE thick shapely women!
👍: 0 ⏩: 1

 (Wink)")

Looking good! Also, I'm not sure if it's because of the animation, but she looks curvier. In a good way. Love it.
👍: 0 ⏩: 1

I can tell you how to fix the problem with the motion blur and the hair: increase render resolution, increase rendering quality and change the image sampler. If you're using Adaptive Subdivision, change that to Adaptive DMC. I don't know all your Vray render settings, but if you're using a sharp sampler, like Catmull-Rom or Mitchell-Netravali, I'd suggest trying something that's a little softer, like the VrayLanczosFilter (which I use in my work). Not sure what your Noise Threshold is, but decrease that to 0.001 and also the Adaptive Amount to 0.6. Then for GI, I don't know what engines you use for the primary and secondary bounces, but use Irradiance Map for the primary and Light Cache for the secondary. I use Brute Force for the primary, but Irradiance Map gives a much smoother result without the overhead that Brute Force gives.
Note that all of these changes will like ramp up your render times but quite a bit, but you should get a lot better results. Hope all these helps.
👍: 0 ⏩: 1
thank you very much for the feedback.. i dont really have a problem with the motion blur tho.. the problem on the hair is only getting worse due to the motion blurring.. but no problem at all with setting it up.. im not really a big fan of using the Light Cache for the secondary engine.. the problem is its not really exact and with bright scenes, like i do a lot, it leaves a weird light leakage in tight spots.. and we really dont want that.. so im using brute force for secondary passes.. i gotta the experiment which antialiasing filter to see which one works best.. i havent tried different once yet, i did play with the sampler tho..
the thing is change the setting is always fun to do, but we have to keep in mind that we are trying to keep render settings to the shortest render time possible versus a reasonable quality of the render.. render times are already up to 7 hours long.. and the problem is, like this one for example, its 500 frames long.. so every second we add to every single frame adds a 500 second extra render time which is 8 minutes.. now if we add one minute extra render time per render then that is like 8 hours more.. so we really have to be careful with how we set up the setting if we want the render time to still be doable..
👍: 0 ⏩: 0

Okay, I have noticed something, if there is something you are good at its hot clothes and awesome hips!
👍: 0 ⏩: 1

The leg movement more natural. You're getting there, you're very close.
👍: 0 ⏩: 1
thanks frank.. ilove doing all these experments with animating now.. it adds a whole new dimension to the whole 3d experience..
👍: 0 ⏩: 1
I love all the work you're doing also. I'm always waiting to see what else you got up your sleeve.
👍: 0 ⏩: 0

Love it, walk is getting much better! Are you using Poser, DAZ or aniBlocks to animate? I'm sure know already but Mixamo is great site to create some animations. Also one thing I think she is missing....Blinking, I think having her blink would add a great amount of realism to her with her movements. Anyways loving what you are doing and taking your art to the next level, keep it going!!!!

👍: 0 ⏩: 1
animblock ? arent that full presets we can use ? im using poser so i cant use aniblock at all tho.. im making there animation all from scratch.. no help at all from any preset animations.. its all done by me.. blink, just like breathing, is all part of the secondary part of the whole animation.. i need to get the outline movement right first before i start adding smaller details to the whole animation
👍: 0 ⏩: 1
Yes, walk before you run (pun intended, LoL!), I had no idea you were doing animations from scratch, you are doing an amazing job! Yes aniblocks are presets that can be used to animate your figure and Daz sells a aniBlock Importer Python script for Poser 9/Pro 2012 SR3. But I like the fact you are doing it from scratch and doing such an amazing job so fast, animation is very tedious work and an art by itself. So leave the presets behind, Saph needs life as unique as her look and the only way to give her that is to keep pushing on your amazing journey in animation!

👍: 0 ⏩: 1
well doing animation is actually why i started my whole 3d adventure.. its what i always wanted to do.. took me almost 5 years to finally get to this point, but now im here and enjoying it at its fullest
👍: 0 ⏩: 0
 (Smile)")

I love the blurring effect but her hair does seem stiff. And not to be totally inappropriate (cause I would NEVER do that *rolls eyes*) but her breasts seem too still as well. Everything has its fluid motion, except for her breasts...
*fans self*
*is better*
But as usual, incredibly sexy. ALSO-- the fabric detail 
👍: 0 ⏩: 1
hehe.. thank you.. but no physcis yet, babes.. this still is only the outline of the basic animation.. i really need to get this to work first before im heading on to more details
👍: 0 ⏩: 1
I know dear. <3 But it gave me a reason to bring up boobs. X3. <3<3 I trust you'll do what you do in good time. Its a FANTASTIC START
👍: 0 ⏩: 0

the hair has a gi problem.. its like there is some noise going on at the texturing.. if i render it without motion blur i can solve it, but when i turn on motion blurring that GI problem on the hair becomes worse.. but i figured out how to fix it now.. at least the last upload doesnt have it anymore..
👍: 0 ⏩: 0


Looks great! Especially from the front! Much smoother!
👍: 0 ⏩: 1


Looking good! Every walkcycle you post your improving (not to mention the texture quality is amazing, I want your UV unwrapping skills!) Good to see the foot articulation coming in with the heel and toe movement. I think at this stage you could focus with the speed and movement with each step, a little reference always helps too; [link] , keep up the great work!
👍: 0 ⏩: 1


| Next =>