HOME | DD
 SBBeauregarde — Tutorial 3 - Rash Effect
Published: 2017-03-12 13:04:19 +0000 UTC; Views: 9835; Favourites: 62; Downloads: 18
Redirect to original
Description
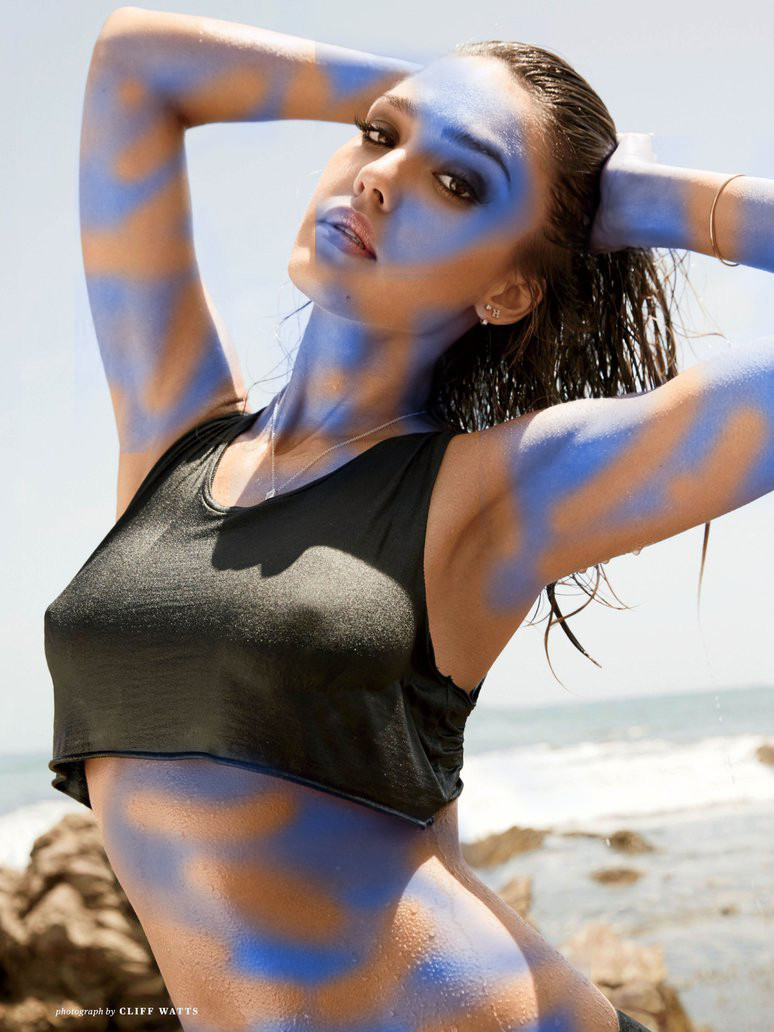
You ask for it. Here is the step by step tutorial on how to do the rash effect. You will need either Photoshop or Pixlr to do this. If you have any other tutorials you would want me to do then please write in the comments. Just a bit of warning, this is really tough and you will not get it perfect in your first attempt.1. Open Photoshop and drag your image into Photoshop.
2. Click the zoom in tool and then click the fit screen button at the top of the page.
3. Duplicate the layer and use the magnetic lasso tool to trace around the area of skin that you want to turn blue.
4. If you want to do this to a number of areas, then just repeat step three.
5. Click select then inverse, then go to edit and press cut.
6. After this, go to image and then click adjustments. Click the hue and saturation option.
7. A box will appear and you will see colorize, click that button and then move the hue and saturation bars until you get the blue color you want.
8. Click the eraser tool and erase some of the blue to make it look like some sort of rash.
9. Use the magnetic lasso tool to copy the same area.
10. Click on the refine edge button and a menu will appear.
11. Set your radius tool to around 20 or so.
12. Move the feather and contrast sections to around 40 or 50.
13. On the output click decontaminate colors and move the bar to 80% exactly and press okay.
14. Duplicate the same layer two times. (here's where things get rather tricky)
15. Go to your first layer where you did all the decontaminate stuff and lower down the opacity's percentage and do the same for the layer above it.
16. Remove some bits of blue from the third layer and second layer.
17. Blur around all of the layers.
18. Repeat the steps above if you are doing it on multiple layers.
19. Click layer and then merge down and click apply every time when the box comes up.
20. Continue this until all layers have been merged and you are finished.
Related content


Comments: 4

thoesgere.deviantart.com/art/C…
A first attempt at recolouring after your first tutorial - How can I improve? I quite fancy trying the rash effect next.
👍: 0 ⏩: 1

You could improve by perhaps using the blur and liquify tool to make it more realistic.
👍: 0 ⏩: 1
Cheers man - will give it a go!
👍: 0 ⏩: 1