HOME | DD
 schoolanswer — Tutorial: shadows-brightness

Published: 2008-04-25 18:45:34 +0000 UTC; Views: 574; Favourites: 2; Downloads: 0
Redirect to original
Description
Done with Photoshop CS2.1.- Duplicate background image. Fliter-sharp-unsharp mask: 35/3,4/0
2.- Duplicate background layer, drag it to the top. Filter-blur-radial blur: 30. Mode to Soft Light.
3.- Layer-New Layer. Fill it with black (#000000), and set mode to soft light. Erase the parts of the hair.
4.- Layer-New Layer. Fill it with #000040, mode to exclusion, opacity at %30.
5.-Layer-New Adjustment Layer-Levels:
RGB: 0/0,70/255
6.-Layer - New Adjustment Layer - Selective Color:
Red: 0/0/0/+35
Blue: +82/-100/-100/+69
Neutrals: +10/+4/+6/+3
Blacks: 0/0/0/+5
7.-Layer-New Adjustment Layer- Selective Color (Set the opacity of this layer to %30):
Blacks: 0/0/0/+100
8.-Duplicate your background image, drag it to the top and set mode to screen and the opacity to %30.
9.-Layer-New Layer. Fill it with #E7B960. Set mode to multiply and opacity to %10.
Merge Layers and you're done! [:
Sorry if there're mistakes, tell me if there're, but I don't have Photoshop in English anymore...
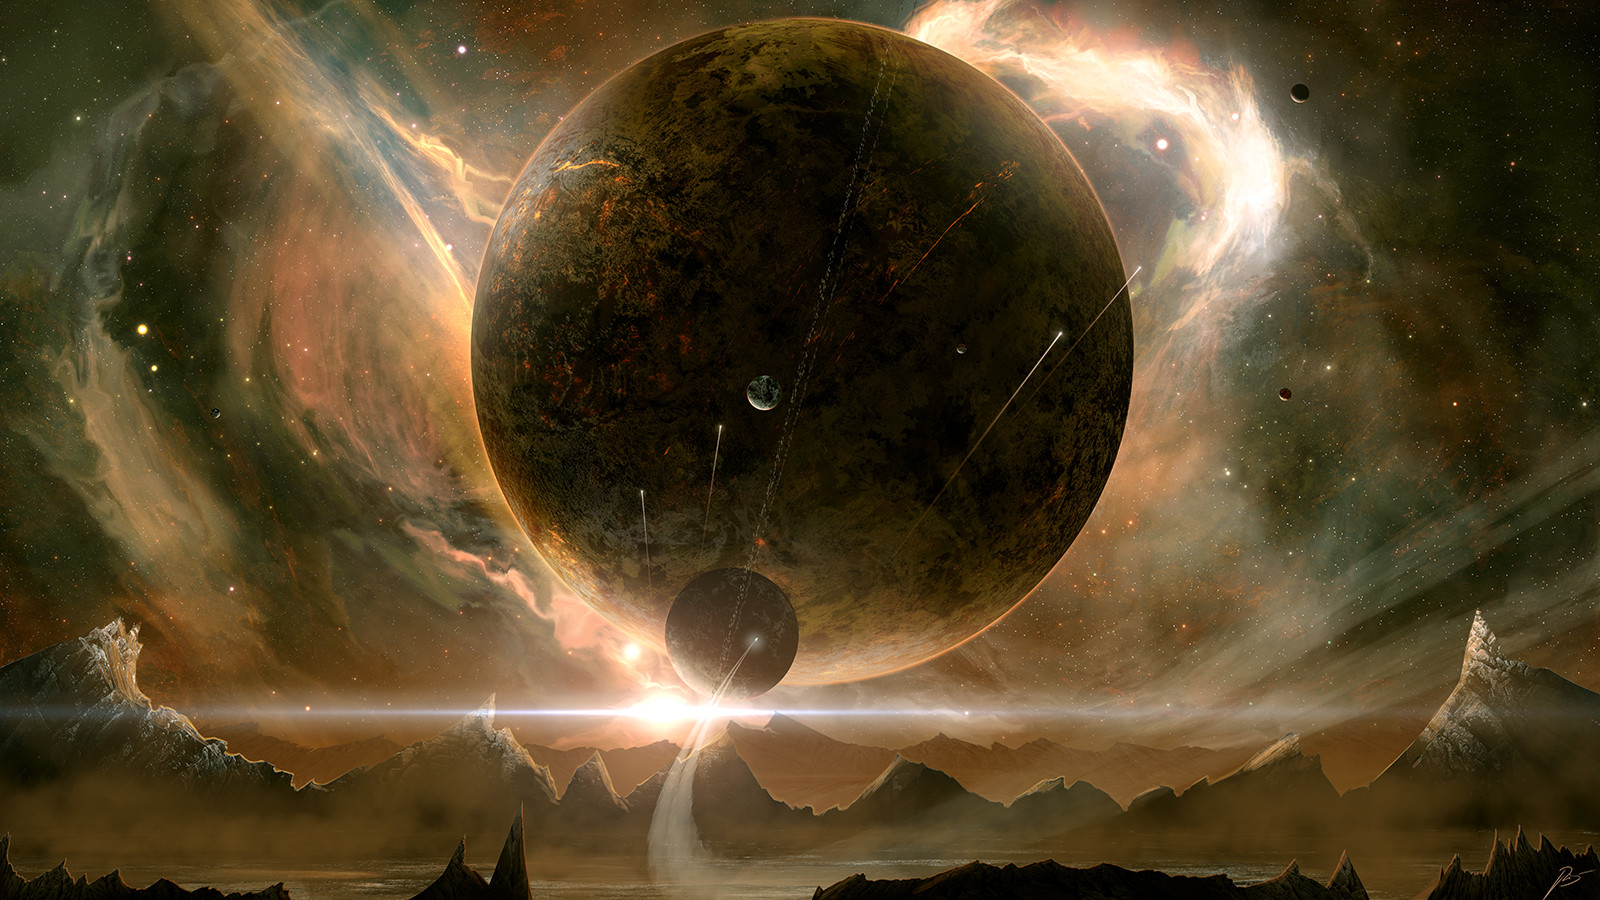
Pic:
Related content


Comments: 3

VERY NICE TUTORIAL!!!!!!!!
thank you!!!!
MORE, MORE, MOOOOOOOORE INTERESTING!!!! i'm a novice photographer, and i've got a lot of overexposed photos!!!
👍: 0 ⏩: 1


I've got alot of overexposed photos and been wondering what to do with em. Nice tutorial =]
👍: 0 ⏩: 0