HOME | DD
 sedra60 — Invader zim head part 1

Published: 2011-09-09 16:00:44 +0000 UTC; Views: 4389; Favourites: 28; Downloads: 0
Redirect to original
Description
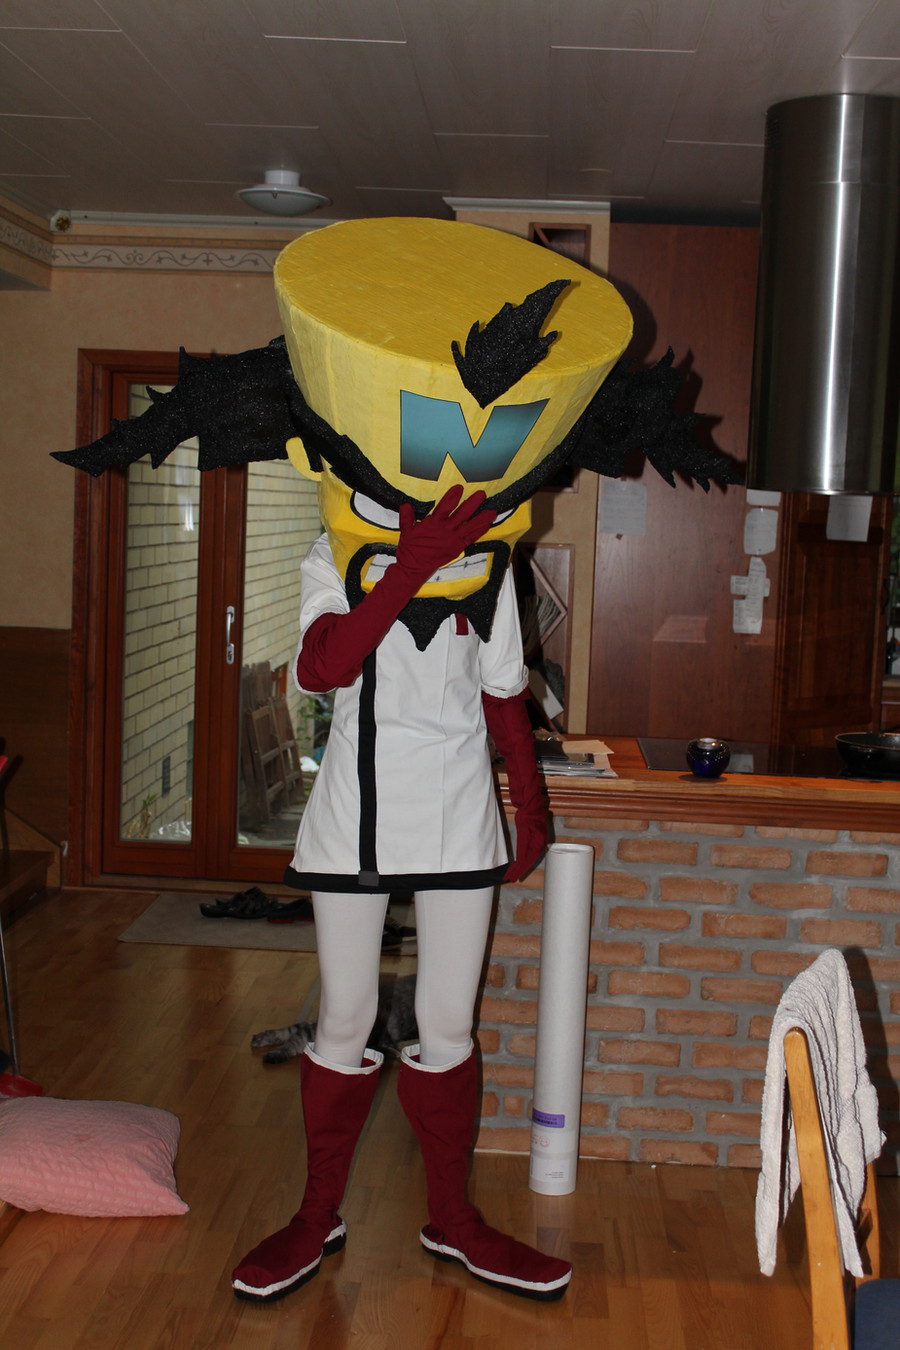
Alright! So in less than 48 hours, with about.. 15 hours of estimated work time, I'm gonna try make an Invader Zim costume for a little space themed party at the school! Cause Zim is so much more awesome than being a random alien.This is the part where I make the head's base.
1. I first made the basic shape in cardboard.
2. I started adding an antenna, that had to be cut a little shorter.
3. A face! And the upper row of teeth.
4. Antennas and face!
5. I started with the lower row of teeth, I felt like a dentist when I fixed with his teeth and adjusted them with the cutter.
6. A tongue! Though I didn't have much space for any other, I will probably make a smaller and better one after the party thing if I improve the costume.
Now I just need to glue and coat it. Cheers.
Part 2: [link]
Related content


Comments: 14

How wide is the bottom half of the side and the top half of the side?
👍: 0 ⏩: 0

Fantastic, and I was wondering, do you have a full step by step guide on how to make it?
👍: 0 ⏩: 1

Thank you!
Well, I don't know if I would call my part 1-3 a full guide, but It is really easy, sketch out the parts to about the size you want the head in cardboard, top, 2 sides and a front as the front face and a jaw, the jaw should have a little platform inside with a moon shape towards you so your head will fit properly.
Glue the top and back together, cover in fabric.
Glue the front and sides together and glue them together then cover in fabric.
Cover the jaw separetely.
Then put it all together. Put black see through fabric in the mouth, on the bottom and on the sides, make it loose so it's not stretched tight and can just hang back quite a bit and still cover most of the inside.
Then take white craft foam and cut out teeth add a bit extra on the edge and glue it to the inside of the jaw and on the upper part.
the tongue is really just 4 pieces glued together and just wrapped in fabric and then put on the platform, make sure it's not too far back or too big, or you will have it in your face.
See how long you want the antenna, cut out in something lightweight but not so bendable, cardboard with steelwire might work make the ends you will attach on the head fit with the edge where the back and top meet. Cover in black fabric and leave excess fabric at the end you will attach to the head.
Do a careful cut in the -fabric only- on the edge were the antenna will be. use a knife or other tool to release it from the cardboard just around there so you can put the excess fabric from the antenna underneath and glue it there, the excess is easiest to glue if you cut it in as wide as you can strips down to where the cardboard starts.
After gluing you sew around them, it will gve extra support of you leave a wire or so a bit longer to be bent and glued together where the strips go.
Just look what seems right for the eyes and get the shapes out, then place them and test and trim until you are happy. Cover in fabric, add a lighter one on top for the little reflection. Then you glue the eyes on the front where you want them.
Then take a promarker and add details such as edges on the eyes, eyebrows and lines on the tongue.
Done! Make sure the hole you get your head into isn't wider than your shoulders or the head will drop down way too much on you, it should rest on the shoulders.
I hope that helps! I used fleece for the skin and some basic cheap stuff for the rest, use something thick so the glue wont be seen, except for the mouth because you gott be able to see through it rather properly, there are plenty of such fabrics in fabric stores.
👍: 0 ⏩: 1
Ah, thank you, this is a great help. Besides airfix models, I am quite a novice to arts and crafts, let alone cosplays/costumes
")
👍: 0 ⏩: 1
 (Smile)")
")


