HOME | DD
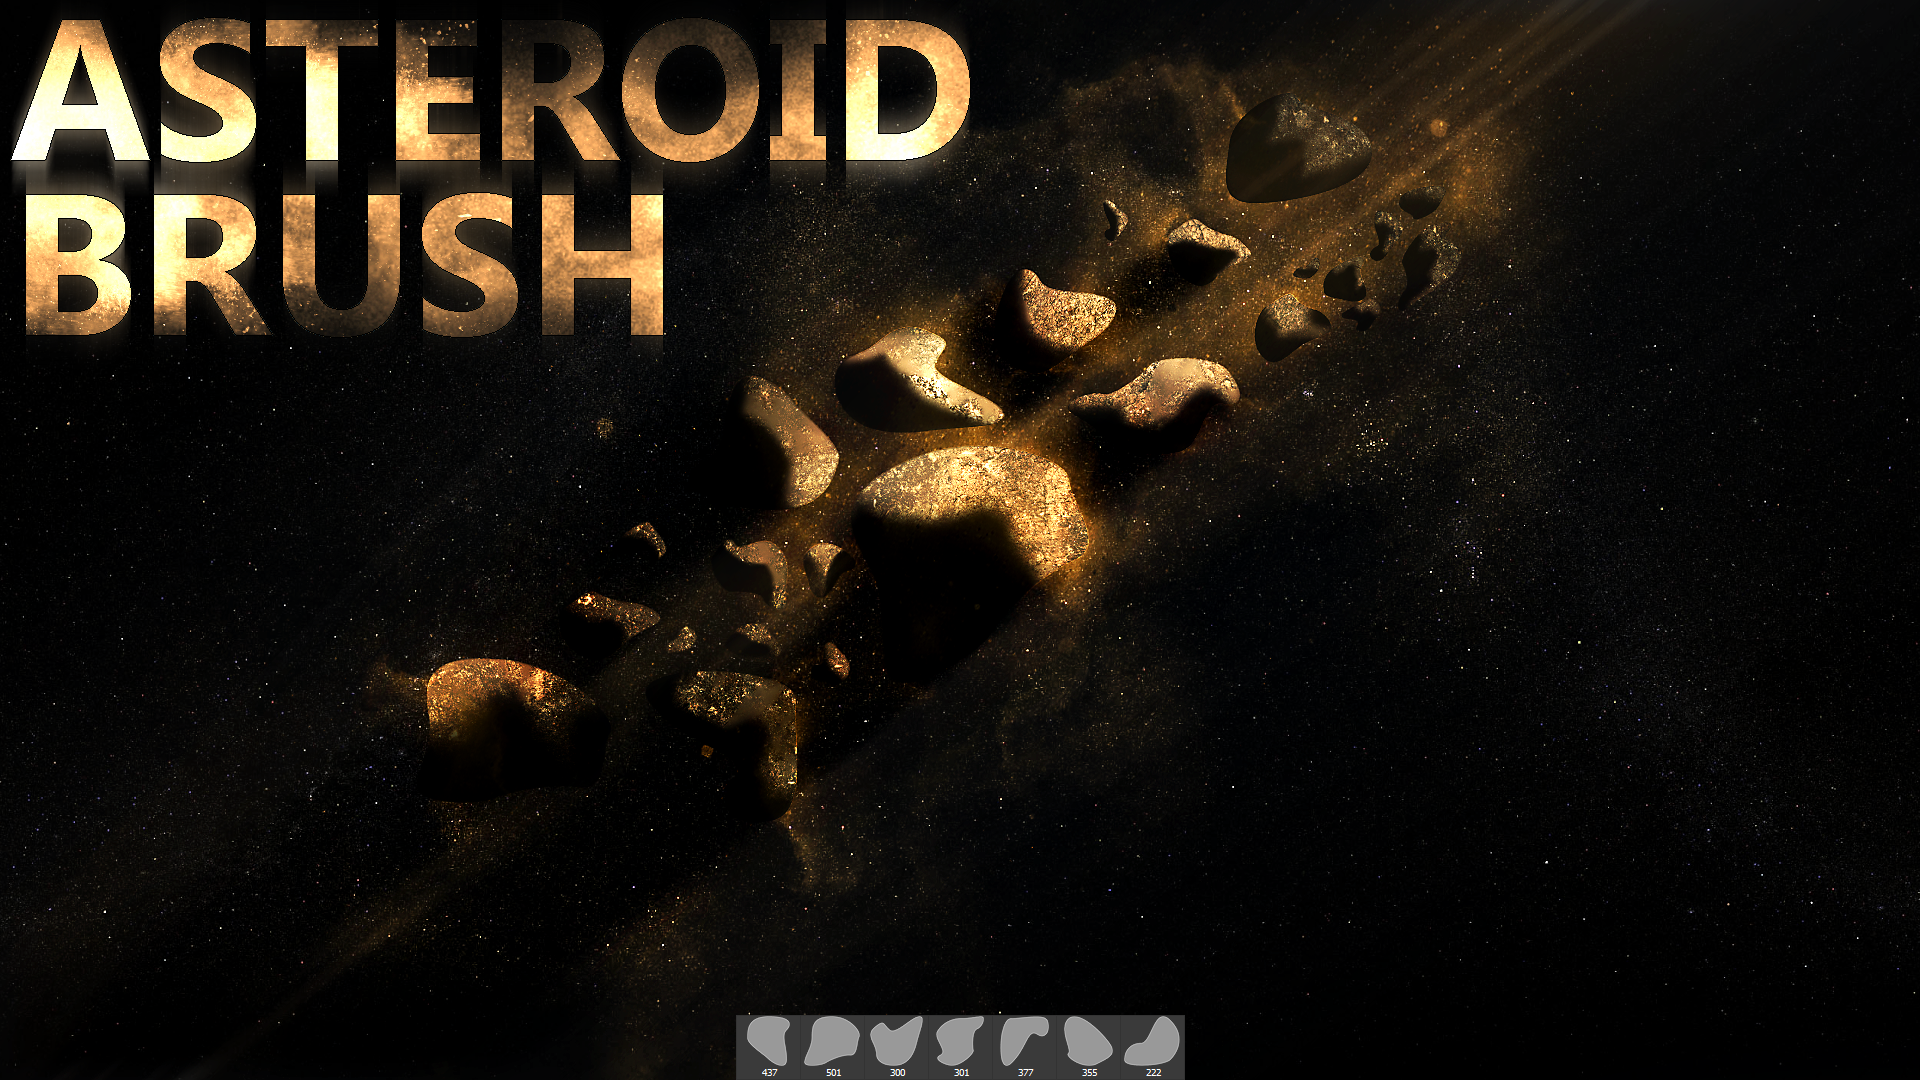
 SS7-GFX — Asteroid Brushes - (OUTDATED)
#abr #adobe #asteroid #brush #brushes #gfx #photoshop #resources #ss7 #ss7gfx
Published: 2017-10-17 22:59:15 +0000 UTC; Views: 1403; Favourites: 6; Downloads: 106
Redirect to original
Description
THIS IS OUTDATED AND NO LONGER RECEIVING SUPPORT.—NEW UPDATED AND SIMPLE VERSION > Asteroid Mk II
Free to use.
Just link back :]
This brush requires you to have stock images of textures.
In my case, I used this texture for the asteroids.
Change Log:
v0.1
- Removed asteroid field brushes.
- Updated Preview Image
How to:
1 - Choose an Asteroid Brush type, resize with bracket keys " [ " or " ] " and click anywhere.
2 - Paste in a Stock Texture Image (Preferably High Resolution) > Adjust texture to your liking.
3 - Select Texture Layer > Hold down the "ALT" key then left click the picture of your Asteroid Brush Layer.
4 - To give it depth, you have to go to Layer > New Adjustment Layer > Curves > make sure "Use Previous Layer" option has a check mark on it (so that it only affects your texture layer) >
Then in the properties, click and drag the right tick on the graph all the way down.
5 - Now on the Curves layer that you just created, click the white box (this is the layer mask for Curves) --
and brush one side of the asteroid brush with "White or Black color". (dependent on the direction of the source of light)
6 - Lastly, mess around with layer adjustments , photo toning , actual Layer Effects and different color gradients to achieve a nice looking asteroid!
For the actual deviation, go here!
Another example of the same effect but using a different brush I'm currently restoring can be found here!
**Side note:
I will be constantly updating and adding on to this when I have more time.