HOME | DD
 UdonCrew — Invader Zim Coloring Tutorial

Published: 2007-08-17 02:53:59 +0000 UTC; Views: 70527; Favourites: 1198; Downloads: 2141
Redirect to original
Description
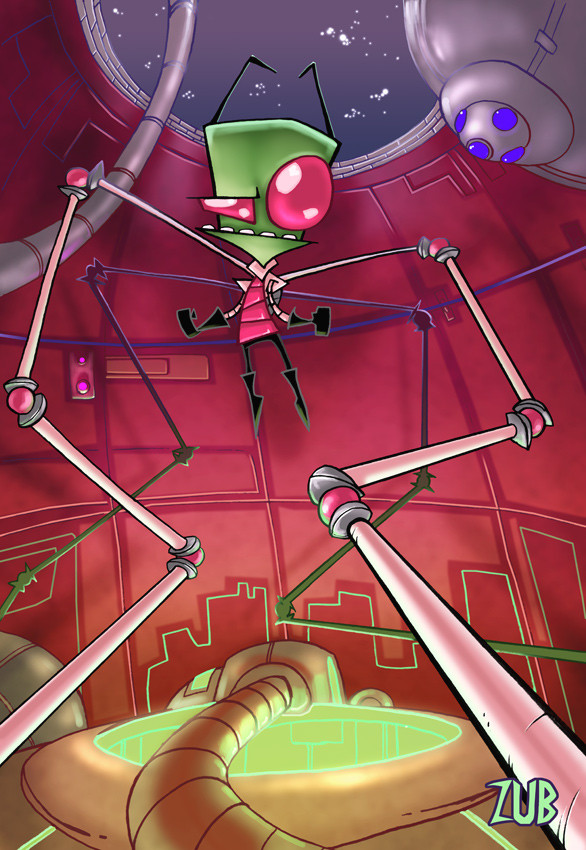
Artist: ZubA tutorial from start to finish showing the working process on this Invader Zim piece.
A non jpeg version of this tutorial can be found HERE .
Enjoy!
Invader Zim and all related characters copyright © Nickelodeon
Related content


Comments: 80

 (Wink)")

ok, the lines just looked so clean. Guess its time i go get me some deacent pencils. Thanks ^^
👍: 0 ⏩: 0

Thanks a ton! I think all the Udon people should do tutorials, because you are all amazing a respectable artists, with a lot of knowledge to pass on.
👍: 0 ⏩: 0
Great tutorial, i just have a few questions. When you say you drew him with a lead pencil and used a red pencil for the background. Did you do this on/with a tablet or the actual paper? Sorry if its a dumb question :S
👍: 0 ⏩: 1

The line art was drawn on paper in this case, not digital.
👍: 0 ⏩: 0


Haha, thanks to _me_ that mini tutorial by manarama was created ")
Awsome work.
I seperate the bg and the characters the same way, but this gave me a small tip on how to better my light source. thanks.
👍: 0 ⏩: 0


^^ I've been waiting for a tutorial from you guys, Thanks!
👍: 0 ⏩: 0


Thanks, a great tutorial, I especially liked how you went into detail about the way light affects different materials and how the lines are lighter on an object being flooded with light. Greater than your average tut. Thanks!
👍: 0 ⏩: 0

thanks for the tutorial!! ive realized some flaws in my coloring style. ill have to fave this
👍: 0 ⏩: 0


Interesting.  (Smile)")
However, I tried that trick in Photoshop, with separating the line art, just like it mentions in the tutorial. I may be doing something wrong, but it doesn't seem to be working.
👍: 0 ⏩: 0

Very VERY useful. I like the focus on lighting, I'll keep that in mind in my later pieces.
Faved.
👍: 0 ⏩: 0

could I get a link of that line art separation trick? ")
👍: 0 ⏩: 1
Here's the 'Line Art Trick' summarized:
Step 1) Flatten your image and make it grayscale.
Step 2) Go to your 'Channels' window in Photoshop.
Step 3) Click the circular dotted 'Selection' button at the bottom of the Channels window pane.
Step 4) Invert your selection (hot key = Shift + Ctrl + i)
Step 5) Create a new layer.
Step 6) Use the Fill bucket and fill in your selection on this new layer with black, thus reproducing all the lines art on a transparency without the white of the paper.
Step 7) Delete your original Background layer and save your layered PSD file.
👍: 0 ⏩: 3

Yes yes. Thank thank. This is a very useful tip.
👍: 0 ⏩: 0


Absolutely amazing. 
👍: 0 ⏩: 0
