HOME | DD
 weird-grafx — Ice Daemon

Published: 2018-11-19 14:20:55 +0000 UTC; Views: 2935; Favourites: 16; Downloads: 0
Redirect to original
Description
First render of a work in progress. Fiddling aroundwith the iceblocks and how to do the magic spell.See the final result here www.deviantart.com/daz…
Related content


Comments: 3
Hi! I like the scene, it's very dynamic! If I had to give suggestions, it'd be the following:
- If the spell effect should emit light, a scene in bright daylight is very, very difficult to do, because everything will be outshone by the sun. Then a dusk or night scene would be better, with the spell lighting the ladies from the front and a few torches on the building and a moonlight dome for environment and rim lighting. Would suit the ice well, too, I think, because of the better visible refraction.
- It might be me only, but I'd expect an Ice Daemon to be of a more bluish or blue-greenish color. Still, I know it's difficult to change maps; if it doesn't work, don't spoil the image with the try. I'd try inverting the red skin in an image manip software of your choice and then adjusting the brightness and contrast to suit your needs. Perhaps duplicate the layer, desaturate the top one and mix by your favourite layer mode.
- Perhaps it'd be a nice effect if the daemon was shrouded in ice splinters. I'd try to do one to three geometry shells, apply an opacity map suiting ice splinters, and setting it to 3-5 cm offset with a glass or ice shader applied.
- You could use the same technique to the spell cone(s), with another (cone) geometry shell emitting light within the splinters and set to 0.0001 opacity. Then the splinters will glow and it will look as if the demon would shoot his own shards at the girls.
- Dunno if the girls are used to being cast into iceblocks, but I think I would give at least one of them a terrified look (for example, the one with the mace, looking onto the iceblock of the front one or the one next to her. Also, with another geometry shell with suitable opacity mapping, you could let the ice "crawl" over their skin at the borders of the iceblocks.
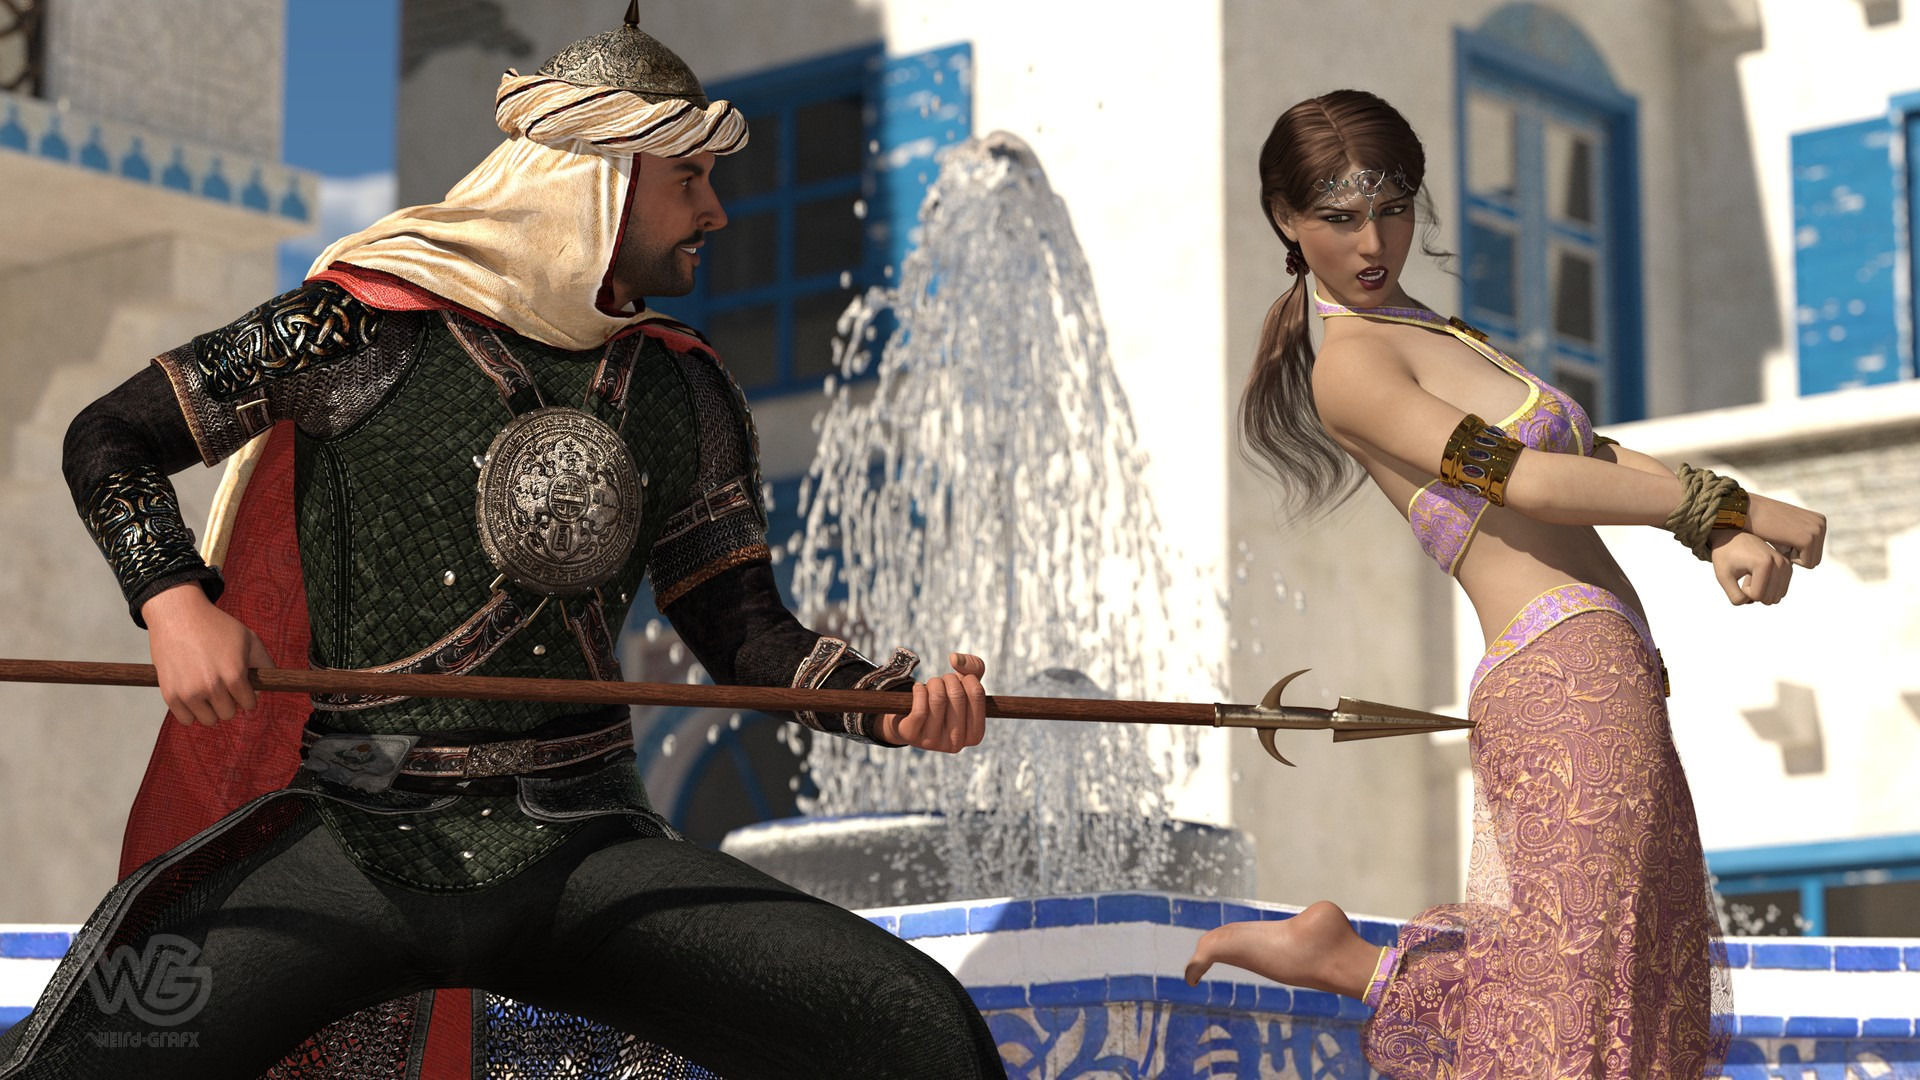
- Why has the one with the sword bent her left hand like that? It looks like a preset pose for a shield, but without a shield, it looks like she's about to look at her wristwatch...
- The wings of the daemon could be curved to the front or back a little more; like this, they look very flat.
👍: 0 ⏩: 1

Wow, thanks for this extensive comment. I will definitely try some of Your suggestions. Especially the geometry shells sound interesting. To be honest, I have no idea how to do that at the moment. Do You have link to a good tutorial about that?
👍: 0 ⏩: 1
Geometry shells are fairly simple and still a GREAT tool.
Broken down, it's one mesh with the UV map, the material zones (iris, face, fingernails...) and face groups (left shoulder, pelvis, lower jaw...) of the original figure. You can apply shader and character skin presets as you do with the original figure.
In the parameters tab, you find "Offset", where you control the distance of the geo-shell (you can also pull it into the figure, more below), and "Shell", where you can hide or show any material zone and / or face group.
In the surface tab, you can setup your shaders like you do with anything else.
And that's the basics XD - fairly easy.
The magic begins when you combine geometry shells with each other, with shaders, and with displacement or opacity maps.
- You desperately need one single fingerless glove for the right hand? Geometry shell, make every face group invisible exept for "right hand" and the first finger segment of the right fingers, apply shader - voilà, fingerless glove! (Not suitable for extreme closeup due to missing seams, but anything else works fine.)
- You want to "mix" two character skins? Geometry shell, one skin on your figure, one on the shell, and then you do your own opacity maps to blend the skins where you want them to.
- You want to do an android character with glowing lines under her skin? Two geometry shells, both IN the character. The innermost emits light, the other one, directly above, works as a "blocker". With opacity maps or displacement maps you draw the lines.
- You want sparks around the hands of your mage, but not simply a sphere? Geometry shell, and then per opacity map and light emission create the sparks.
- Many lanterns and lamps look awful in IRAY. Either you have that cozy candleflame look - then they do not shed enough light to lighten anything. Or they do, but then the surface turns plain white or orange. Solution: Geometry shell, make the corresponding surface of the original figure a (satinized) glass, pull the geo-shell into the figure and give it the necessary emission information. You can even set it to Opacity 0.0001 ("Ghost light"), to soften the look; maybe you have to turn up the luminosity then.
And so on. Just experiment with prims, then you'll discover how it works and can put it into action in any scene. I didn't have a tutorial, I just experimented.
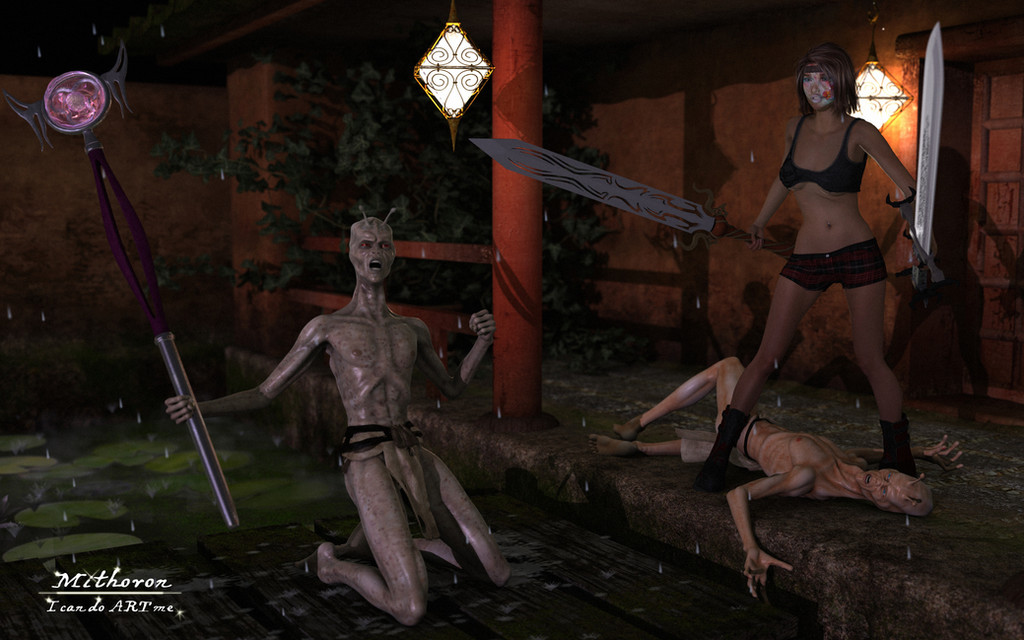
If you take a look at my gallery, there are many images I worked with geometry shells. Most prominent here:
and here:
👍: 0 ⏩: 0