HOME | DD
 workshop — OMG... Spike made a tutorial

Published: 2006-03-09 22:58:15 +0000 UTC; Views: 2263; Favourites: 33; Downloads: 600
Redirect to original
Description
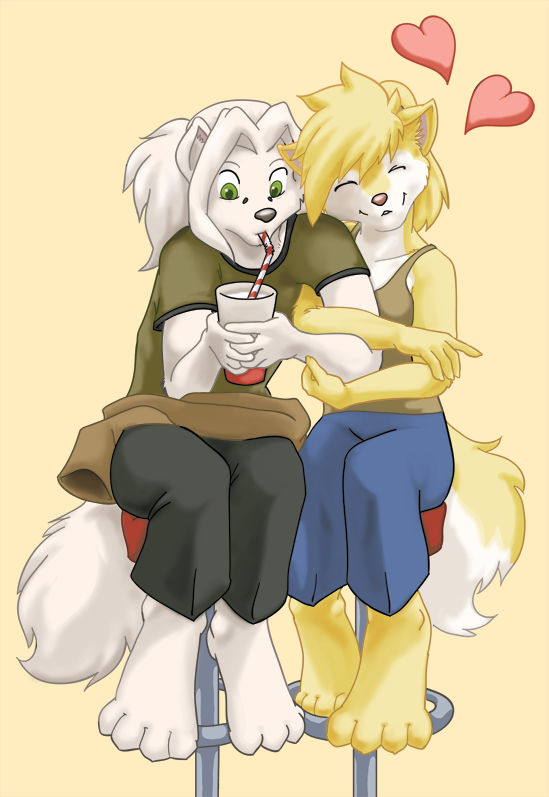
Well... I kind of sum up what I do with these four simple steps....by being sarcastic, of course.
Related content


Comments: 31

tks for the tutorial
me va ayudar un buen jeje aber si entiendes el castellano yep chao
adiuuuuuu
👍: 0 ⏩: 0

")


cooness!
i like your quirky sense of the rediculous... yay!
anywho.. yeh, good tutorial...

👍: 0 ⏩: 0

hehe, looks pretty sweet. I'll try to keep that in mind.
")
👍: 0 ⏩: 0

All because uncrapping your artwork is never as much fun as pimping it! (Well, there are exceptions, but still...)
I laughed when I hit "you can always Photoshop it later," as I've told myself that many, many times... Anywho, delicious tutorial. It was a fun read.
 (Smile)")
👍: 0 ⏩: 0


Sarcastic ... yes. But nicely done.
As usual.
I've been following this sort of the advice thingy with Poser 6. Anyone realize how insanely large a file gets when using strand/hair based fur?
... If so, why didn't you warn me?
👍: 0 ⏩: 1

I don't even use Poser. So I wouldn't know.
👍: 0 ⏩: 1
i didn't think you did. Unlike me, you actually have considerable talent with pencil and paper. I was just trying to be ... ironic ... I guess.
👍: 0 ⏩: 1
I know you were trying to be ironic.
👍: 0 ⏩: 1
I've posted some scraps showing my 'first' efforts at using stand based hair for fur in Poser. I'd really appreciate any comments or suggestions.
The subject is Sheana, everyones' favorite golden wolf.
👍: 0 ⏩: 0

This really made my day, and may have given me the right mindset I need to be in tonight. Thank you
👍: 0 ⏩: 1


All this time I've been coloring then "uncrapping"...man your the best.
👍: 0 ⏩: 1
Your coloring depends a lot on how well drawn the underlying sketch is. So don't forget to "uncrap" your pictures before coloring.  (Wink)")
👍: 0 ⏩: 0


Woah! This one popped up just as I was looking at your stuff!
Thanks for the help, SPike. You can never have too many tutorials!
I tend to draw a sketch small at first, then use Photoshop to make it bigger, then print the bigger image and trace it, then add details.
How do you make the sunglasses opaque in that last panel? And what do you recommend for the coloring in the thired panel?
👍: 0 ⏩: 1
Well, I did mention in my description that I was sarcastic when doing this tutorial.
If you start off big you don't need to make it bigger. Yet to mention the heavy pixelation on small sketches when you size them up, that you either have to fix or redraw.
About how to color anything opaque: pick a bright color, make the brush transparent by lowering the opacity (about 20% would suffice) and go crazy with the brush.
As for the third panel. I just painted it normally, color by color... don't know how to recommend anything on that. Other than some color theory, and that's a whole other book. But the main best practices in that is to limit your use of colors and find colors that harmonize.
👍: 0 ⏩: 1
No, I mean whether you use pencils or markers or paint, etc. I would assume you use photoshop, but you mentioned using crayons to gloss the drawing (or is that also a part of photoshop).
👍: 0 ⏩: 1
It was a stupid analogy of fixing the highlights yourself. It is like kindergarden, where you pick up a crayon and go crazy on a blank sheet of paper.
It is just a way of saying "try experimenting". I can't really say how I did it, I'm not that well-versed.
👍: 0 ⏩: 1
Ah. I thought you said you actually did some of your pics with acrylic paint.
👍: 0 ⏩: 1
*sigh* You do realize I made the tutorial as a parody right? Which is why I put the bit about being "sarcastic" on the description. The crayon part was not meant to be taken this seriously.
Also I haven't touched acrylic art for a very long time now (last time must've been five years ago). I have said numerous times though that the process is similar wether you paint with acrylics or with the digital medium. I haven't actually used my acrylic paintings on anything digital. Mostly because I painted them on large canvases that were too large to scan in.
👍: 0 ⏩: 0

What program would this be for O_o Cause I would totally use this tutorial, but I can't find a glossy crayon.
👍: 0 ⏩: 1
The glossy crayon is somewhere in the toolbox. If you look hard enough, you'll find it.
👍: 0 ⏩: 0
You know that white crayon that is seemingly quite useless as an eraser? It's useful for when you're using it together with other colors.
👍: 0 ⏩: 2

Well My printer now has glossy ink. Is that close enough?
👍: 0 ⏩: 0

Yes, and besides, it tastes good!
👍: 0 ⏩: 0