HOME | DD
 Yagellonica — Making Patterns 2

Published: 2018-10-30 12:21:02 +0000 UTC; Views: 1033; Favourites: 26; Downloads: 9
Redirect to original
Description
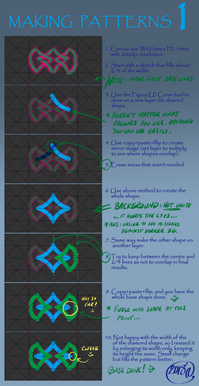
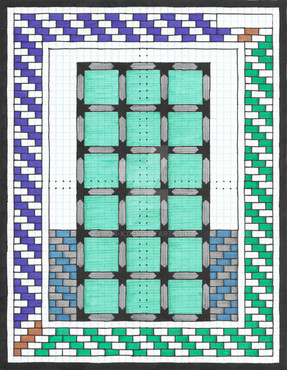
Continued from Making Patterns 1After you've saved your base pattern as PNG image (REMEMBER: SAVE EACH PIECE SEPARATELY > plus you'll need to save one as a single piece, for reference use), import it as a PATTERN not an IMAGE. Then you can move it along your canvas towards the edges and it should be "seamless". This way you can check if your original single shape is done or needs some more work. Mine was overlapping slightly, so I had to resize the original a little. While overlapping can at times be good, it really depends on your pattern and what you're after. I wanted these patterns to be separate.
So, resize + save + import again as Pattern > check. Finally happy with how it sits there.
NOTE! At this point, if you only want a flat colour pattern, you're basically done. If you want a two colour pattern, you need to save + import each pattern separately, then you can re-colour them to whatever you're after.
I'm about making embroidery-lookalike patterns, so the tutorial continues...
Also, I've noticed that if you just copy and paste a layer, it can lose some of its sharpness (there must be some setting I'm missing here but haven't found it, so far). So, I save as PNG and then import as Image, and it retains all sharpness.
Get acquainted with your drawing program and what it can do.
This is my process (there may be other ways of doing this but this is how I do them > feel free to modify to your needs and your drawing program's functions):
1. Import 2 times the same base shape. Set the under layer to lower opacity, and the top layer to multiply (or whatever else that lets you see it better over the under layer).
2. On the multiply layer, select the shape and set it to Layer Mask > this way your selection is permanent (sort of, dunno how to explain this) > then erase all (but your shape is still there in the Layer Mask).
3. Pick a brush with solid colour (mine was the basic Marker Pen) and start drawing straight-ish lines across the shape (and this is why you have the under layer visible in lower opacity so you can see where the shape is since the Layer Mask is basically invisible). Scribble away half of the shape. You're creating the "stitching" of the emrboidery.
4. Once half is done, copy + paste + flip, and you have the whole shape done.
Once again, if you're looking for a flat colour pattern, you're done at this point. Just combine the shapes and save as PNG, and then you can import as Pattern.
But, I'm going for the golden lace effect.
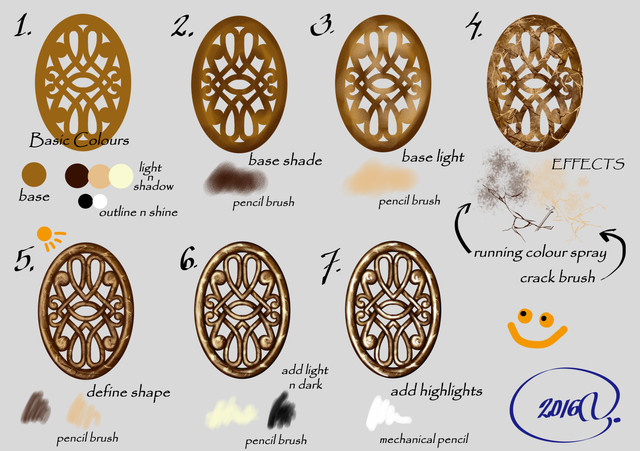
My "gold" is a specific combo of colours (see above pic) and the way I make is also a set series of layers that I do on every embroidery-styled pattern I make. (See Making Patterns 3 for full explanation.)
Done on ClipStudioPaint / ClipStudioPaintPro on my Wacom tablet


