HOME | DD
 aditya777 — Painting Tutorial

Published: 2010-04-24 09:17:21 +0000 UTC; Views: 56849; Favourites: 1391; Downloads: 1863
Redirect to original
Description
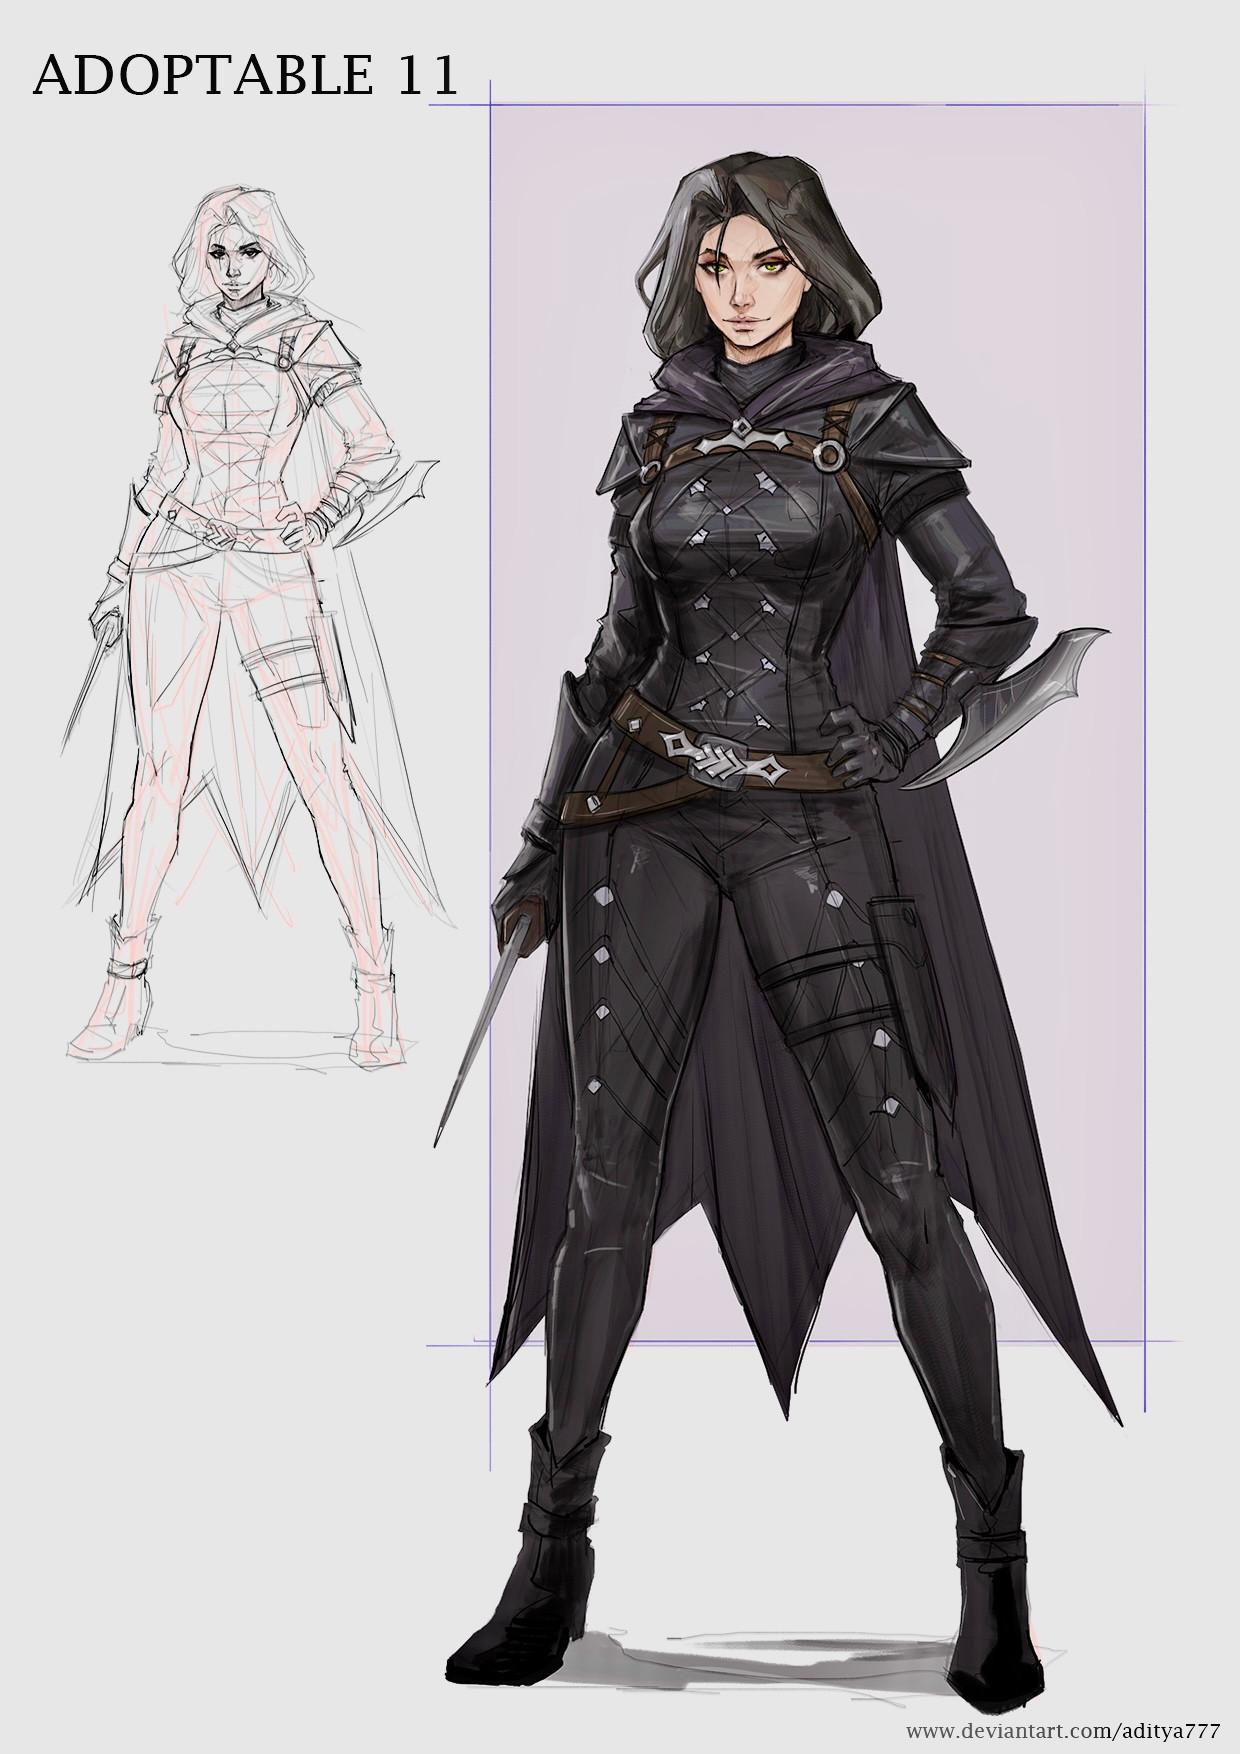
Tutorial of:feel free to ask
 (Smile)")
Related content


Comments: 105

no, thank you. You are defently one of the most curtiosy person on DA so far
👍: 0 ⏩: 0


I think this tutorial is very "simple", but a LOT OF HELP for me!!! 
Thank you very much!
👍: 0 ⏩: 0

awesome, looks like I use a similar technique
")
👍: 0 ⏩: 0


Fantastic tutorial! Thanks for making me relax...I tend to want to draw it perfect the first time I lay down a line. It was nice to see details and firming up the figure shown later rather than early, and forms used before linework.
👍: 0 ⏩: 0


Thank you so much. This is great. I appreciate it.
👍: 0 ⏩: 0


AWESOME tutorial ")
 (Wink)")
👍: 0 ⏩: 0

feel free to ask...
neng namanya sapah?
👍: 0 ⏩: 1

Thanks, this'll be really helpful! I always love to see how other artists work
👍: 0 ⏩: 0

Hey mate, nice little tutorial you did here. Really nice to see your process. I only started using the smudge tool myself, recently. It was 'looked down on' in the art community for a long time, and I used to care what people think >.>... i'm an idiot. haha.
Btw, hope you don't mind me going around and answering questions. I hope I didn't confuse anyone more than they already were. Just figured I'd shed some light too.
Take care, mate.
👍: 0 ⏩: 1

No problem dude, thanks for the help

👍: 0 ⏩: 0

Hopefully I'll be getting Photoshop soon, so thanks in advance, it looks really helpful.
👍: 0 ⏩: 0

Thanks. I found this walkthrough very insightful. When I've been painting lately, I've only been playing around with the brush hardness and opacity. I didn't know you could change the mode. I shall have to try to find that setting.
👍: 0 ⏩: 0

I actually have to agree with lanKid, it feels like there's some steps misssing
for those that are new to photoshop - such as me 
I've just been trying to use this tutorial and I've found that at 60% opacity level isnt like yours for example and also, what size percentage do you have your brush set at when you're working and when you do the rought sketch what do you lay down first, the general form and then the sketch using darker lines or the other way around?
when I also got to the saturation and hue, it seems to make any blacks I add afterwards go greenish when its darkened and I dont understand how you're suppose to addjust the color balance specifically.
And as was also said there's seems to be a step missing between 3 and 4
I dont want to come across as bagging this tutorial because I'm not. Its just that from a newbies perspective this kind of style needs bit more explanation in a tutorial such as this.
Have you considered doing a video Tutorial?
👍: 0 ⏩: 1
Hey there. Sorry i'm not the original artist, and he may answer some of these himself, but I figured I could shed some light on some of this for you, myself. Feel free to totally disregard my comments if Aditya explains it better
Okay. The only step missing would just be a in between picture where he continues to work on details. He wouldn't even need to add a caption because theres nothing more to it. Its mostly explained, and the rest is your own knowledge. He can only teach you a few tools to make your life easier, but you need to know how these materials work, yourself, to paint it convincingly. If that includes grabbing some ref or doing some studies, so be it, but he wouldn't explain, "this is how you paint leather" in a tutorial that outlines the basic work flow.
Now the reason why your brushstrokes may not look the same on 60% opacity is because you may be using your tablet harder or softer than him. Remember that first setting he did? Where everything was set to pen pressure? Thats exactly what it means. Personally, i leave my opacity at 100% then lower the entire layers opacity, to drop those strokes behind. But its all a personal thing. If your strokes don't match, don't fret, its only general markings for YOU to be able see how everything can look. But if you can move forward, go for it. Nothing needs to be exactly the same as another artist.
For color balance, you have to use the sliders sparingly. Also, don't be afraid to drop the opacity of that layer. Um, for that to work, i use what is called 'adjustment layers'. Those are at the bottom of your layer list. It looks like the mini 'ying/yang' symbol. Press that and you will see the color balance. That will make it a spare level, then you can play with it that way. If your lines go green, then you've messed with it too much, pull back. If you're still having problems, select the adjustment layer called 'selective color' and fix it in there. Heh, so many things to do in photoshop. But the program is meant for editing, right?
Okays, thats pretty much it. Steps 3-4 he did EXACTLY what he said he was, only he detailed more and more. It was his knowledge of anatomy, value (his darks and lights) and the materials he was painting, that made it look like he did some tricks. But really, he was just pushing paint around like the rest of us. When in doubt, do NOT feel shame in studying.
Ive been told this before, and I tell everyone now. You need to learn how to SEE before you can paint. Start seeing better, and you can paint better. Look at everything in life, see how light reacts to it, see how the shadows fall, see how the textures change the look of it, look at that same object in different lights. Sometimes i stop and look up at the clouds in the sky, just to see how they work. Its the best thing you can do. If you don't know something, don't guess it, because if its not in your visual library (in your head) the chances are, you're going to mess it up. Everything EEVERRRYTHING is pulled from real life, so use real life to your advantage.
Okayyyyyyy, i'm done. Haha. If you have any other questions, feel free to send me a note, I don't want to spam Aditya's page anymore with this ")
Hope I helped a little.
👍: 0 ⏩: 1
TNX for the explanation, I find them very useful~ evn tho i have never used photoshop & don't think I will ' cause I'm o good at digital art & I think it's quite hard~ but the final result looks satisfying, it's worth it, no?

👍: 0 ⏩: 1
How can you be no good at something you've never tried?
Also, how can you BECOME good, if you're not willing to take that first step?
I say go for it, and stop making excuses to yourself
👍: 0 ⏩: 1
yeah~ U're right, just that I'm a lazy cowardly sucker
👍: 0 ⏩: 1
Haha, maybe its time to mix it up?
Do something you have never done before.
👍: 0 ⏩: 1
I thought of that~ too bad I'm not that way
👍: 0 ⏩: 0

Seems like there's a few steps missing. I mean all the big stuff is covered, but this seems to be missing some important details as well.
And I'm trying to critique here, not be a critic.
Image itself is amazing.
👍: 0 ⏩: 0

Well... do you have any more detailed process between step 3 and 4? It seems a little big step x_X
👍: 0 ⏩: 0

This tutorial is really helpful!! I have to try your technique.
My paintings always turn out looking smudgey and cheap... I guess I'm really bad at blocking in the colors, and solidifying the figure.
👍: 0 ⏩: 0

great; very useful for me to learn
your drawing style is impressive; how fluent you work, you bring the idea you have directly onto the (imagined) paper 
but I have a question :3
I think you use different layers
how much of them do you use; one layer for every little detail oder one layer for one colour or what ?
this is the worst problem I personally have with drawing with ps
there are always too less or too much layers in the picture
")
👍: 0 ⏩: 1


useful!thank you so much for sharing your knowledge with us!amazing!
👍: 0 ⏩: 0
Awesome! I'm so glad to see this up XD
👍: 0 ⏩: 1
Also I Meant to ask, what is the importance of the Multiply mode?
I asked this on a video on youtube a few days ago but recieved no reply. In that case the guy set his to multiply because his image started off as a scan, but I've never had anyone explain why its important
👍: 0 ⏩: 1
multiply makes the layer see-through (and a little darker). A lot of people will use it as their base layer and then lay in brighter colors on a regular layer, or overlay/color/soft light (all do almost the same thing, but lighter).
The thing about multiply is that it allows you to add color to the values you already layed in (which is the the grays you already put down). It will make them a little darker, but generally, the darkest darks will stay the darkest, and the lightest lights will stay the lightest. Experiment with it.
Its mostly for people to either lay in shadows, or for people who like to do digital glazing. (look up traditional glazing techniques, its almost the same thing)
Ok, thats all for my ridiculously long answer. Sorry, i'm just a random stranger answering this.
👍: 0 ⏩: 1
No problem mate. I answered your other question too.
Hopefully that helps
Have fun experimenting in the wonderful world of digital art!
👍: 0 ⏩: 0

Very nice and simple to understand and follow tutorial. I might just try something base on this now, thanks!
👍: 0 ⏩: 0

wow im goin to have to give this a try ^^ im usually trying to stay in the lines and build up layers, but this actually looks more funn.... haha
👍: 0 ⏩: 0

it's great we are waiting for your next tutorial
👍: 0 ⏩: 0

You know I've always been wondering how to blend colors in Photoshop painting! 
👍: 0 ⏩: 0

Thank you greatly for this tutorial, I'll have to try a few of the tricks shown in it and see if I can come out with anything decent ^_^
👍: 0 ⏩: 0

Thanks for this tutorial. It may be really useful!
👍: 0 ⏩: 0


| Next =>