HOME | DD
 Atomizer74 — DEEDEE BUTTON Steps

Published: 2009-04-24 15:13:03 +0000 UTC; Views: 779; Favourites: 4; Downloads: 26
Redirect to original
Description
Ok, so gave us a look at his colouring stages, so I decided I would do the same thing with my latest piece, I had to recreate the first few steps, but other then that since I like to keep things layered, I was able to do the final steps with the original PSD.Please click the download link to view the full thing, I didnt downsize it because it makes some details less obvious.
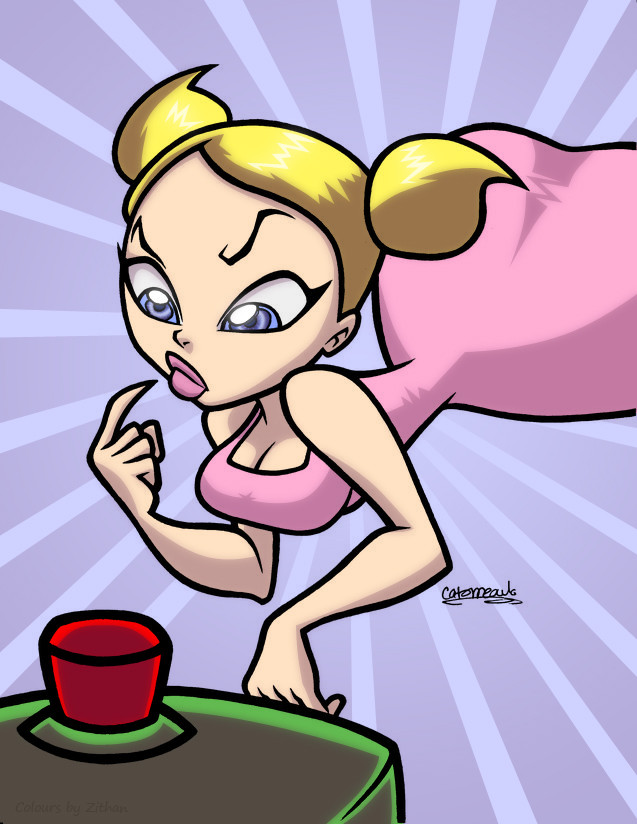
Step 1.
Thanks to for this and the following 2 steps.
The first thing I do is duplicate the inks layer and use levels to make the greys darker to make the lines thicker, its not needed for Assesinas lines but some lines I have worked with need to be thickened a little to make the next step easier.
I then use the threshold adjustment(under the edit>adjustments menu) to make it pure black and white.
I wont bother explaining too much in the following steps since you can watch AmericanNinjas tutorial videos here: [link] which do a much better job of showing off how it works.
Step 2.
Flats. Flatting. etc, This is the first step of when I flat, I basicly fill all the lineart in using the magic wand tool on the modified inks to select the "empty" areas, where the background will eventually go, expand the selection to make it fit within the lines, invert it, then fill it in with the bucket, again, for more details, watch AmericanNinjas videos, the method doesnt differ too much at this point.
One difference I prefer is I actually go back to viewing the original lines at this point, so I dont have to keep switching back and forth to make sure theres no grey parts that shouldnt be selected, but I can still use the magic wand tool by selecting the modified inks layer.(It also prevents me from accidently dumping my colours onto the lineart layer, since photoshop prevents you from modifying a layer thats not visible)
Step 3.
I then use a combination of the magic wand tool and lasso(with anti-alias off) on the modified lines, again, this method is identical to AmericanNinjas, so be sure to check out his videos!
Step 4.
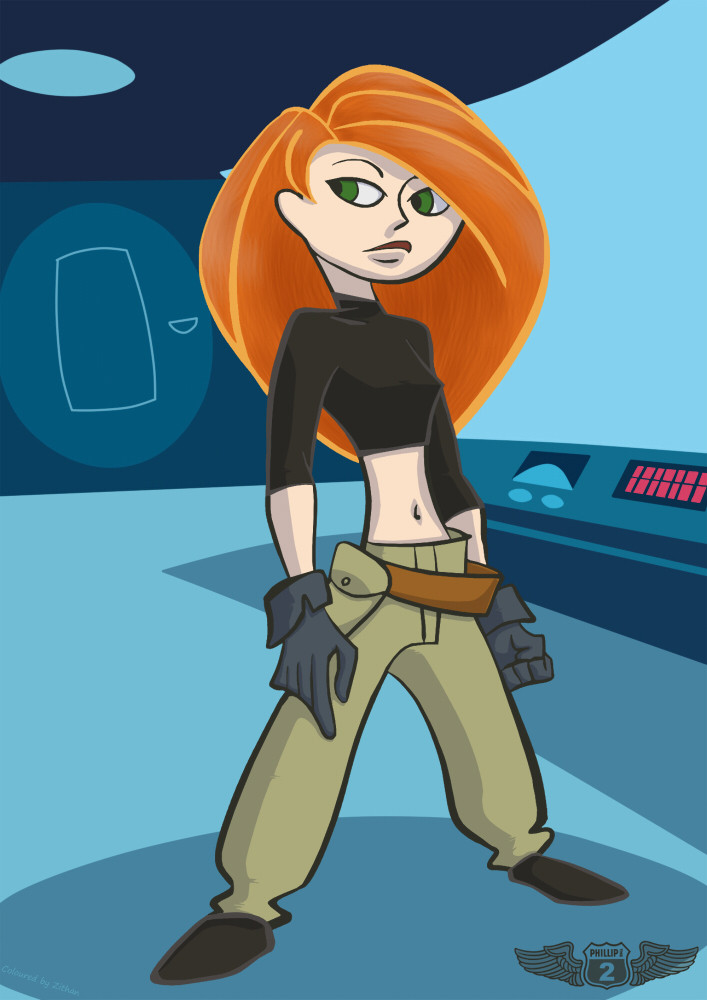
This is where I deviate a little, I usually start with the cell shading, but my hand isnt as steady, so instead of selecting an area and then cutting out the light parts, I use the pen tool to select where I want the shadows to be, usually I work on each area and make a new path for each area, in this case, the button, dress, skin, lips+eyes and hair get seperate paths.
Then I use the paths to make selections, and it gets back to being simular, I use the bucket tool at either 10 or 20% opacity set to multiply, I then fill in the shadows just as AmericanNinjaX would, for this one I actually used a dark purple for the first time, which worked out rather well.
Step 5.
Next I do the highlights, in this case, the only ones I did were in the hair, I also added the eye highlight to this layer, then I took both the shadow and highlight layers, duplicated and blurred them, giving it a softer look, and placing the blurred highlight layer above the inks, so that the eye highlight goes above the lines.
And finally I did the pupil by using a combination of the brush tool and the burn tool, still need to improve this somewhat
 (Smile)")
Step 6.
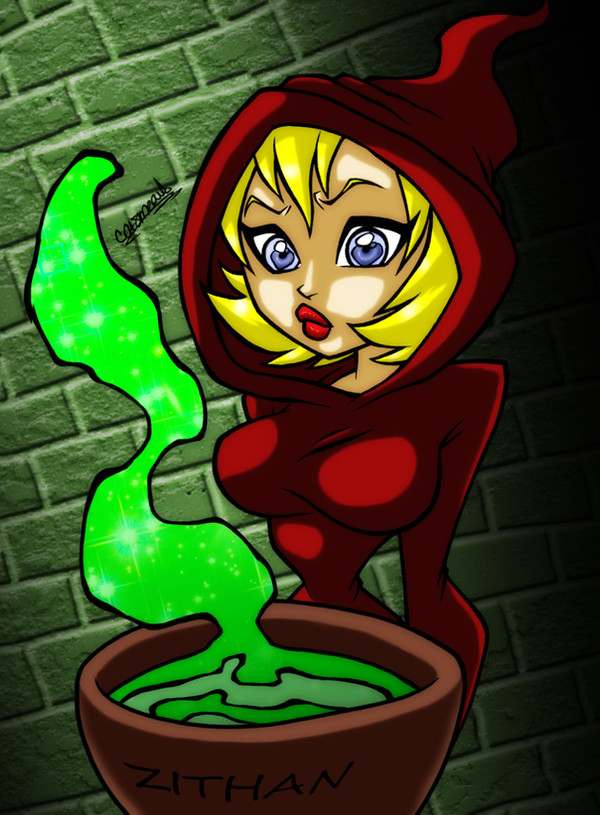
And finally I work on the background, this one being spiced up from a standard gradient by simply selecting an area and using a radial gradient, nothing else was done on the background other then an initial colour fill.
Also added a little tag down the bottom left, I always make it match the surrounding colours so its not as obvious, but still present.
Of course, without for her inks and for his video tutorials, this wouldnt have been possible, thanks
Related content


Comments: 3

Sweet, wonder if I can incorporate some of those methods...
👍: 0 ⏩: 0


")