HOME | DD
 axcho — Origami Hydralisk Instructions
Published: 2006-10-29 04:57:41 +0000 UTC; Views: 43055; Favourites: 57; Downloads: 7798
Redirect to original
Description
Update:I've finally finished the fancy photo instructions!
 Please take a look at them, they are much better and easier to follow: [link]
 Full view for the instructions.
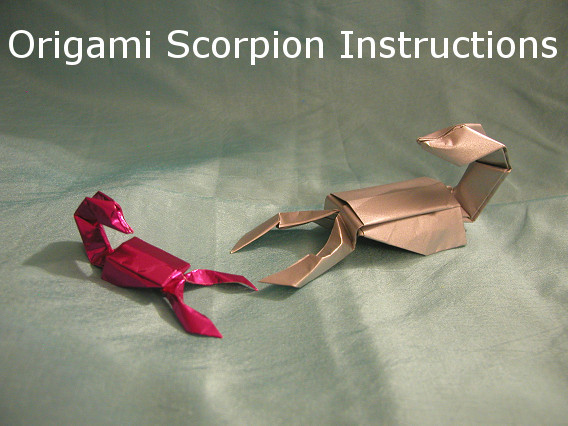
These are the instructions for how to make an origami Hydralisk, a creature from the computer game StarCraft. Out of all the origami Hydralisk models I've seen on the web, I think this is one of the best, in terms of accuracy and simplicity.
There are about 30 or 40 steps, depending on how you count them. Foil paper is recommended to make it easier to shape, but it's not necessary. And course you start with a square piece of thin paper, white side up.
I originally designed the model in 2003, and I finished drawing these instructions in the summer of 2006. They're kind of messy, but they work. I might make a vector version on the computer sometime if enough people want it though.
These were drawn in pencil and then scanned. I added color in Paint because the shading didn't carry over too well in the scanned version.
Feel free to print out and distribute these instructions. Just make sure I am credited as the author. Enjoy!
Related content


Comments: 61

I got the origami paper. Here's your picture: [link]
Thanks for the instructions!
👍: 0 ⏩: 1
")

Hey, I really like your version of the Hydralisk of all of the ones that I've seen, but I'm sort of stuck on step 10, namely from a to b. Is there any better way to explain it, or am I just missing something really basic?
👍: 0 ⏩: 1

Hi, I'm glad you're trying it out. I guess it is quite hard to fold. And step 10 is the most complicated part.
Basically what you're trying to do in that whole step is to get all that extra paper inside so it looks like step 11. The sub-steps there show how to collapse it back so it all fits.
So the transition from a to b is after you've unfolded and opened up one side, you start by folding over the creases that are closest to the middle, which have been creased already in step 8 so you know where to fold.
The model will not lie flat during these steps, while you continue to fold back and forth, sometimes having to make your own creases between points as well as folding along creases that were already made.
By step 11, the arms will be flat but the tail will be curved until you fold it in half in the next step.
Good luck with it! Let me know if that explanation helps or not.
👍: 0 ⏩: 0
Thanks for trying it.  (Smile)")
👍: 0 ⏩: 1

not yet. school is quite demanding. haha! calculus, physics and chemistry all in one go.
")
👍: 0 ⏩: 0
