HOME | DD
 calzephyr — Time to Howl - Stages 1-3
Published: 2004-12-30 22:22:20 +0000 UTC; Views: 1267; Favourites: 19; Downloads: 115
Redirect to original
Description
I figured it has been a while since I wrote something meaningfully about how I do what I do (Smile)") There is certainly more than one way to use pencil crayons, so don't think that my way is written in stone Basically, these steps will show you how I work in a thin to fat way with them.
There is certainly more than one way to use pencil crayons, so don't think that my way is written in stone Basically, these steps will show you how I work in a thin to fat way with them.This picture shows Stages 1-3 of a picture I will be finishing very soon called "Time to Howl".
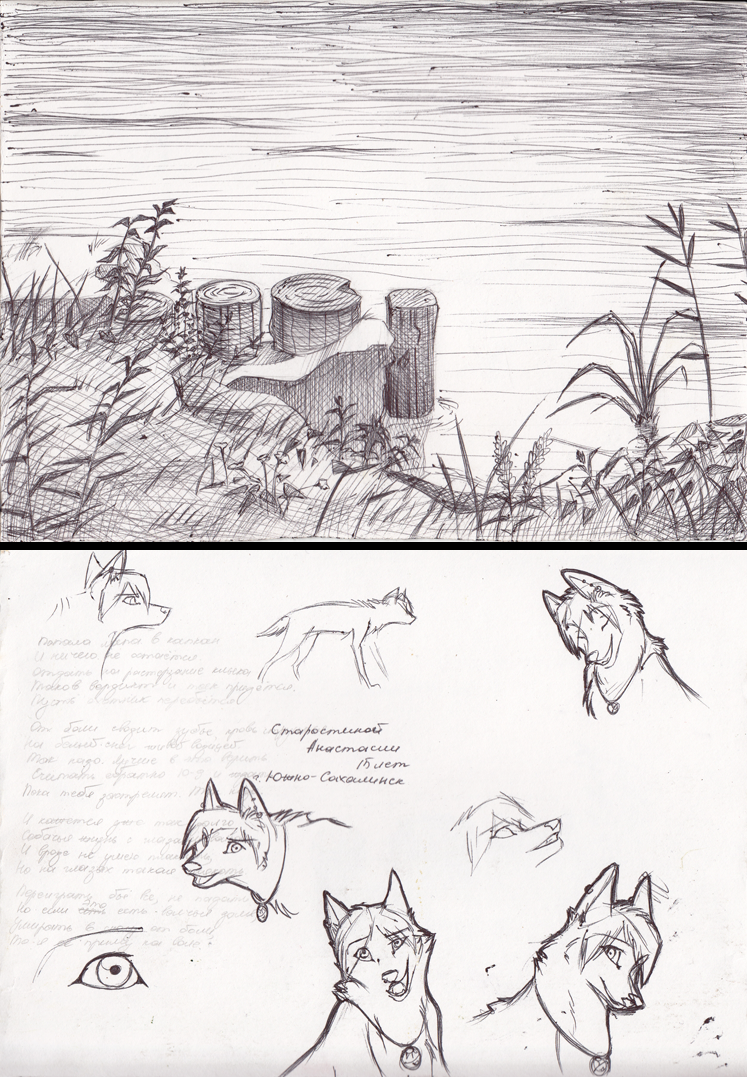
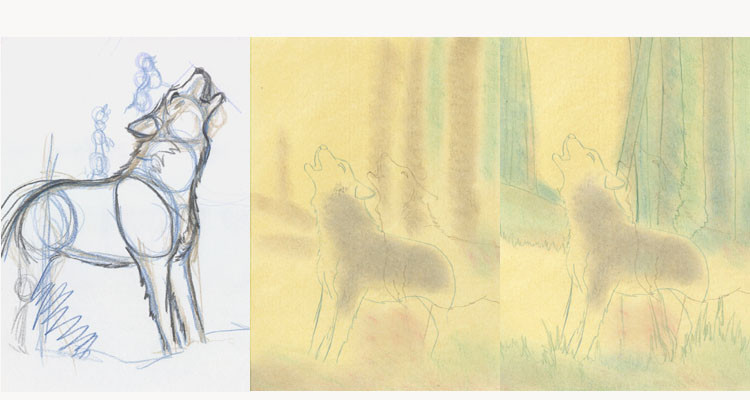
The first picture shows the drawing of a wolf in my sketchbook. I used a reference photo of a wolf. My original sketch is in brown, I refined it with navy, and then finally got it down with black pencil crayon. You can see how I changed the angle of the head in the black outline. Originally this was going to be a humorous cartoon of two friends (hence the figure on the wolf's head and back), however, I decided to make it more realistic instead of cartoony.
My next step was to take a sheet of 9x12" Bristol paper and apply green masking tape around the edges. This is painter's tape, and can be found at a hardware store. It keeps the border around the picture from getting dirty and helps me stay within the picture. It comes in different tackiness and can be removed without damaging the paper. It really doesn't stick well. Then I toned the paper with yellow ochre Nupastel. I chose it because it is a warm colour, much warmer than plain yellow. I then transferred the sketch of the wolf with pencil crayon. You can see two wolves here because I changed my mind about where the wolf was going to be on the page
I have also blocked in some basic shapes for trees and ground with burnt umber Nupastel. The wolf is in grey. I use Nupastel because it gets rid of the dreaded "white jaggies" and provides a nice surface to work on.In the third step, I have drawn in the trees and background with green pencil crayon and added some more dark green and blue Nupastel around the trees. This way I can get an idea of what the picture will look like before it's done and I can still make changes if I want.
Click here for the next three pics [link]