HOME | DD
 drsparc — Lego Mario

Published: 2008-02-22 00:41:21 +0000 UTC; Views: 6831; Favourites: 48; Downloads: 4258
Redirect to original
Description
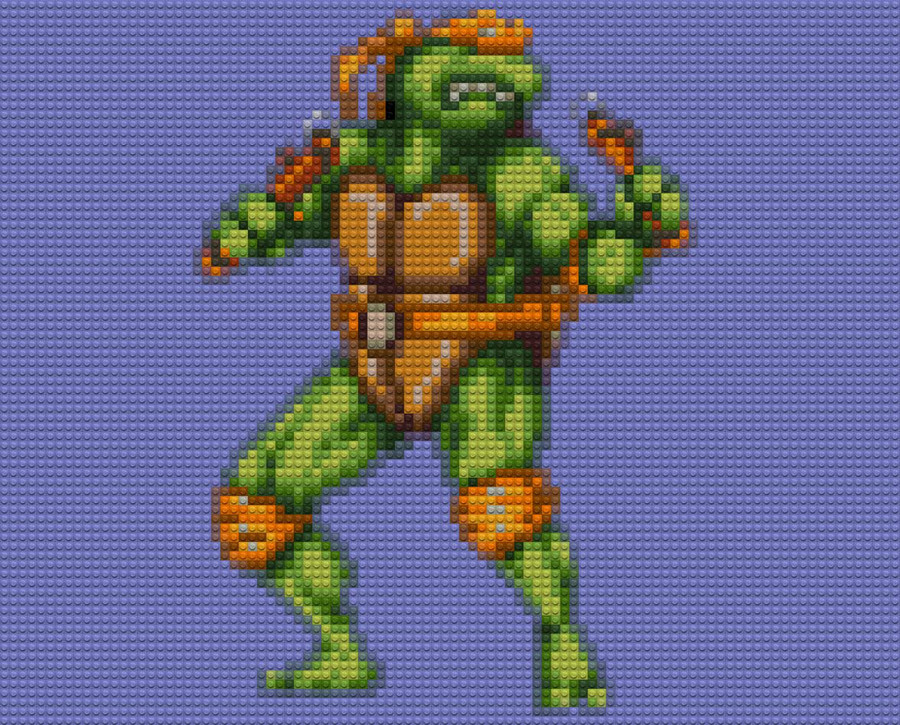
Auto-generated wallpaper. Lego Mario from Donkey Kong. The sprite was clipped from a game screen on the first level jumping over a barrel. The generation of the Legoized image was automatic.Related content


Comments: 20


Thanks! And thanks for the 

👍: 0 ⏩: 1

Cool! legos and nintendo, some of the things that i love most! GREAT JOB!!
👍: 0 ⏩: 1
Thanks! I have other Nintendo characters in Legos in my Lego folder: [link]
And thanks for the
👍: 0 ⏩: 1
sure thing  (Smile)")
👍: 0 ⏩: 0
Definitely nicer in 3D. This is just sort of a trick... like the cast shadows are bogus. Sprites and simple game characters looks nice with this so you can still make out each "pixel". I started with Space Invaders (like my icon)... I bet that would look awesome in 3D.
👍: 0 ⏩: 1

I actually like your 2D version very much, being a fan of old "pixel art" sprites
You know what will be smart? If you could aggregate larger areas with bigger LEGO blocks, for example the main part of Mario hat could be a 2x4 LEGO brick! But this will require a completely different algorithm
")
👍: 0 ⏩: 1
Oh I know... that would be nice. The coloring would be the same... it is only the part with coming of up with a way to make the monochome image and highlights. I was thinking if I could make separate source images for the center of the stud and the edges and then build the image based on adjacent pixels being the same color of different. The problem is that it wouldn't create rectangular bricks... they would be like hat shaped :-/
But it is definitively something I have been thinking of trying to do.
👍: 0 ⏩: 0

")


sorry, here is the most important mario's secret [link]
👍: 0 ⏩: 0
Great lego image!, i love mario, here is the most important mario's secret!
👍: 0 ⏩: 0

WOW!!! COOL!!!! wath program use to transform the picture in a lego image? (sorry my english, i speak Spanish)
👍: 0 ⏩: 2
I like this deviation!
I think another way to do this could be using layers in photoshop: you could build a layer with the lego bricks effect in greyscale, then add a layer for the color. The latter should come from an enlarged sprite with the same pixel size...
Oh another idea! I can make it in 3D! I think I'll do it sooner or later...
👍: 0 ⏩: 0
I started with the process described here [link]
I wrote a shell script to do what was described on the page, but with ImageMagick. Then I noticed that sprites were already pixelated, so I should be able to just make the image larger and have the same results.
Below is the main part of the script that does the computation. It makes an image that is the target image ratio with some border on all sides... and then pastes the sprite onto the center. Scale the image and make a identical size image of lego studs to the same size as the pixel (and a highlight image). Merge the colors with the legos and you get your results.
# figure out how big the pixel should be
dementions=`identify $in | head -1 | cut -d' ' -f3 | cut -d'+' -f1`
src_wide=`echo $dementions | cut -d'x' -f1`
src_high=`echo $dementions | cut -d'x' -f2`
real_target_ratio=`calc float $target_wide / $target_high`
target_ratio=`calc \( $target_wide / $target_high \) \* 1000`
src_ratio=`calc \( $src_wide / $src_high \) \* 1000`
# add 4 to give at least a 2 pixel border
if test $src_ratio -gt $target_ratio ; then
#wide - base frame on width
new_src_wide=`calc $src_wide + 4`
new_src_high=`calc $new_src_wide / $real_target_ratio`
else
#tall - base frame on height
new_src_high=`calc $src_high + 4`
new_src_wide=`calc $new_src_high \* $real_target_ratio`
fi
ppmmake grey20 $new_src_wide $new_src_high > $TEMP
new_x=`calc \( $new_src_wide / 2 \) - \( $src_wide / 2 \)`
new_y=`calc \( $new_src_high / 2 \) - \( $src_high / 2 \)`
composite -geometry +${new_x}+${new_y} $in $TEMP $FRAMED_SRC
# these should come out to the same thing
factor=`calc min\( $target_wide / $new_src_wide , $target_high / $new_src_high \)`
my_anytopnm $FRAMED_SRC | pamscale $factor > $TEMP
dementions=`identify $TEMP | cut -d' ' -f3 | cut -d'+' -f1`
wide=`echo $dementions | cut -d'x' -f1`
high=`echo $dementions | cut -d'x' -f2`
convert -filter Sinc -geometry ${factor}x${factor} $LEGO_STUD ppm:- | pnmtile $wide $high > $STUDS
convert -filter Sinc -geometry ${factor}x${factor} $LEGO_STUD_HIGHLIGHT ppm:- | pnmtile $wide $high > $HIGHLIGHTS
composite -compose Multiply $TEMP $STUDS ppm:- | \
composite -compose Plus $HIGHLIGHTS ppm:- $out
👍: 0 ⏩: 1