HOME | DD
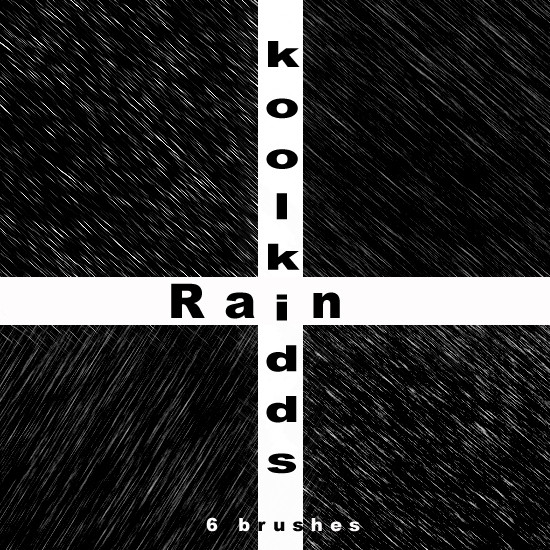
 isip-bata — rain tutorial

Published: 2004-04-29 03:22:06 +0000 UTC; Views: 115384; Favourites: 3819; Downloads: 2562
Redirect to original
Description
ive promised a rain tutorial to sumbody. i just forgot whe he/she is. i hope he/she still remembers it.crappy grammar and spellings are expected i think.
its hard to give exact pixel weights or parameters, coz i do it by random. ha!
bear with my explanation neh!?
 (Smile)")
Related content


Comments: 202

It's a great tutorial. What program is it made for?
👍: 0 ⏩: 0


I used it. I still need some practice I guess, but I like it for the most part <3 thanks for it!!!!
[link]
👍: 0 ⏩: 0

dude..i LOVE YOU...it helped me but i had a problem in step 4...
👍: 0 ⏩: 0

Hi, this tutorial has been featured Here . This is a really good tutorial!
👍: 0 ⏩: 0


A really useful tutorial, which teaches quite a bit about the blur filter.
Thanks for this tutorial.
👍: 0 ⏩: 0

Many thanks for this great tutorial!
Normally I need about ten tries until the outturn looks at least a bit like in the tut, but yours was so perfectly helpful and clear - it worked on the 3rd try!
Thanks for sharing your knowledge


👍: 0 ⏩: 0

Awesome! I used and I loved! 
👍: 0 ⏩: 0


Just duplicate the layer twice ^^
👍: 0 ⏩: 1

thank you ^^ i eventually got it
👍: 0 ⏩: 1

I'll have to give this a try sometime. Thanks for posting this.
👍: 0 ⏩: 0


It was really useful thanks a lot! i credited you for the tutorial in here.
[link]
👍: 0 ⏩: 0


Thank you so much! This tutorial was very helpful! It helped me to create this:[link]
👍: 0 ⏩: 0

Thanks for this tutorial, it has been really useful. I used it to create: [link]
👍: 0 ⏩: 0

awesome! this was such a great help! i had to kinda tweak it a little bit since i dont have photoshop, but it really really helped :] thank you so much!!!!!
👍: 0 ⏩: 0

Thank you, this tutorial was very helpful to me!
👍: 0 ⏩: 0

Simple to use!
Absolutely helpful!
used this tutorial here
👍: 0 ⏩: 0

Gah! Definetly the most effective and easy to follow tutorial I've found so far! This has been a real help, thank you! ")
👍: 0 ⏩: 0


Thank you so much! I had a lot of fun playing with various parts of it, and used it here: [link]
I think I should've made the rain thinner, but it was already too late to change things when I realized. xD;;
👍: 0 ⏩: 0

I'm onto the flipping stage, but how do you flip the layer without the rest of the image? I'm on Photoshop Elements 6.
👍: 0 ⏩: 0

One of the best rain tutorials I've ever seen. Every other one I've seen makes the rain seem stiff and unrealistic.
Great job with this!
👍: 0 ⏩: 0

Awesome tutorial, thanks for uploading it.
I used it here: [link]
👍: 0 ⏩: 0

Thanks for the tutorial. It helped me a lot, so there is the outcome: [link]
Thanks again!
👍: 0 ⏩: 0

Salamat po sa Tutorial(it was great!)! Used it here! [link]
👍: 0 ⏩: 0


ang galing naman, hanepz XD
haii.. ano po bang ginamit
nyo dito ? Adobe, SAI, o GIMP ?

👍: 0 ⏩: 1

adobe. pero yung process niya ay ganun din sa iba. its all about he motion blur.
👍: 0 ⏩: 1
salamat
nagawa ko na, ginamit ko yung GIMP,
tnx ulet sa tutorial!
👍: 0 ⏩: 0

Really helpful! I did my first attempt on it here. [link]
👍: 0 ⏩: 0

Thank you very much for this!
I'll let you know if I use it
Thanks again!
 (Wink)")
👍: 0 ⏩: 0


um when i use the line tool the lines stay there permanently...they dont go away... i cant fade them at all
by line tool you mean the one with the different shape tools right? like square tool?
help?
👍: 0 ⏩: 1
choose the pixel option. there are 3 kinds of option, vector, pixel and path. you can see it bellow the tool bar.
👍: 0 ⏩: 1
lol thx late reply
i found out it was the same function as pen tool a while ago XD but ya thx ;3
👍: 0 ⏩: 0


Thanks for the tutorial! I'm gouing to try drawing rain soon now that I know how to.
👍: 0 ⏩: 0
| Next =>