HOME | DD
 MichaelFaber — Image Tutorial - Apophysis JF

Published: 2006-09-14 02:52:42 +0000 UTC; Views: 24358; Favourites: 125; Downloads: 413
Redirect to original
Description
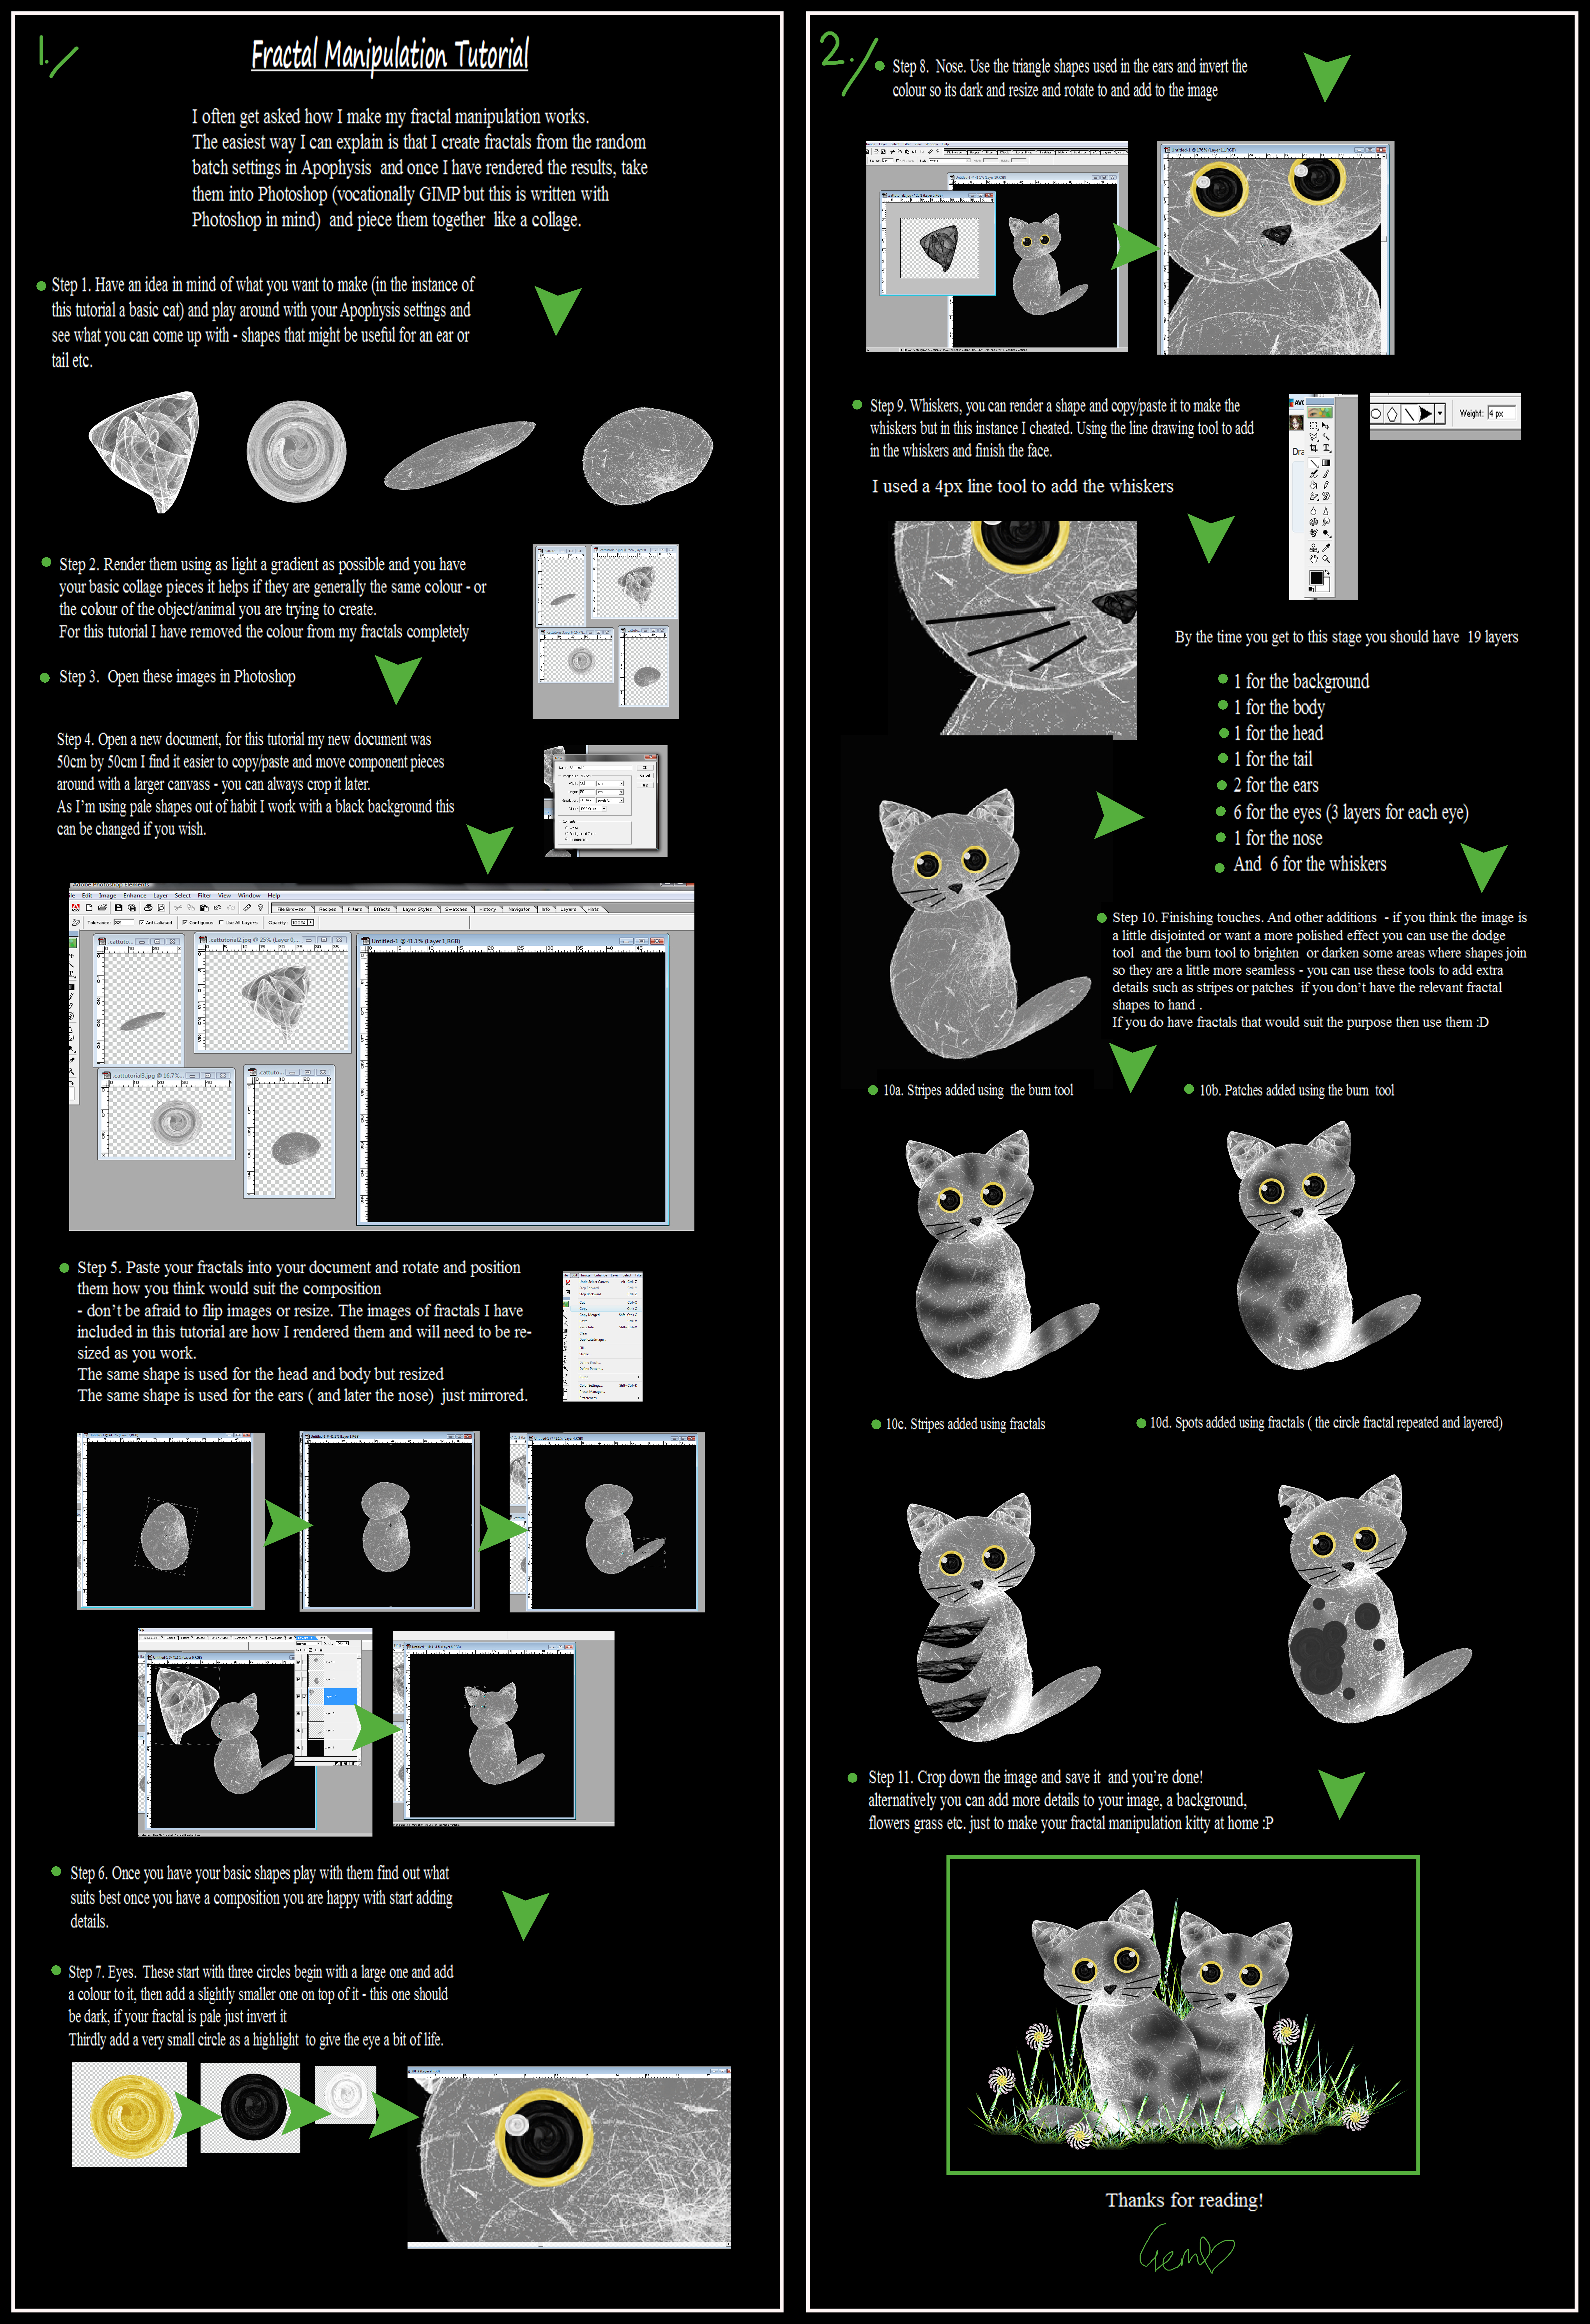
This tutorial guides though importing images into =JoelFaber 's latest apophysis hack in full colour.Let me know if you have any other questions


Thanks to Joel for proofing it for me!
--------------------------------------------------------
This is the script I refer to in the tutorial:
Flame.Gradient[0][0] := 255;
Flame.Gradient[0][1] := 0;
Flame.Gradient[0][2] := 0;
Flame.Gradient[1][0] := 0;
Flame.Gradient[1][1] := 255;
Flame.Gradient[1][2] := 0;
Flame.Gradient[2][0] := 0;
Flame.Gradient[2][1] := 0;
Flame.Gradient[2][2] := 255;
Related content
Comments: 72

Hello Mr Faber. I wonder if you could repost this tutorial image as there is no other source for this info and your picture is no longer visible?
👍: 0 ⏩: 0

I've got GIMP 2.6. could you help me with the tut on how to do it in that version please?
👍: 0 ⏩: 0

I just remembered the great Apophysis 2.04-JF2b and made a new fractal [link] using the image variation. I was very glad to have your tutorial as I had forgotten how to embed the image. Thank you very much
👍: 0 ⏩: 0

There has not been development on the Image hack for a long time. It looks like `JoelFaber 's hosting by his old school has closed the page. I do not have the hack anymore. Try going to #Aposhack and see if anyone has it.
👍: 0 ⏩: 1

Hey, what's the best way to get high quality fractals in apo?
I do 3200X2400 so it can resize to my 1280X1024 desktop on a quality of 10000 I tried both oversampling 4 and 1 but see little difference. Filter radius is standard; don't know what it does.
Thanks!
👍: 0 ⏩: 1

Oversample works best set to 2. Anything greater is overkill and unneeded. However, since you are scaling it down yourself, you could get away with Oversample = 1.
Oversample is how much larger the image is actually rendered. If you render at 3200 x 2400 and use oversample = 2, the program is rendering it at 6400 x 4800.
Filter radius is a setting for the Gaussian blur that is applied to the oversampled render. It is essentially the same as a photoshop Gaussian blur filter, which also has a setting for radius. This filter is applied to the 6400 x 4800 completed render to blur it. After this filter is applied, the system scales it down.
This combination of rendering larger, blurring, then scaling is to get rid of jagged edges. This is what you are doing in your graphics program by scaling it smaller.
The over sampling does not reduce grain or make the image look smoother (other than getting rid of jagged edges).
------
The Quality setting affects how long Apophysis processes the date for. The higher the Quality, the higher more processing it does. This does effect the smoothness of the render.
Typical Quality settings are between 500-4000. Typically if you do not using any of the Blur variations, you do not need as much Quality (500 - 2000). Images with Blur in them can be rendered higher (2000 - 4000). However, 4000 is still very high.
If you are rendering at 10,000 and still have grain, there is something else wrong. For starters, some tutorials out there tell you to decrease the Zoom setting on the adjust window. I suggest keeping Zoom set to 0, as it does scale the Quality considerably. Please use the Master Scale instead.
The next thing to take note of is how much of the fractal is being cropped out of the window. If you crop out a lot of the image, then most of the data that apophysis processes is thrown out as it is outside the bounds of the image.
Something else you can look into is if there is a really bright spot somewhere. If there is something very bright, a lot of apophysis' processing goes into that one area, leaving the rest grainy.
Hope that helps.
👍: 0 ⏩: 2

This is a great explanation of settings for high quality fractal rendering. Many thanks for putting it in layman's terms.
👍: 0 ⏩: 0

Nevermind I got the program. I am having trouble getting anything to show up. I follow all your steps, and they all make sense... but for some reasons Apophysis shows nothing, either random white pixels or a single pixel in the black backround. I am importing the images in a .jpg format (100 quality).
👍: 0 ⏩: 0

I am brand new to Apophysis. I've been playing w/ the "getting started" tutorial & am ready to move on.
I am in awe of your work!
I can't find your version w/ image capabilities & what ever else I will need to explore.
Thanks so much
👍: 0 ⏩: 1

The version of apophysis that has image capabilities was made by `JoelFaber . I am not sure if it is available online any more. I suggest using the latest official version here [link]
👍: 0 ⏩: 1

Apophysis208_3Dhack.exe Mirror
& Apophysis208_3Dhack_src.7z
or 2.08 beta which I have.
Which will I need?
👍: 0 ⏩: 1

if you have the latest 2.08, then you're good
You can get lots of help from people in #Aposhack
👍: 0 ⏩: 0

This looks like the quantum leap into unlimited potentiality.
Searched & searched for the Joel Faber Apo version you refer to, but can't find it. It's not 205b2z+c is it? If so that link is dead.
Obviously others have it working, maybe it works on 3D Hack or 2.07?
I'll do the tut & probably answer my own question.
Thanks for this, the most exciting thing I've found for yonks.
👍: 0 ⏩: 1

you can get all the download info from joel's old journal here: [link]
👍: 0 ⏩: 0

hon I don't use gimp what would I need to do in PSP or PSCS2??
👍: 0 ⏩: 1

PSCS2: The histogram data can be found in the 'histogram' tab in the same little window as the 'navigator'. to split the image into the red blue and green channels, go to the 'channels' tab in the same window as the 'layers'. hit the little button at the top right, and select 'split channels' from the menu.
👍: 0 ⏩: 1

thank you so much eventually I'll get it right
👍: 0 ⏩: 0

How are you able to edit the gradiant with code?
In the script?
👍: 0 ⏩: 1

the code changes the gradient. copy it, and paste it into the script engine in apophysis, and press the play button. the first three positions in the gradient will change to red, greeen and blue respectively.
👍: 0 ⏩: 0

thank you for this, i enjoyed following it and found it easy and fun. thanks
👍: 0 ⏩: 0

Hey Michael,
I still have to upload a couple of my latest attempts to my gallery here, but erh... i wanted to let you one thing i figured out myself
As i could not really get the colors showing as well as you had the colors showing on your tut-image, i tried the following:
I thought, in your tut, you meant for the means (after doing the maths 
I'm not sure if i read your tut incorrect, but even after reading it again, i still thought you meant for them to be added as positives... maybe you could change the tut, and have it say they need to be negatives too, like the initial entries as -1 each?
The 4th variation (if you want to add something to it) needs to be +1... but not the image ones.
👍: 0 ⏩: 1

the weights can actually only be positive. there are no negative weights. the symmetry on the three image transforms should be set to -1. make sure you use the script provided that changes the first three gradient locations. then set the colour on all three transforms. the symmetry on the other transforms should be +1 if you want the colour of your image to be preserved.
👍: 0 ⏩: 1

oh, okay... i think i was putting the weights in place of the symmetries
it does work, the way i did it... but yes... up to a little bit
Thanks for your reply, Michael.
Joeri.
👍: 0 ⏩: 0

Thanks alot for this tut. I will be trying this out later!
👍: 0 ⏩: 0

this is awesome.. I couldn't find the same feature in PS and I'll download Gimp shortly.. I'll definitely have to create time to play with the image variation..
👍: 0 ⏩: 1

i just got ps. it has everthing and more. what version do you have?
👍: 0 ⏩: 1

the latest.. cs2 i believe.. i'm sure it has the functions, i just couldn't find them.. perhaps the names are different
👍: 0 ⏩: 1

there should be a little window with 'layers', 'channels' and 'paths' tabs. go to the channels tab and click the little button on the far right. select 'split channels' from the list. you will now have one separate image for each channel.
the histogram is in another window with the 'navigator' and 'info'.
👍: 0 ⏩: 1

ugh! ok, i really appreciate that, thanks!
gimp is quite riddiculous with all those separate windows and all, I'll really enjoy creating channeled images (that I can't quite make nice fractals out of yet 
👍: 0 ⏩: 1

hmmm. looks like the user must do lots of routine work 
👍: 0 ⏩: 1

Great looking tut, Michael
Now i only have got to find some extra hours in my day, so i can give it a good try 
👍: 0 ⏩: 0

u kno. as much as i lov u for doin these things
throwing out ur secrets isn't always good
nice tut too though
👍: 0 ⏩: 1

secrets are cheap. it's the ideas that are hard to come by
👍: 0 ⏩: 1

but that's my point. i like the idea of ppl givin out their ideas. sometimes it helps you learn. but w/ppl like u and zueuk and ur brother and others. it's like u say it and ppl just do what u do. idk i'm just like that
but still keep up the great work
👍: 0 ⏩: 0

Very nice tutorial. I guess I learn something every day. I didn't now about the -1 to get rid of color blending. This is going to be VERY helpful on any future renders of mine. Thanks
👍: 0 ⏩: 0

Looks pretty good, very informative and easy to follow.
I'm surprised you used Gimp though, you of all people I would imagine have Photoshop.
👍: 0 ⏩: 1

I was wondering if it is possible ..to make such thing.. import image and tweak it..
wonderful work.. I am amazed!
👍: 0 ⏩: 0
| Next =>

