HOME | DD
 xaotherion — Fur shader explanation (Blender + Cycles)
by-nc-nd
xaotherion — Fur shader explanation (Blender + Cycles)
by-nc-nd

#blender #cycles #fur #nodes #realistic #setup #shader
Published: 2015-05-16 22:18:45 +0000 UTC; Views: 17388; Favourites: 101; Downloads: 303
Redirect to original
Description
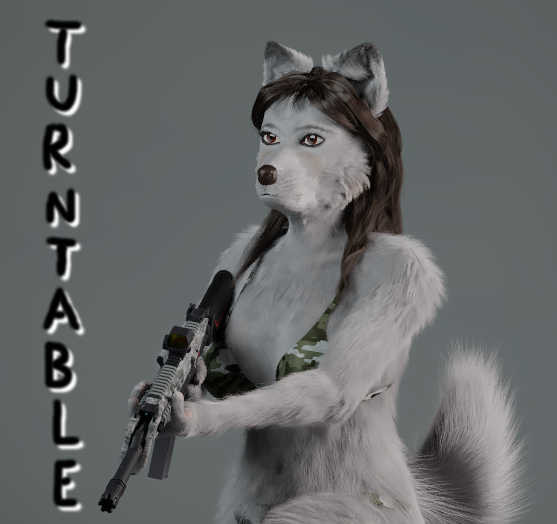
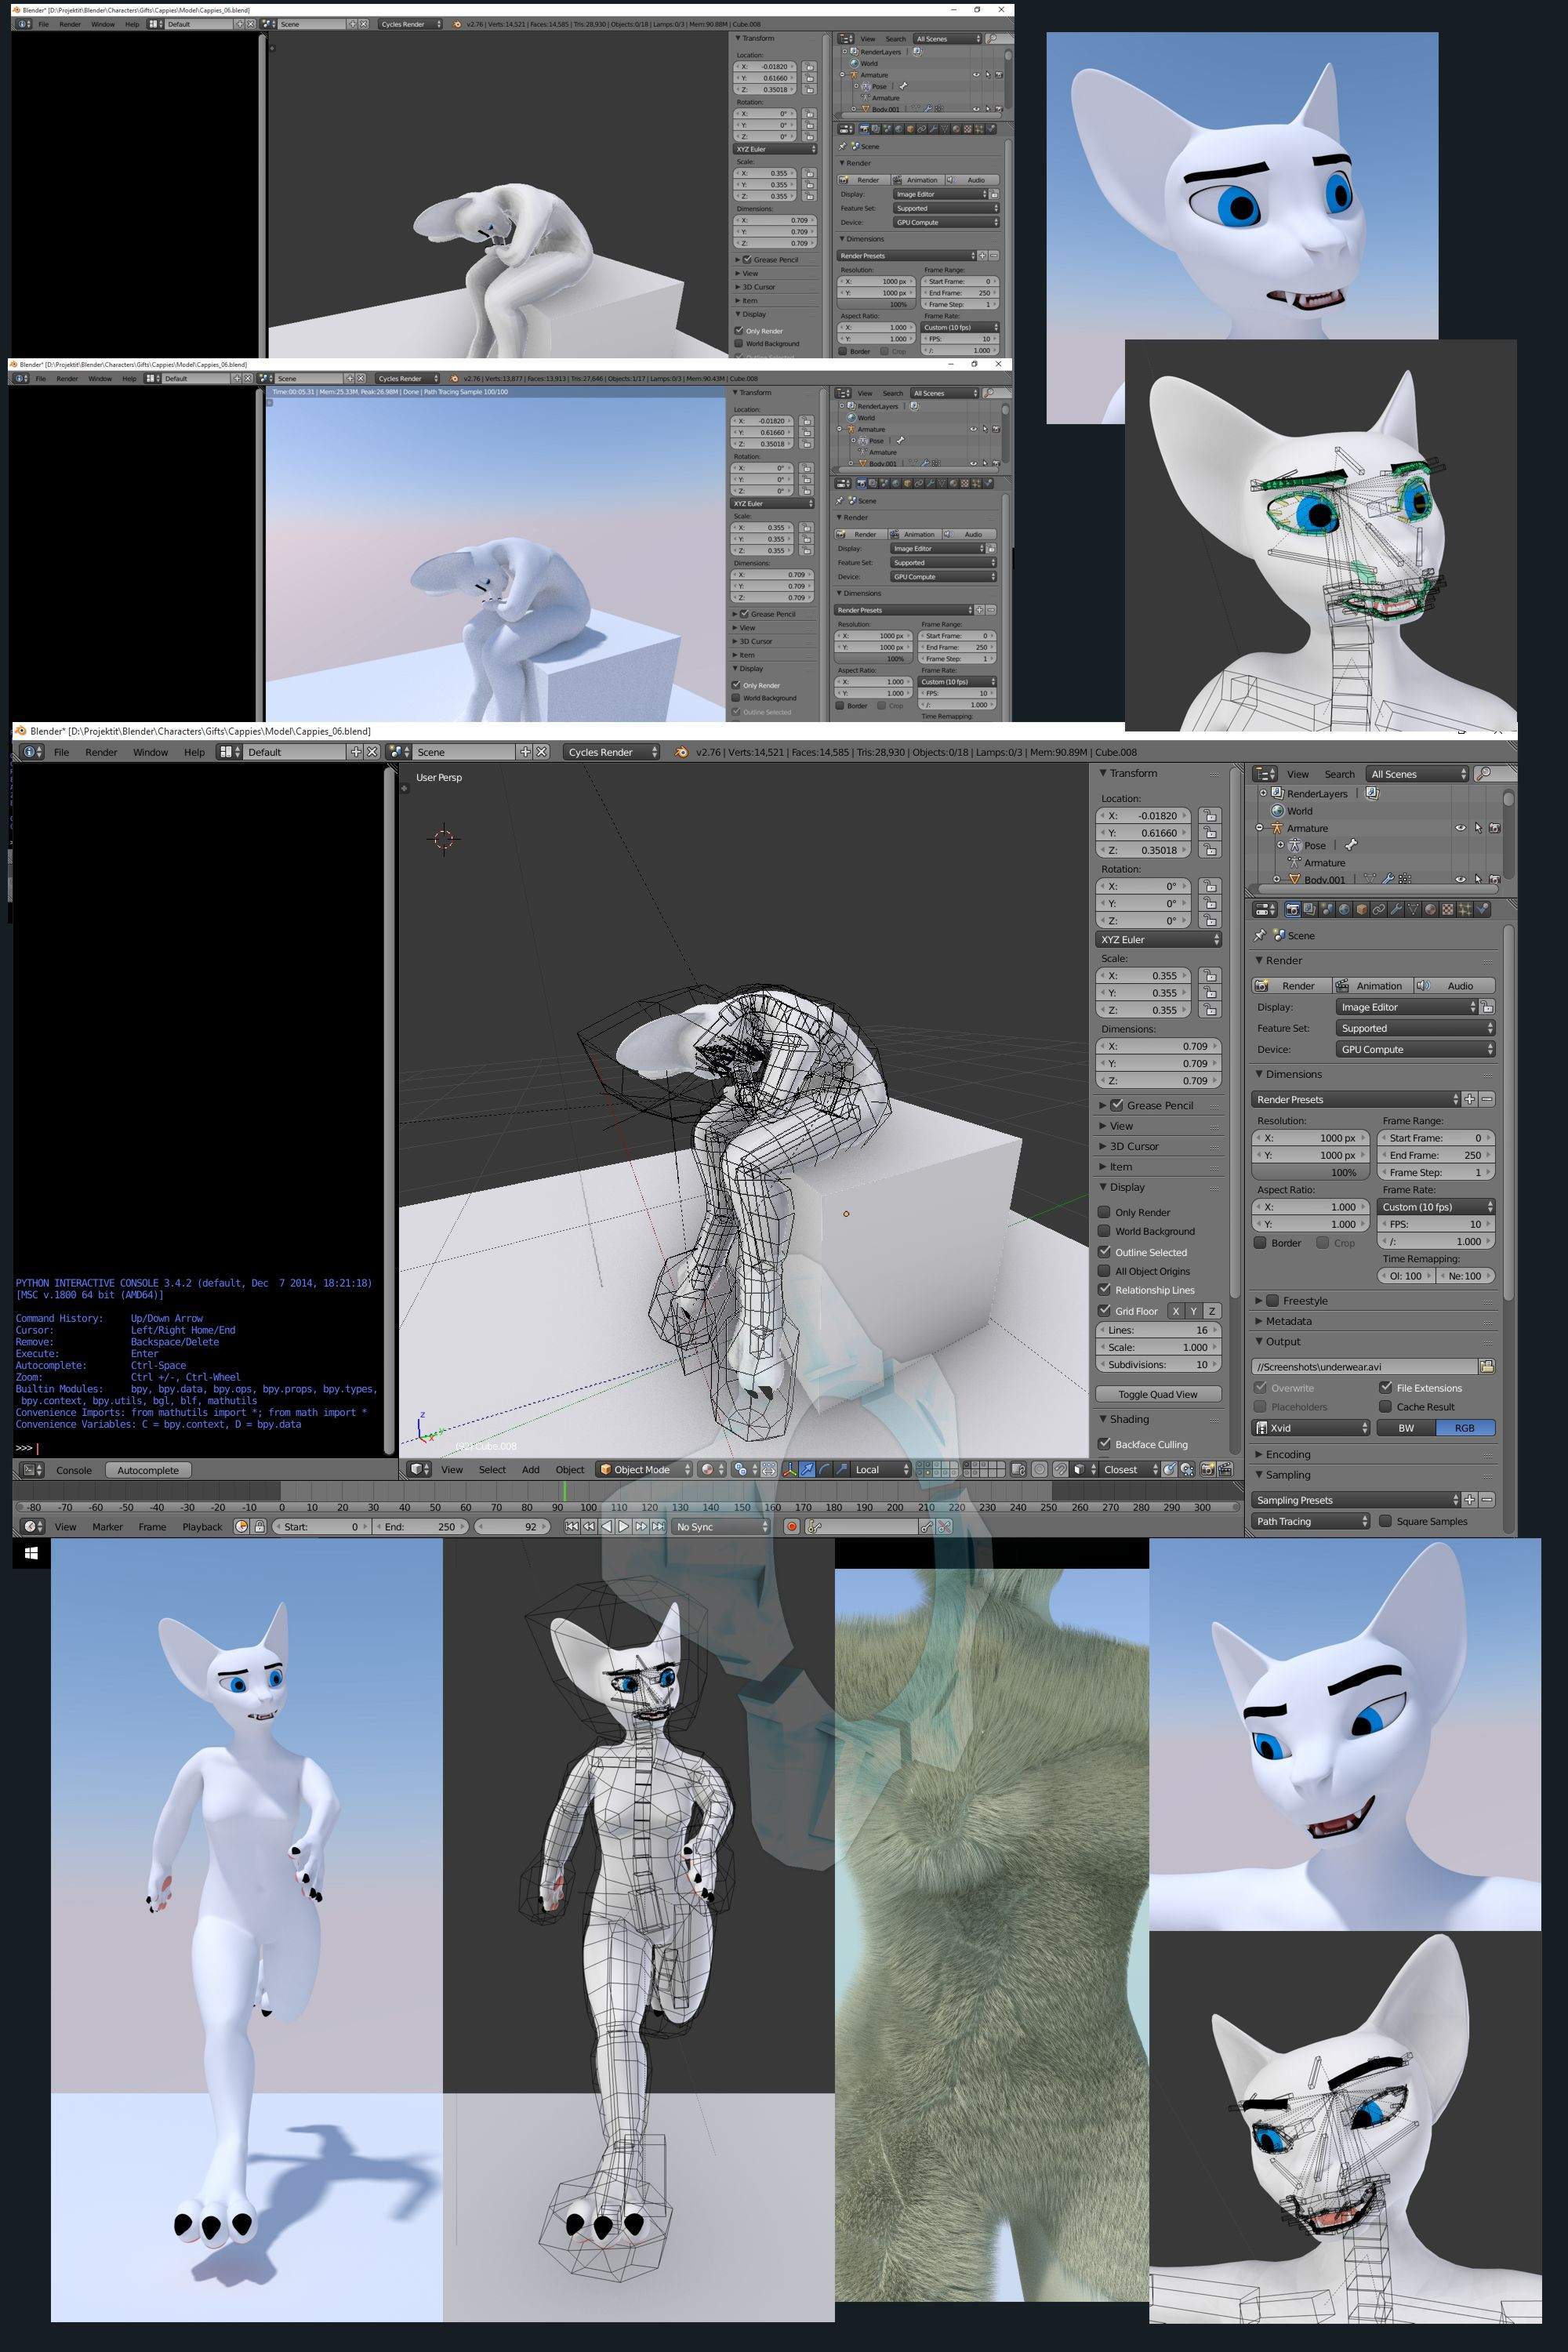
Just to show how I do it. Pretty simple node noodle for the fur, nothing really super fancy. Should be self-explanatory.Note the Diffuse shader though: it provides much "fill" so to speak, being quick to calculate. Helps with handling of extreme amounts of fur without over-burdening the system too quickly.
Dedicated Hair shaders added like this spice things up enough to give the fur pretty realistic light interactions.
For realistic hair a more complex setup can be better:
fav.me/d8tm6dy
Related content


Comments: 7

👍: 0 ⏩: 0

You're doing gods work! Very amazing! So for this to work properly all I need to do is go to the materials and make this the node set up? Do I need to create a new particle system first? Also what would I do if I wanted one type of fur to be applied to where I want it? Because I'm making King Kong and want his body fur to be mostly brown/black and his back to be silver.
👍: 0 ⏩: 1

Thank you for appreciating my work so much!
Well, the node setup here is the material for fur, but the fur has to be there already to use it. That means, you do need a hair particle system set up properly. Which can be tricky when approached for the first time. Just experiment with the settings and see what they do.
Having different colors of fur in different places is quite easy, that's what the texture node provides in this setup here. If the texture maps the colors to the surface of the model the way you want it, you can use it here and it will color the fur in the same way.
")
👍: 0 ⏩: 1
How would I go about doing the coloring with the fur?
👍: 0 ⏩: 1
First, make a texture with needed colors which affects the model surface, without fur. There should be plenty of tutorials out there, most typical way is to perform UV unwrap on the model first, and then paint the texture which can be done right within Blender. This saves the texture as an external image.
Then, when you have the texture ready, use it (the image file) in the 'Image Texture' node in the fur material. That should be sufficient for the fur to get colored.
Alternatively, if the color scheme you need is very simple, you could go the 'vertex paint' route. Look up some good tutorial on the Vertex Paint mode in Blender; it's much less flexible but easier method than UV unwrap and texture painting. Then, the resulting vertex color layer can be used to color the fur, by using an Attribute node (not shown above) instead of Image Texture node, and typing the name of the vertex color layer into the node's text field.
👍: 0 ⏩: 1
 (Smile)")