HOME | DD
 aboveClouds — Things That Hide Away - Walkthrough

Published: 2011-11-18 23:36:42 +0000 UTC; Views: 3577; Favourites: 99; Downloads: 0
Redirect to original
Description
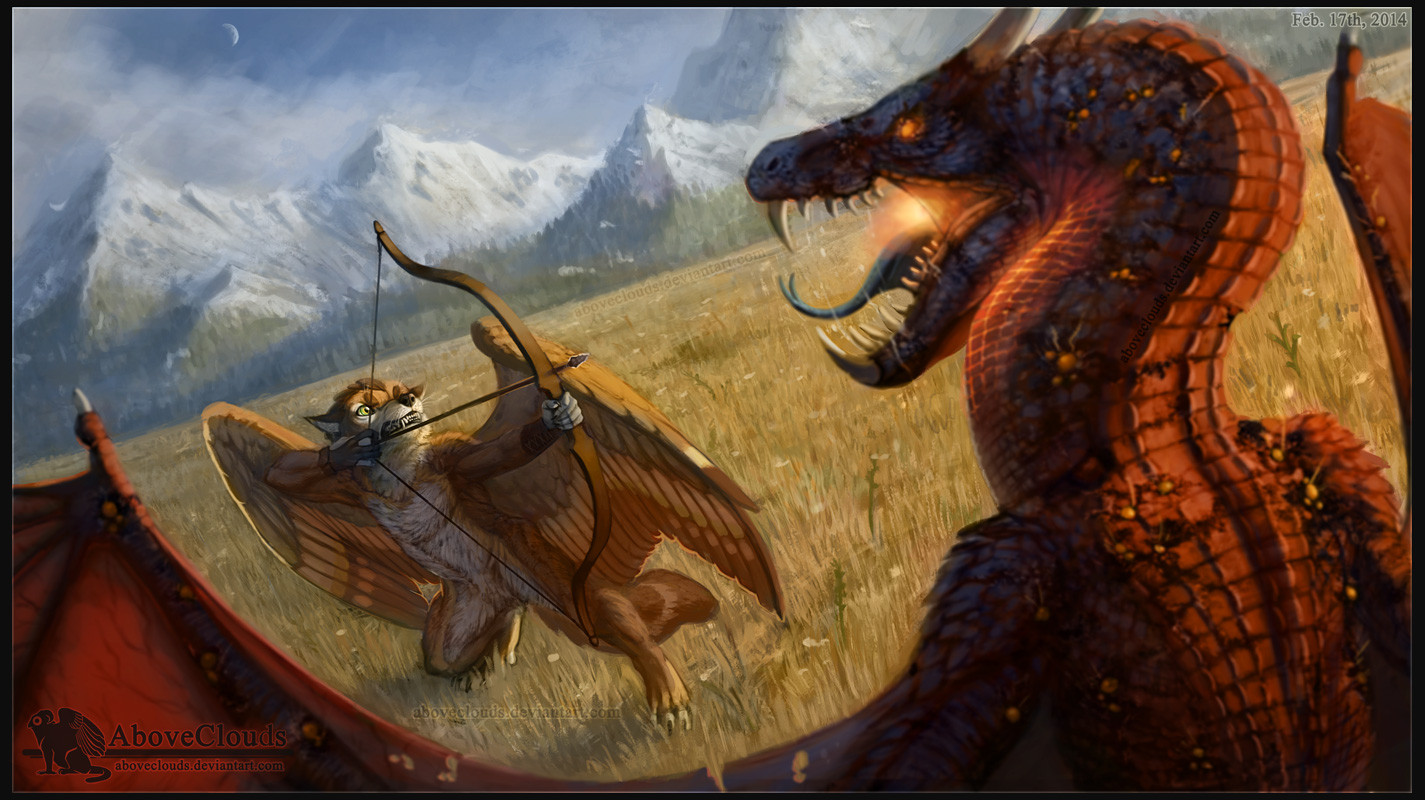
WARNING: BIG FILE.This is a walkthrough for my latest piece Things That Hide Away . I saved a bunch of different steps for it, so I thought it would be a good idea to upload the important steps as a walkthrough. I could have made it a lot longer than it is, but I didn't think it was necessary to add any more steps.
If you have any questions, feel free to ask me and I'll try to answer them.
Finished image:
[link]
--------------------------
ART INFO
Art © 2011 by ~aboveClouds
Kezrath belongs to ~crow559
Stock textures:
[link]
[link] (for the belly scales, surprisingly)
[link]
Related content


Comments: 15

I really enjoyed this. I think I finally understand the basic process on how to create these types of pieces. Thank you!

👍: 0 ⏩: 1

You're welcome! I'm happy to hear that it helped you.
")
👍: 0 ⏩: 0

Hmmm... lemme think. If I remember correctly, I mostly used the hard round brush, chalk brush, and the oil pastel brush with a few other brushes for most of the picture. The leaves were made using these brushes: [link] along with my own custom leaf brushes.
👍: 0 ⏩: 0


Interesting, I may have to try that coloring method one day
 (Smile)")
👍: 0 ⏩: 1
Thanks!
By the way, after you've laid down the colors over the shade layer and you're happy with the colors you've chosen, you can then paint on top of the color layer using a normal layer (which is what I did here). The best part is that you can eyedrop the shade colors/highlight colors from your color layer and their values will be correct. I wanted to say that in the walkthrough, but I didn't want it to be too wordy. hehe.
(Just in case I didn't explain it well, you'd have a normal layer with the shading, then a layer set to "color" where you lay out the initial colors above that, then several more normal layers on top of that which you use to detail/clean up the picture.)
👍: 0 ⏩: 0

Wow, the transformation is awesome!
The final piece is so detailed, you did a great job
👍: 0 ⏩: 1
Thank you! I kind of wish I had laid out the idea a little bit better to begin with (since that would have saved me a lot of time) but it is what it is.
👍: 0 ⏩: 1
Yes you often come up with ideas and then they end up differently than you expected
👍: 0 ⏩: 0
