HOME | DD
 Ekkoberry — Echo's Colouring Walkthrough Part 2 (Clip studio)

#clip #coloring #colouring #manga #studio #tips #tutorial #walkthrough #5
Published: 2015-12-03 04:20:20 +0000 UTC; Views: 11271; Favourites: 292; Downloads: 109
Redirect to original
Description
Part 2!Part 1:
On SubSurface Scattering: This is when light enters an object that isn't completely opaque (such as skin) and the light scatters, below the surface. In skin, it turns a very warm orange.
Sycra and ConceptCookie have excellent videos on this: www.youtube.com/watch?v=03Aqmy… and www.youtube.com/watch?v=_GeRyV…
On the Half Tone of the shadow: term for where the light and shadow meet. Just before the shadow is usually the most saturated part of an object, and the most telling of it's material as it's not affected by the light or the shadow's interference.
there are exceptions to this, however.
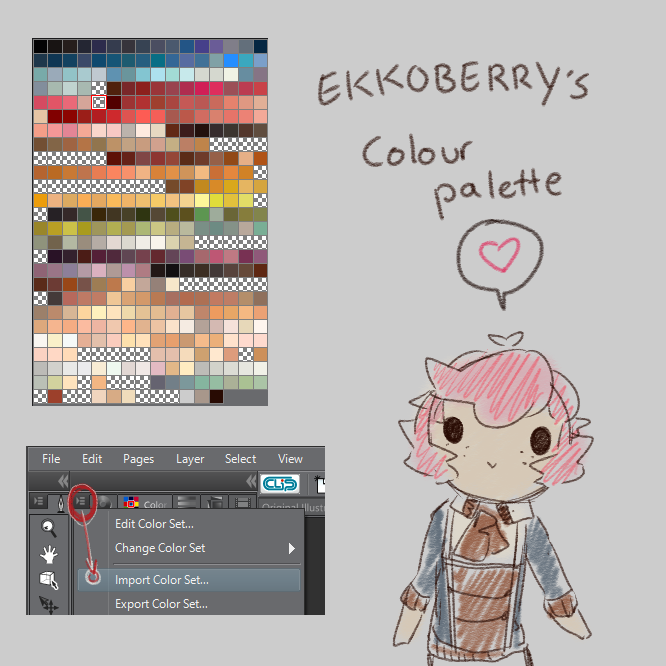
The tone brush I use can be found somewhere on clip's inbuilt online store, but a tone layer works just as good ;a;
Finished image as well as a lot more Fugonara stuff can be found on my tumblr! : ekkoberry.tumblr.com/post/1336…
Related content


Comments: 14

This was really helpful! Thanks for directing me to it! ^^ I'll definitely try a few of these tips in my next drawings 
👍: 0 ⏩: 1

Very interesting!
Thank you for this tutorial. It`s a real big help!
👍: 0 ⏩: 1

Wow! I never thought it was so complex to draw that way
")
👍: 0 ⏩: 0

A really complete and instructive tutorial! Good job! *go try these new tips*
")
👍: 0 ⏩: 0

YES! so awesome, I was waiting for more CSP tutorials! 
👍: 0 ⏩: 0


This is a totally awesome tutorial thank you *^*
👍: 0 ⏩: 0

I have Manga Studio (if I'm right it's pretty much the same as Clip Studio?), so it's really great having tutorials for a program I actually use! ^-^ Though for right now the most helpful part was seeing it was possible to make the interface dark XD I've been trying to figure out how to do that for a while, since I'm very light sensitive, an this helped me figure it out
👍: 0 ⏩: 0

On the first part of this, the part where it shows the effects but no flats, areyou painting the effects on a separate layer? As well, are you painting normally first and then adding the settings to your layer after painting the areas you want or is the settings first and then painting where you want? Great tutorial by the way!
👍: 0 ⏩: 1

Yep! Seperate layer for the effects. I took the flats off so the effects colour be seen for the tutorial, but usually I'll paint on the effect layer with them on.
The effects are on from the very beginning, then I paint where I want, the settings I use are more or less from trial and error and knowing what works best ;a;
thank you!
👍: 0 ⏩: 0

omg these are amazing I love the inverted selection idea because I've always been trying to do it the opposite way and it doesn't work with my messy lineart xD and the grey shadows are a really good idea, I'm so excited to try some of this stuff
👍: 0 ⏩: 1
Yeahhh I did it the other way for a long time- tbh not even that I'd just fill it in by hand but it takes soooo long in comparison @__@
hope it works out well for you!!
👍: 0 ⏩: 0