HOME | DD
 FabianMonk — Old Blind Man - Step by Step

Published: 2005-09-13 13:56:20 +0000 UTC; Views: 84096; Favourites: 1853; Downloads: 5662
Redirect to original
Description
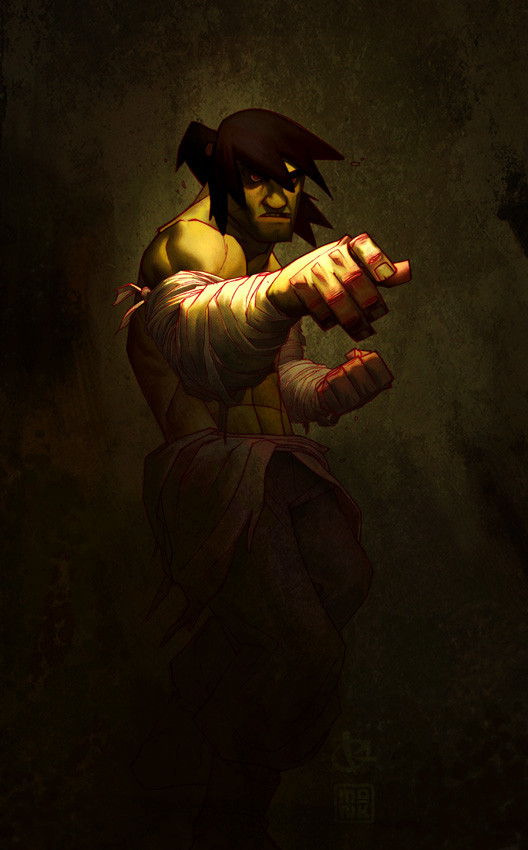
First off! Pencils by the ever amazing Creon!Colors by me.
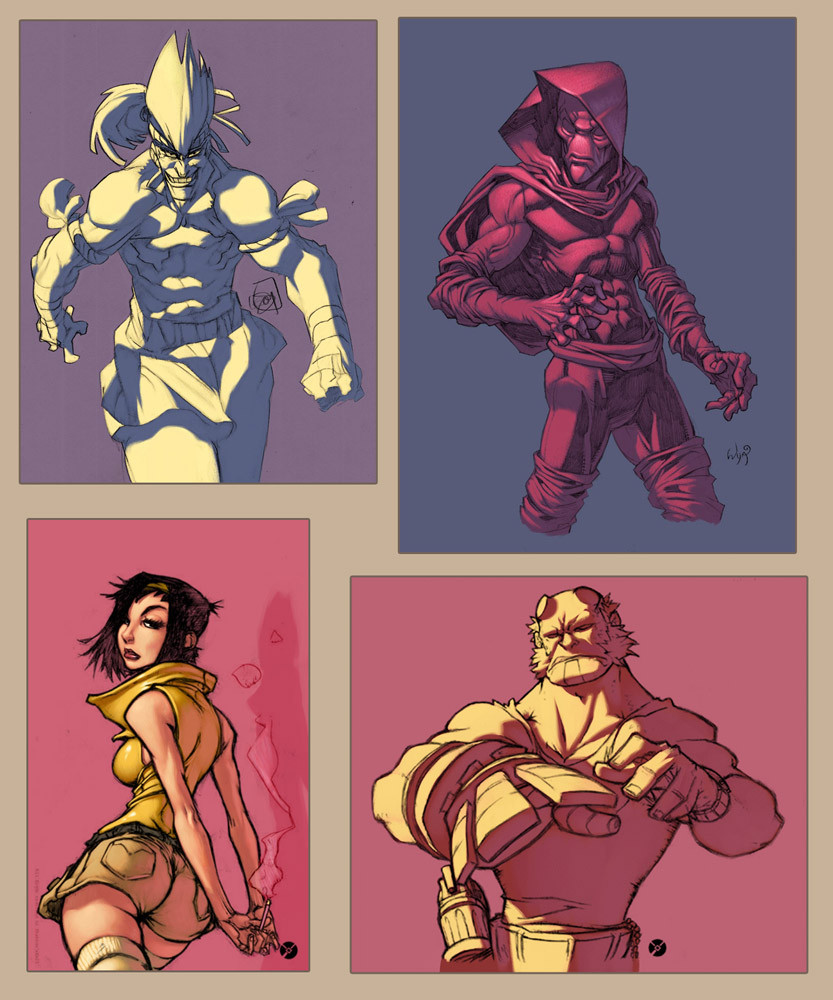
Some people have been requesting a step by step for some time now, and seeing as how I had nothing better to do yesterday, I whipped this up. Software I used was Photoshop CS, and the brush was a "light textured brush" (or something like that) from the wet media brushes!
General things about this image:
- I layed down relatively dark flats, and one even darker shadow layer underneath the lineart (which I set to multiply this time - usually I use a different method, but it doesn't make a huge difference).
- All the highlights are on a layer above the the lineart (I did a total of 4 layers of highlights, getting progressively lighter/warmer).
- As you can see, I try not to use just dark and light tones of the same color. I don't shade my red with dark red, but with a dark purple/gray. I also don't use only light red for highlights, but I like to stray as far as a bit of orange (not too visible in this one though).
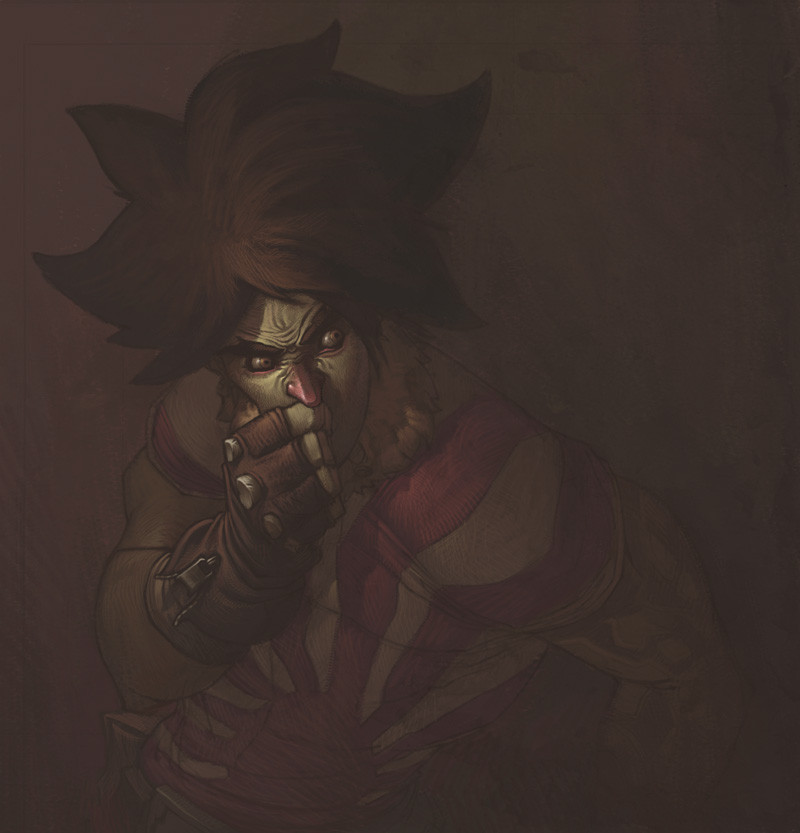
- Yes, the flat color for skintone is green. This is something entirely new to me, and I never tried doing this before now, but I've come to realise that a lot of extremely highly talented painters have a greenish (sometimes even blueish) undertone in the shadows of their skintones. So this was an experiment, and it's not my usual way of doing skintones, but I liked the result and will be sure to play around with it in the future.
- The step by step process for the beard isn't shown, because I totally put all the render on one layer by accident. But the process is exactly the same as for anything else (hatching is does the trick more than anything, here).
- I upped the hue/saturation and brightness/contrast values on the last step.
Feel free to ask questions (as long as I didn't already answer them above - I reserve the right to ridicule you in case you ask why the flat color for his skintone is green, for example).
Cheers!
And I think I'll post a step by step of a less experimental coloring process in the future (allthough I use the techniques and color build-up shown in this one almost all the time).
Related content


Comments: 237


Wow, 
👍: 0 ⏩: 0

Wow so these are some of your special secrets
👍: 0 ⏩: 0

I love to see the process disassembled like this. Did you use the same brush all over? I'm curious how you did his beard, that kind of texture always stumps me.
👍: 0 ⏩: 0

ok..wait before you redicule me i am only asking because i have no clue as to how you get from green to skin colour..or why you even need a flat green......is the skin tone a layer on top of the green?...like i said I'm perplexed!
👍: 0 ⏩: 1

Fewsal. This is me, ridiculing you.
Seriously dude. I used the green flat color because, like I said, I find a lot of very professional painters have a green undertone to their skin colors. I wanted that green undertone, so I used green as a flat color to start off with. I then just chose light red/orange/yellow ish colors to create the skintone above the green (as you can see by looking at the individual pictures).
And of course, all the highlight layers are above the green.
But I already sated all of this in the description, so there is no way I'm repeating it, HA HA.

👍: 0 ⏩: 1

👍: 0 ⏩: 0
STEP BY STEP....MUAH HA HA HA HA HA now i shall be the greatest artist that ever lived!!!!!...ok i don't get why you use the green in the first step though!....i am not so patient with my drawings and i am just learning how to use base colours...cuz i have no experience in painting....but please do tell what the green is for i am perplexed!
👍: 0 ⏩: 0

I was really hoping you would do a step by step! First question.. why is the flat color on the skin green? jk! Wow man, I color using only 3 layers.. is it better to use different layers for each thing such as color, shadows and highlights? Is it easier? Is it better? I usually just lay it on the same layer as the flats...
👍: 0 ⏩: 1
Doesn't matter even a bit.
I guess you're more flexible with all shades on different layers, but usually I do all my rendering on one and the same layer as well, so it really doesn't matter that much.
👍: 0 ⏩: 1
oh okay cool. Thanks for the advice!
👍: 0 ⏩: 0

how do you manage to colour pictures when they seem a bit sketchy? Do you use the fill tool, magic wand, or what?
But well done, its looking a bit sharp
👍: 0 ⏩: 1
...
I don't get what you're trying to say. It doesn't matter if a picture is sketchy or not, if I elevate the line-art above my flats layer. In this specific example, I started off with the simple sketch, then double-clicked the background layer to unlock it, then created a new layer underneath the now unlocked background, set the former background layer to multiply and started putting my flats on the layer underneath the sketch with the normal hard edge brush.
👍: 0 ⏩: 1
But how do you remove all the white from the background?
👍: 0 ⏩: 1

if the background is set to multiply...then anything "white" on it "dissapears" when a darker color is layed underneath...
👍: 0 ⏩: 1


That's brilliant! It's great to see how different artists use layers and things, and it inspires me to experiment with how I use them myself. Thanks for posting it, it's really helpful in giving me ideas!
👍: 0 ⏩: 0

I KNOW YOUR SECRET! THE WORLD IS MINE
👍: 0 ⏩: 1
HA HA, NO IT'S NOT! I was merely experimenting myself, THE FULL SECRET REMAINS HIDDEN!
👍: 0 ⏩: 1
THE JOKE IS ON ME! You fool. I MUST POSESS ALL, OR I POSESS NOTHING!
👍: 0 ⏩: 0

good sir, i apploud you. allthough most of what you said is verry much the same as i like to do my drawings (only i usually just hyave one highlight layer and create the colors through adding a bright highlight of a (usually) bit diffrent color and using eyedropper to mix hues.), the idea of using green (or blue?) as a base for skin color is a mad plan, and i shall be sure to try it, count on that. PLUSFAVD'.
👍: 0 ⏩: 0

")


This is awesome man.
It never crossed my mind to start off using a hue color for midtone.
Beautiful
This SURE was helpful
👍: 0 ⏩: 0

 (Smile)")


Thank you. I was JUST gonna ask you "How do you make the lines blend into one with the painting?" But now I understand.... I think? LOL Coloring hair still scares me a bit, though.
")
👍: 0 ⏩: 0
Eshima In reply to ??? [2005-09-13 14:17:26 +0000 UTC]
THANKYOU
OH DEAR GOD THANKYOU!!
i've been waiting for something like this for some time
this will really really help me out
👍: 0 ⏩: 1
You're welcome. I'm glad you enjoyed it.
👍: 0 ⏩: 0

Well that was cool! I liked seeing the process even though I have no idea how you did it. Awesome stuff man.
WyA
👍: 0 ⏩: 1
Thanks! Yeah, I was kind of too lazy to actually write a description with each image... maybe one day I'll make a full blown tutorial.
👍: 0 ⏩: 0


i like the styp by step things...a great pic too. thx for sharing. i have to get in this style of coloring. thumbs up.
👍: 0 ⏩: 0

very good. i like the step by step effect.. looks very good. wonderful painting as well

👍: 0 ⏩: 0
<= Prev |