HOME | DD
 FeatherNotes — Midna Request
Published: 2013-01-24 12:50:24 +0000 UTC; Views: 2637; Favourites: 147; Downloads: 0
Redirect to original
Description
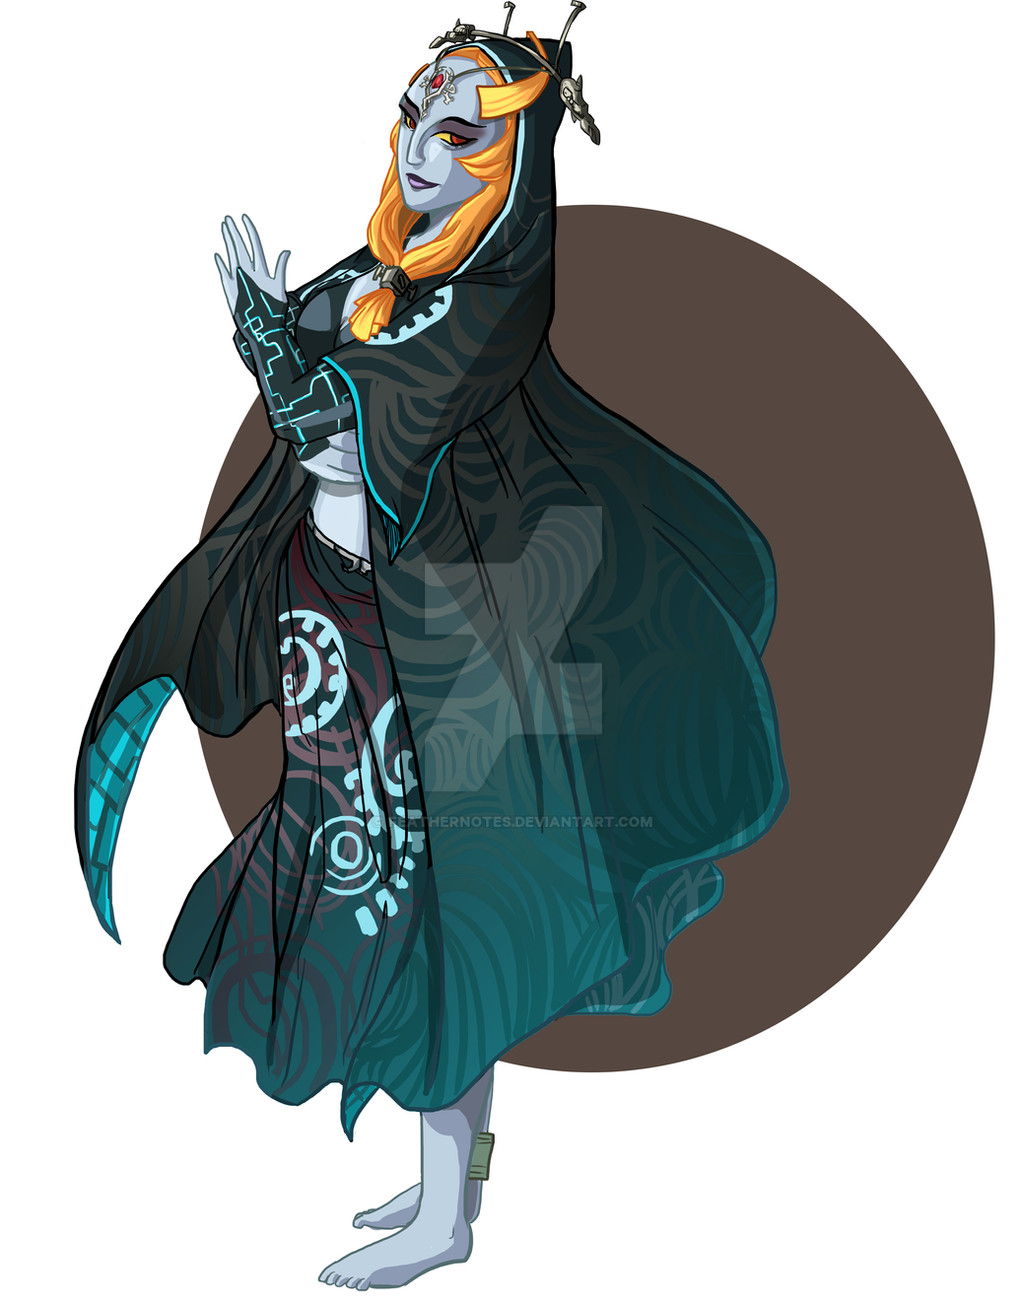
I did an art exchange with some friends a couple weeks back and one of my requests was Midna from Twilight Princess.It was a fun practice piece and one of the few I actually drew in Photoshop, and i've finally figured how to colour lines without affecting the other layers. (took me forever though haah)
ugly watermark because reasons
Related content


Comments: 18


Did you actually drawn the pattern or used a mask layer?
👍: 0 ⏩: 1

I drew it for some practice, hence it not being as accurate, but it was relatively fun to do!
👍: 0 ⏩: 1
No no, I misunderstood me. I didn't say it was bad. Is that, to me, it looks more like it was some stock pattern placed on a upper layer and then, edited through a mask.
👍: 0 ⏩: 1
oh no, don't worry! I didn't take it negatively !
Actually putting it on a masked layer sounds more helpful : )
👍: 0 ⏩: 1
It's actually easier. You just paste the pattern in a upper layer, merge all the layers from the art, i.e. everything that doesn't involve the background. Like, I have this draw from a character, I have multiple layers for every piece of clothing (t-shirt, skit, etc), every part of the body (hair, skin, nails, etc) and the stuff they are holding (books, musical instruments, etc). Save it and then start merging everything, so the lineart, the colors and shading are all in one single layer. Now, paste the pattern in a upper layer and change it to soft light. Now, (in photoshop), hold control and click on the thumbnail of the layer with the art, so it selects it. Now click on the layer with the pattern (not selecting it, just click on the normal part) and on the bottom of the layer window, click in the "create mask" and then, bang!, it creates a mask on the layer with the patter and the patter will be over only the artwork, and not the background. Here, this is a good tut about it, [link]
👍: 0 ⏩: 1
Thank you! That's a pretty useful tutorial too! : )
👍: 0 ⏩: 1
Another thing I forgot to say is that, let's say you want a specific pattern only over the cloth, but not over the hair, skin and such. Just select the mask and paint it black the parts you don't want the pattern to show.
👍: 0 ⏩: 0

Midnaaaaa~~!
She is BEST little annoying imp AND twilight princess! : DDD
👍: 0 ⏩: 1
I miss her so much! i loved her as a little helper character for Link : )
👍: 0 ⏩: 1
I know, right? D:
She's one of my overall favorite characters in all of the Zelda games I've played!!!
👍: 0 ⏩: 0


")
")
no, I never knew about "holding the alt key", hovering between with the layer above the lineart layer to mask it and make that layer only affect the one it's locked on.
I usually colour with multiply but then found out about bringing the lineart (if it's attached to the background) up on a transparent layer and masking it to fix some problems with just using overlay. It's pretty handy actually!
👍: 0 ⏩: 1

Ooo, that does sound handy.
👍: 0 ⏩: 0
