HOME | DD
 GriswaldTerrastone — Perspective Tutorial: 2VP 11

Published: 2010-10-29 22:31:33 +0000 UTC; Views: 3358; Favourites: 34; Downloads: 219
Redirect to original
Description
A towering example of two vanishing points at work...Here, in Fig. 29, is a simple tower using the two vanishing points, a pyramid, shrinking a square (for the top part), expanding a square (for the ledge), as well as a portion above the horizon and a portion below it.
At first, it looks complicated and even a bit intimidating, but if you just take it piece by piece it is just using what this tutorial has shown- combined.
First, I drew the main part of the tower, going from a little below the horizon to the bottom of the page. The square below the horizon came first, followed by the three vertical lines going all the way down (you only need TP1 and TP2 if you want a cube or- this in a bit: another kind of shape…anticipation?


 )
)For the top part, I put a smaller square in that first square (the darkened part) exactly as shown before. I extended a short line upward from the front corner of that smaller square, and with it as a reference drew in a square above the horizon.
Note- as long as you do it that way, using that line, you will get a square- the length of that front corner line does not matter.
Then, draw an “X” through the two smaller squares. Connect their middles with a line, extend it up a ways, then connect the corners of that top square to the tip of that line, and you have your pyramid top.
If you wanted to, you could have expanded the top square outward and then drawn in those lines to the tip of the line from the corners, for an overhanging pyramid roof.
The ledge was easy enough to do- from that front most corner just go down a bit, and then with that point as a reference (as if it was a segment, ignore the rest) draw in another square.
Extend it out as earlier. From the front corner drop a short bit of vertical line, connect two lines from the vanishing points to the tip if that little-bitty line, drop two tiny vertical lines from the left and right corners…you have your ledge. If you want the translucent effect, draw lines from the vanishing points to those left and right corners- where they intersect is your back corner.
It’s all just applying what you’ve seen before, and using it here, step by step. That’s what can throw someone off: it all looks so intimidating, until you break it down. If you know the tricks shown earlier in this tutorial, then you already know what to do.
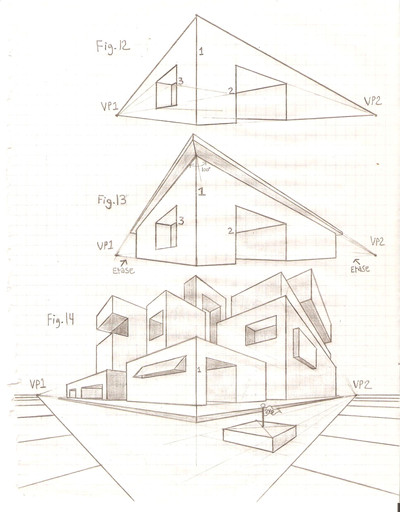
And the windows? Just as before: draw in the window frames with the vanishing point lines and vertical lines, then take it from there- as in 1 Vanishing Point Street and Fig. 12.
Just as simple addition lets you handle big multiplication problems…one step at a time. It all comes from the basics, most fancy images are a collection of them.
A few things to keep in mind:
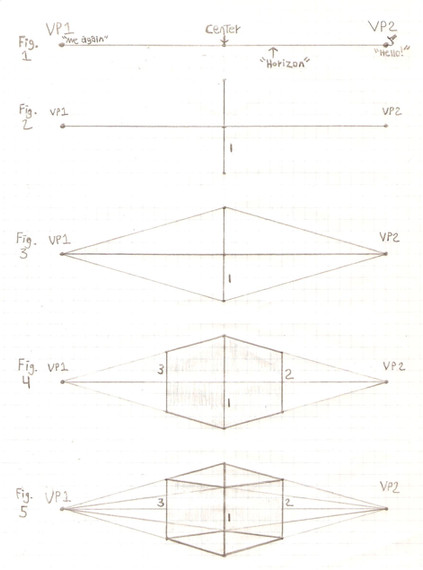
1) The further apart the vanishing points, the less extreme angles will be. Try drawing a block like in Figs. 1-4…then do the same thing, but with the vanishing points further away.
2) Anything below the horizon will be seen from above, and anything above it will be seen from below, because the horizon is usually eye level. A mouse (Golem or otherwise) will have a low horizon, and a giant(ess) will have a much higher one.
3) Once you understand and know the basics, you can build them up for some pretty fancy images. Even the Empire State Building started out with one stone!
4) What I’ve typed in is not everything. If you are wondering about something, do try it- tilt the horizon, change an angle, move something up, down, left, or right…nothing you read here can equal what you’ll learn by trying it yourself!
5) Unless noted- such as TP1 and 2, the perpendicular lines, and 45 degree line and point for drawing a cube- you most certainly do NOT have to do anything exactly as written here. For the tower in Fig. 29, you can build it up in a number of different ways. It’s entirely up to you.
Have fun!


