HOME | DD
 Majoh — Mandi's Speedpaint Tutorial

Published: 2007-12-22 16:10:21 +0000 UTC; Views: 61989; Favourites: 936; Downloads: 2088
Redirect to original
Description
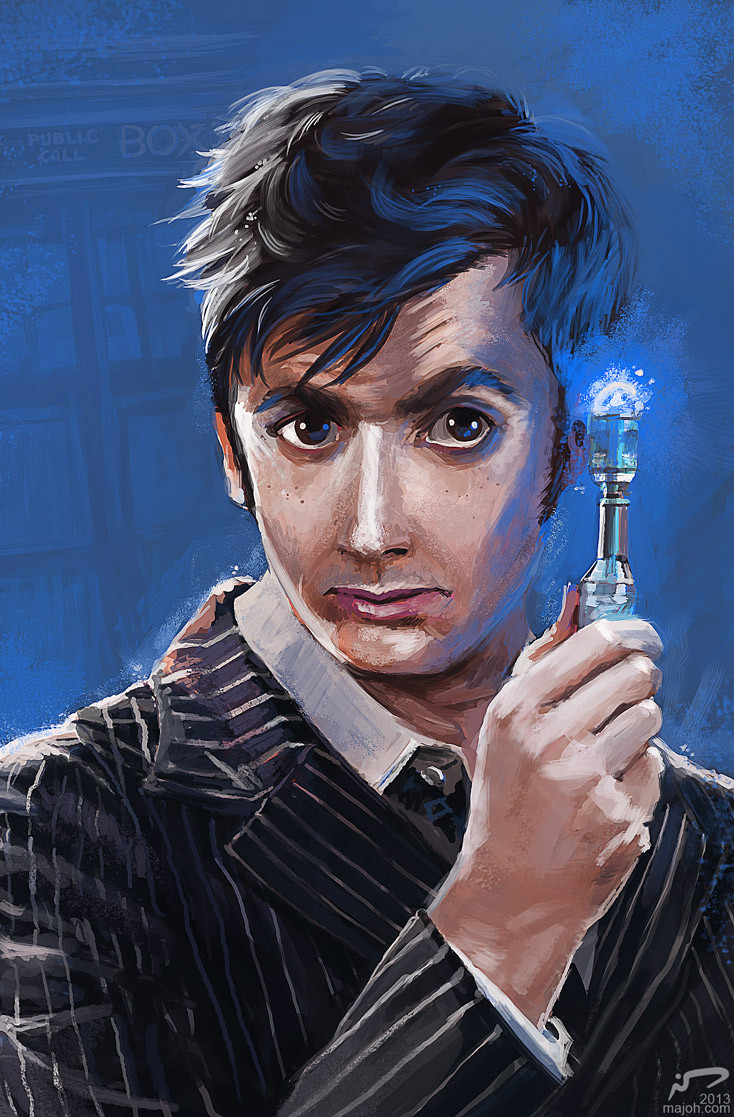
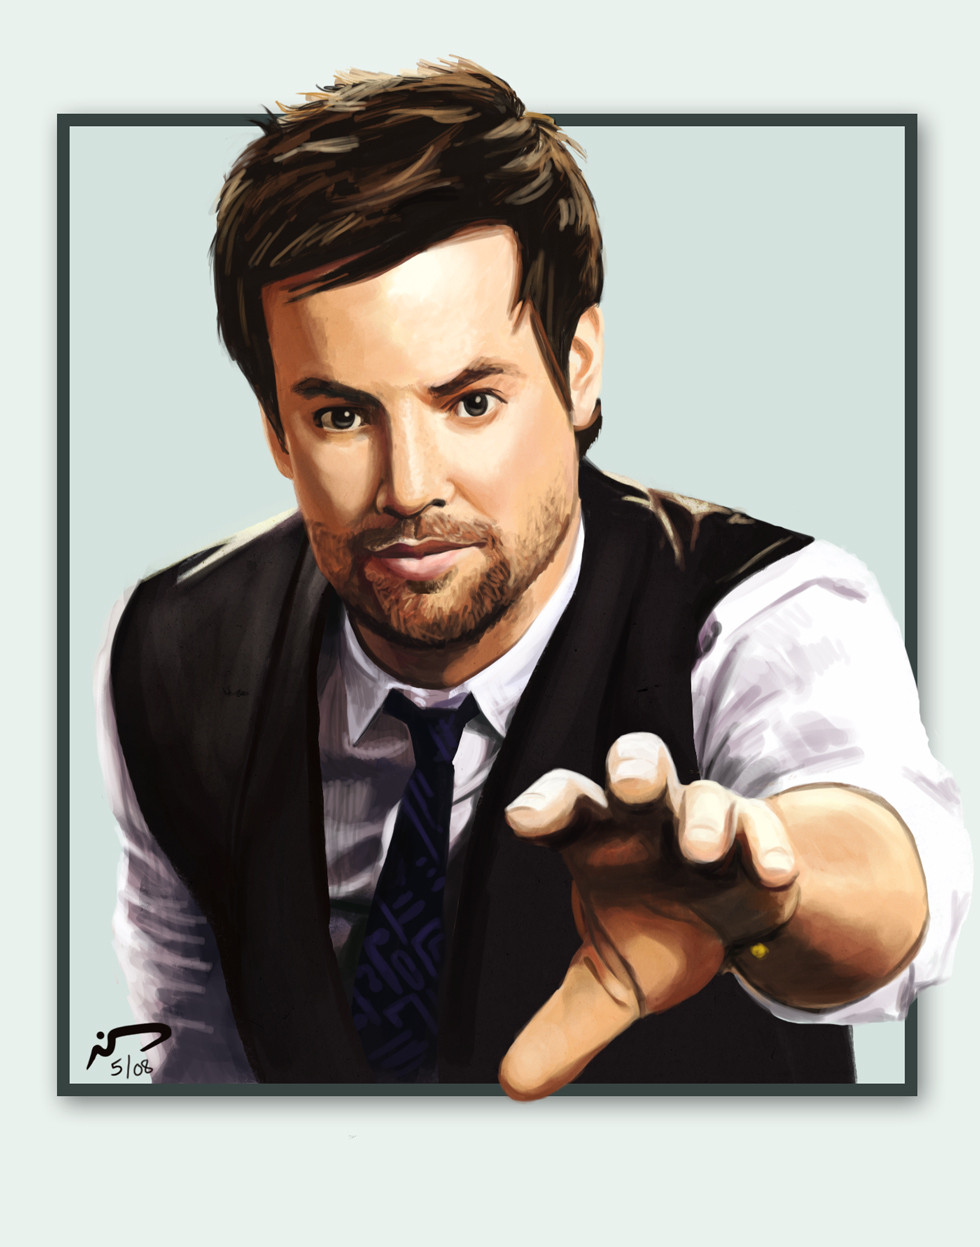
Mandi's Speed Painting Tutorial*MORE* WIPS & Tutorials: Art blog
I decided to document my speed painting procedure as a few have asked and I'd like to contribute to the vast amount of resources available on DA that have taught me so much.
In this tutorial I cover the steps from a blank canvas to a completed painting. I also list some general 'technique' advice you'd usually find in an instructional setting.
In short, I hope you find it useful! Enjoy!!
Thank you MigrantJ and PeteMohrbacher for all you have taught me through your own works and advice. Without the help I've received from both of you, I would know a lot less about painting and Photoshop.
Sept. 1 2010 Update Whoa, thank you *EVERYONE* who has commented on and faved this tutorial! I'm thrilled that so many people find it helpful and I hope it inspires you to create something amazing. Thank you!
 (Smile)")
Related content


Comments: 109

Holy crap. ......lol at a loss for words. that's pretty cool.
")
👍: 0 ⏩: 0


Awesome tutorial! I love the look of the brush strokes! I'm curious what settings you have for the fade brush? Like flow, opacity, and what boxes you have ticked in brush settings? That would be a huge help c: I've always had trouble figuring out the right ps settings.
👍: 0 ⏩: 1

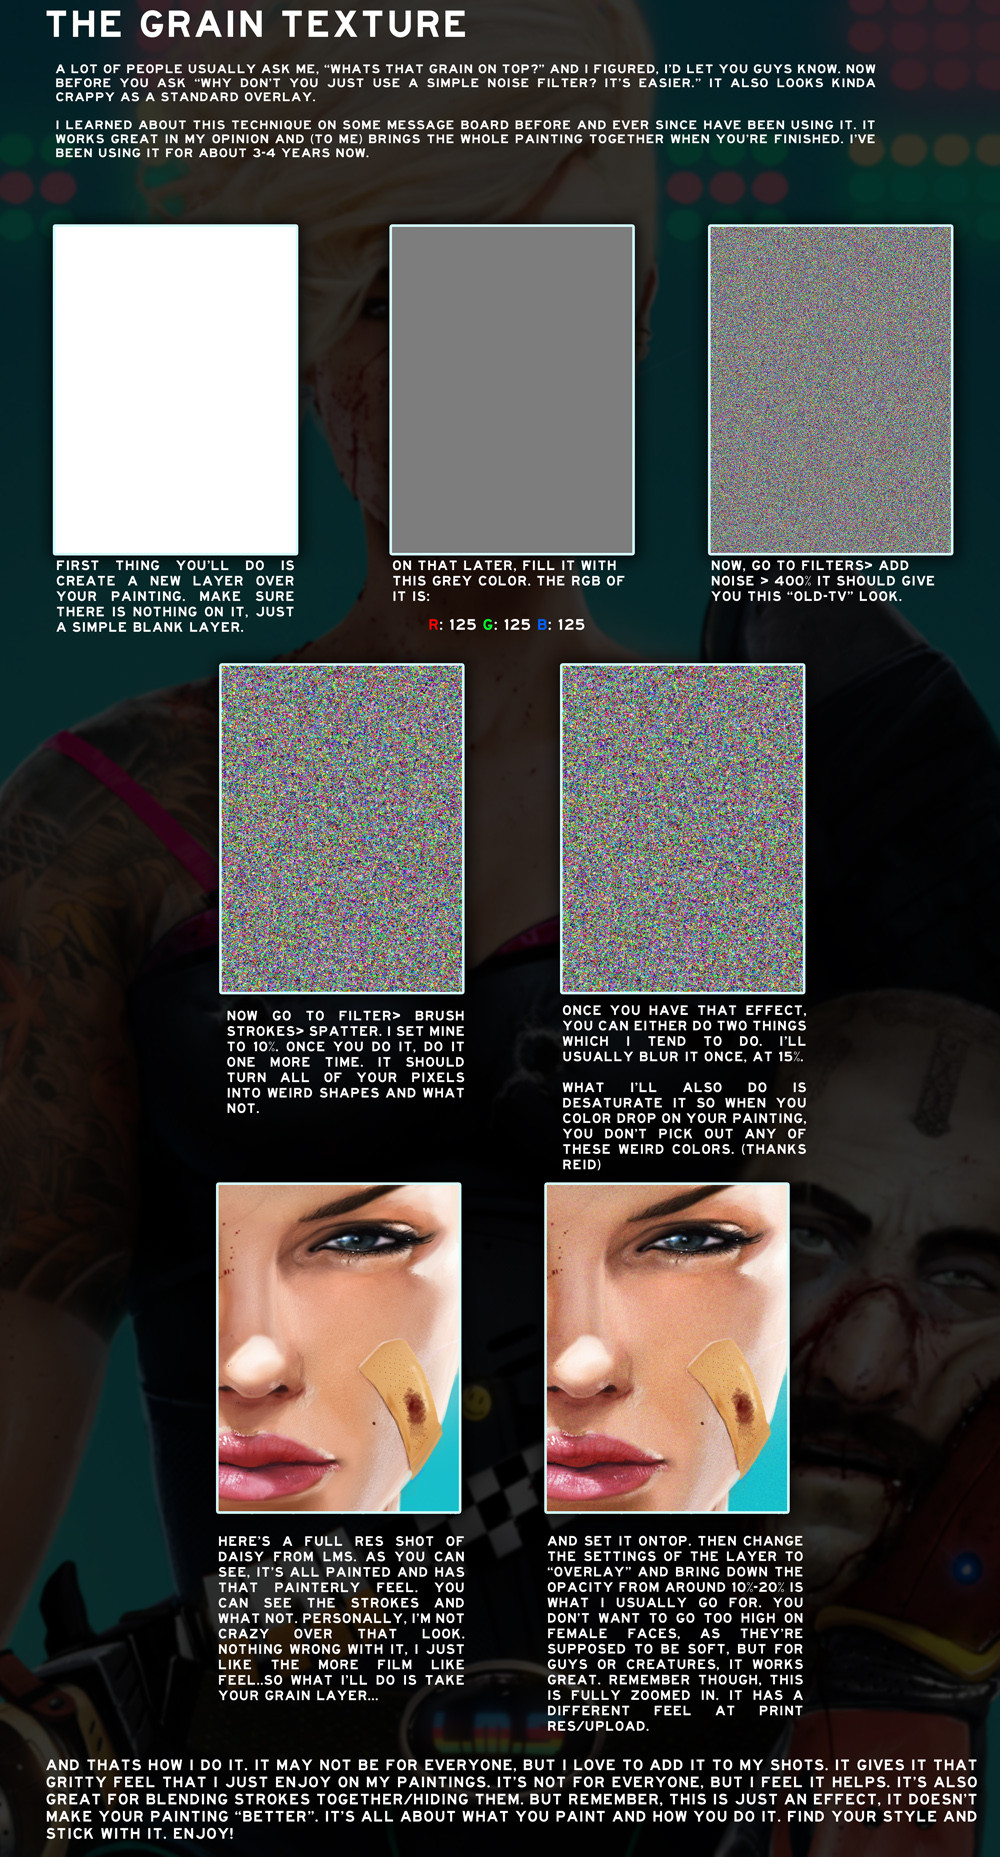
Hey there! For the brush I keep the opacity and flow pretty high (80-100%) and depend on my wacom tablet's pressure sensitivity for the opacity variation.
Something I like to point out, since it can be hard to find, is the *spacing* on the brush. With the "fade brush" active, open up the brush settings. In CS5, that's the icon immediately to the right of the brush and its size in the top bar. It looks like a folder with 3 tiny brushes on it. In earlier versions, look for "brush settings", perhaps?
The setting you're looking for is in Brush Tip Shape, which is the top option in the list. It doesn't have a checkbox next to it, nor does it look like a button, so it's easy to miss this "button". Once you've found that, look for spacing (lower right-ish area of this dialog box). Pull spacing to the left.
This gets rid of visible overlapping circles that make up the brush's shape as you paint. Sometimes they're more visible than othertimes, but pulling this slider to the left gets rid of them.
I hope that helps!
👍: 0 ⏩: 1
Thanks so much for the thourough answer! I use paint tool sai for most of my art because I love the brushes and interface, but I want to get better at photoshop as well because I know it can be very versatile and create amazing effects. I love the painterly look in this tutorial so I'll definitely have to give it another go in ps!
thanks again! <3
👍: 0 ⏩: 0

Learned a couple things about Photoshop from step one. Thanks!
👍: 0 ⏩: 0

Couldn't have done this [link] without your help. Thanks!
👍: 0 ⏩: 1
Awesome!!! Keep up the great work!!
👍: 0 ⏩: 1

used this method here[link]
It helped a lot!
👍: 0 ⏩: 1
WHOA, awesome work!!! Your painting is so realistic!
👍: 0 ⏩: 1

you're a wonderful teacher! thanks for this!
👍: 0 ⏩: 0


Thank you very much-- I'm really starting to value your advice!!
👍: 0 ⏩: 0

Wow, this looks like it will be really useful at getting me to paint faster and without relying so much on outlines. Looking forward to trying it out!! Thanks for sharing such a great tutorial with us.
👍: 0 ⏩: 0

thank you! It's always very inspiring to see how skilled artists do their art work
👍: 0 ⏩: 0


DX i thought i had read "chinky brush strokes" on one part. it really said "chunky"
thank you so much for such a wonderful realism tutorial. i think i'm going to start practicing to improve my shading technique ♥
👍: 0 ⏩: 1

lol chinky brush strokes- oriental patterns?

👍: 0 ⏩: 1


This tutorial was really helpful - thanks for sharing. The tip on mirroring your canvas and reference really helps me a lot.
👍: 0 ⏩: 0


G’day 
Thank you for sharing this informative tutorial. 


👍: 0 ⏩: 0


thanx a million times for a great tutorial, iv been trying to learn speed painting and just have the rough chunky brush stroke look...and its all in here! i will definetly be using ur tut as a reference
👍: 0 ⏩: 0

It's interesting to see how various artists adopt this method of painting. Your style of doing so seems fairly simple, yet effective. Great work, and thank you for taking the time to make this!
-- Mitch
👍: 0 ⏩: 0


I attempted a speedpaint referencing this tutorial.
[link]
I mostly like it, thanky ou!
👍: 0 ⏩: 0


Nice work, I'll be trying that out for sure! Thanks!
👍: 0 ⏩: 0


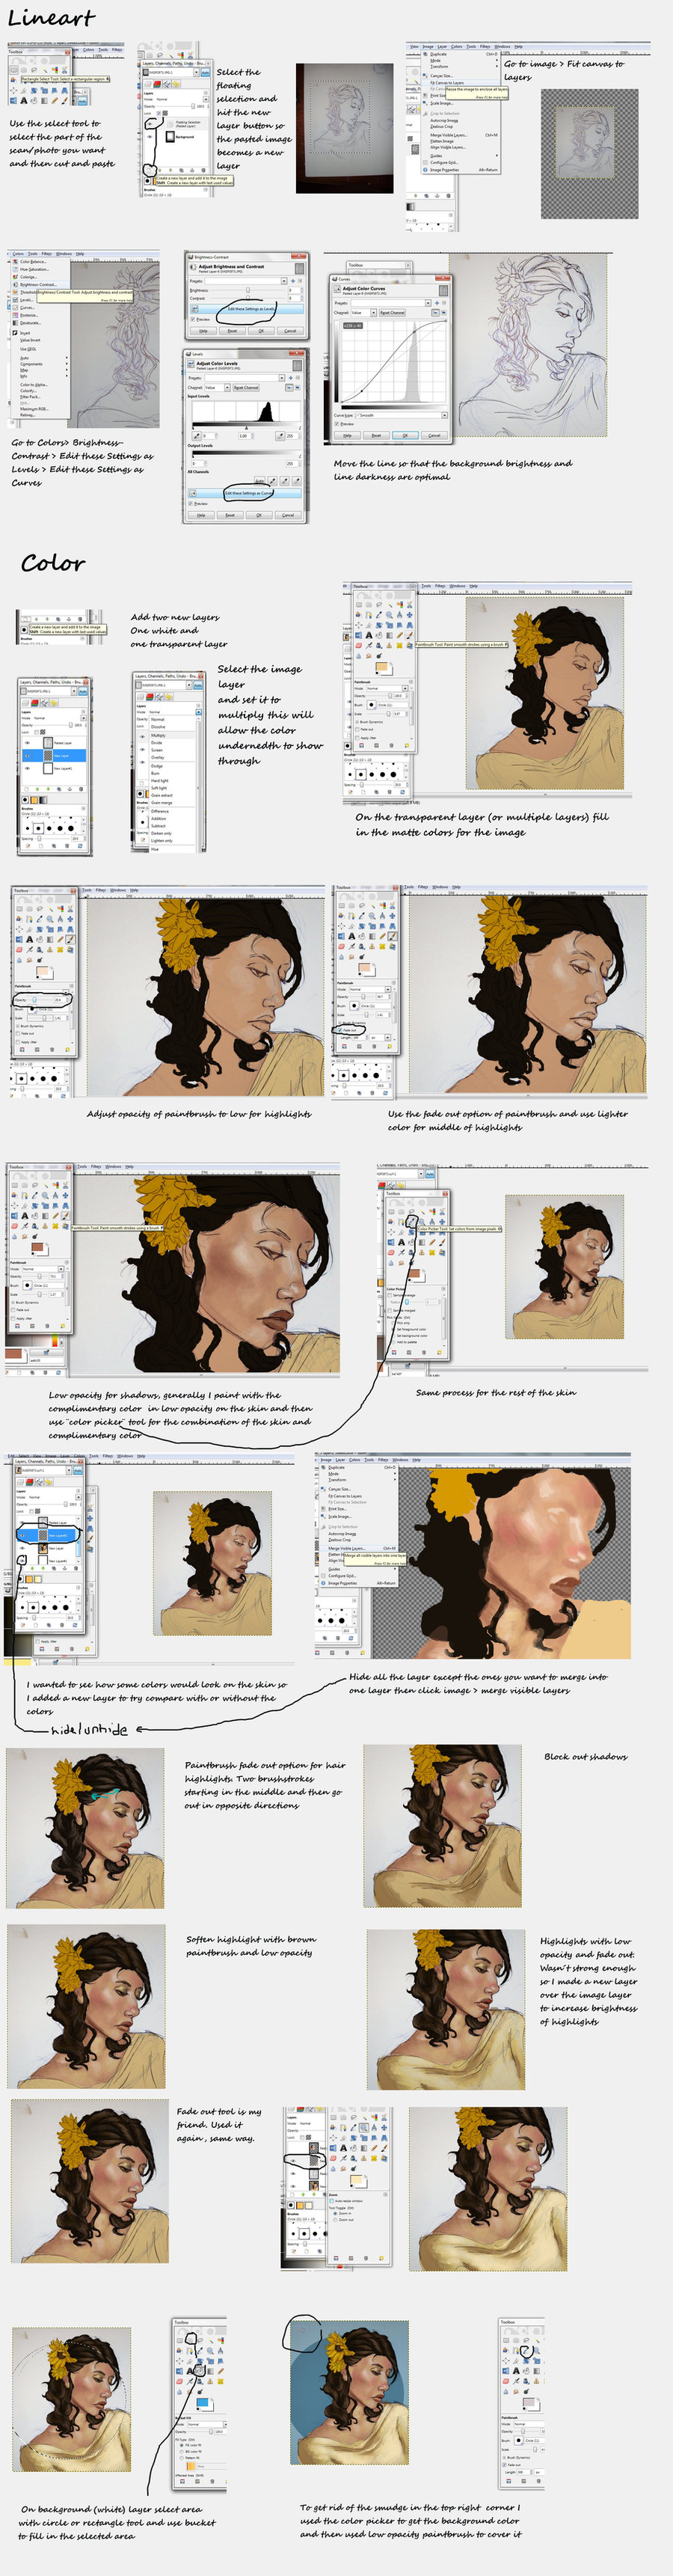
Nicely done. I'd have never thought of painting "white" hair to indicate a back light or rim light hair, and flipping the image is a very effective way to seek out areas that need to be adjusted.
👍: 0 ⏩: 0

This was very well made! I'll be sure to try my hand at speed painting now!
👍: 0 ⏩: 0


Wow - this is an exceptional tutorial. As someone who has had no formal art education, I'm frequently disappointed by tutorials in magazines or online that claim to be "basic," but require a lot of knowledge that only someone with years of experience would have. You did a terrific job showing your process from start to finish, without making it too complicated, but keeping it simple enough for a beginner to learn from. Congratulations, I hope you make more tutorials, and I hope people who make tutorials learn how to do it be seeing yours!
👍: 0 ⏩: 1
OMG, I am so happy that the tutorial was so approachable!! Your experience is EXACTLY what I had hoped for when I made it. I will definitely be making more tutorials in the future.
Thank you, thank you for reading and commenting on it! Please let me know if you try out the techniques - I'd love to see what you make!
👍: 0 ⏩: 0

great tutorial it covers everything in an easy accessible layout! GREAT JOB, thanks for sharing and keep up the great work!
👍: 0 ⏩: 0


Very good tutorial and very useful, I really liked it as I was looking for a speedpaintng one like this one
Thanks for sharing!
👍: 0 ⏩: 0
| Next =>