HOME | DD
 ProjectToothless — Toothless Plush Tutorial: The limbs
by-nc-nd

Published: 2012-01-06 12:40:56 +0000 UTC; Views: 10025; Favourites: 31; Downloads: 207
Redirect to original
Description
How to sew the limbs:The only things that can't be machine-sewn are:
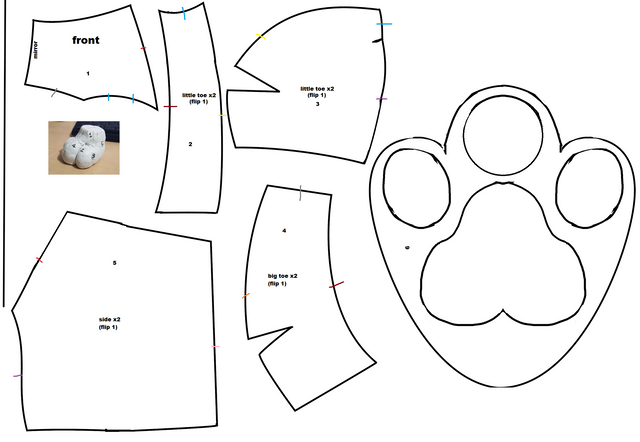
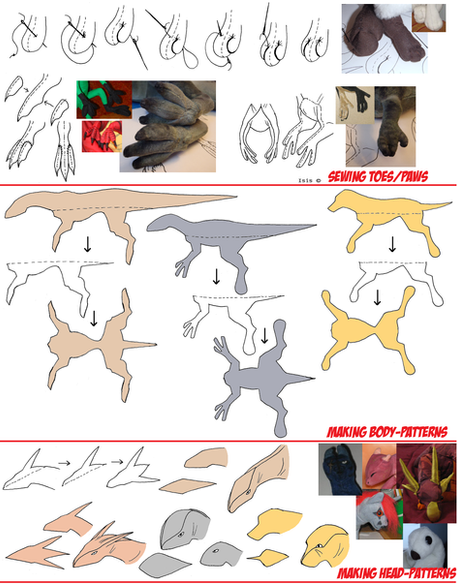
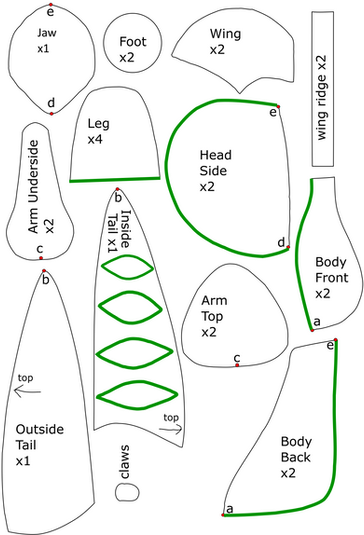
1) Adding the paws (with claws) to the limbs - you have to hand-sew this part, with the claws sticking into the arm or leg - this can be tricky, because you have to sew through a lot of layers where the claws come out, but it should turn out fine when you turn it inside-out. The claws should align so that the front seam of the limb (seen to the left in the drawing opposite the seam with frills) lands right between the two middle claws.
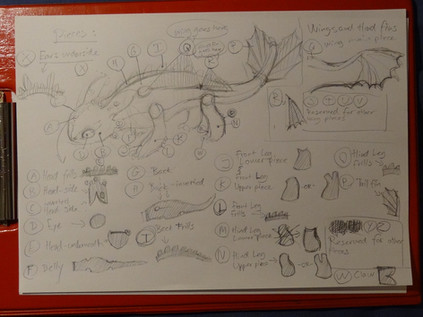
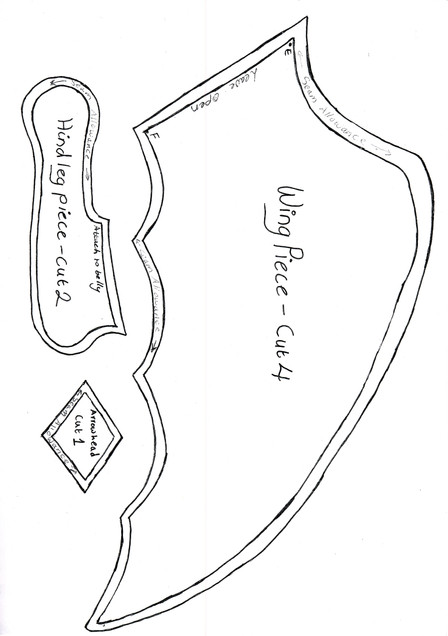
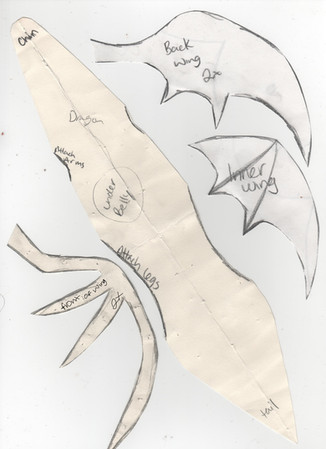
2) Adding the limb to the body. After sewing the back-pieces and the belly-piece of the body together, the limbs can be added to the 4 holes in the body (remember to sew it on the inside) through the same method as the thick part of the wings (Simply hand-sew all the way around it) - make sure your limb faces the right direction before adding it. Refer to the Piece overview in my gallery to see what I mean.
The way of hand-sewing the round part of the wing is the same for adding the other limbs to the plushie (the legs) - sew it first, stuff it afterwards. The wings can be stuffed using a tin paintbrush or the blunt end of a pencil
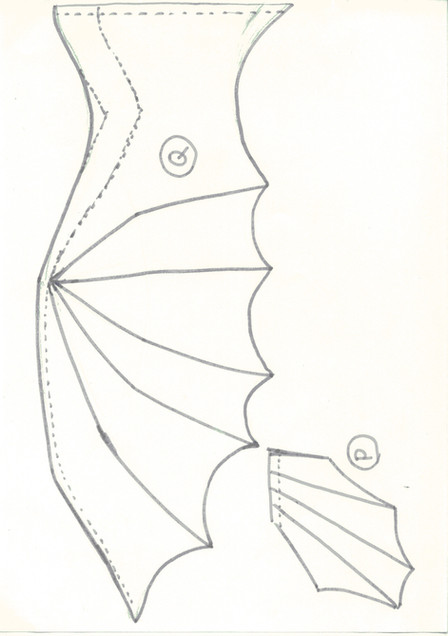
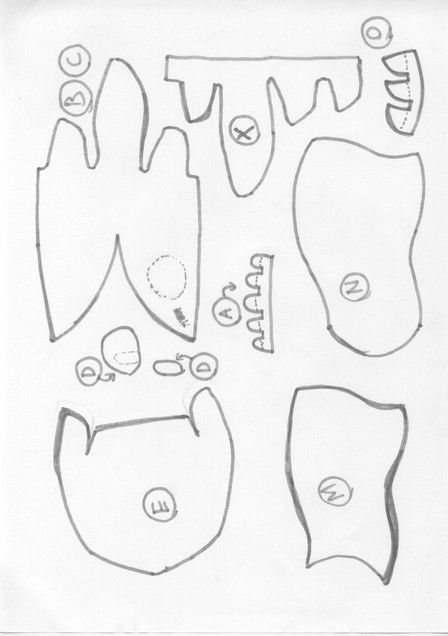
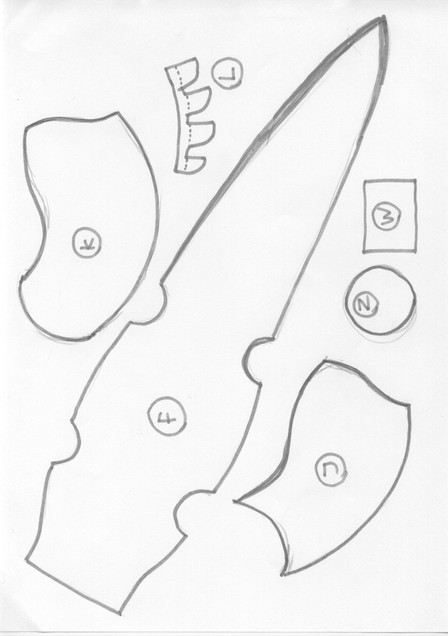
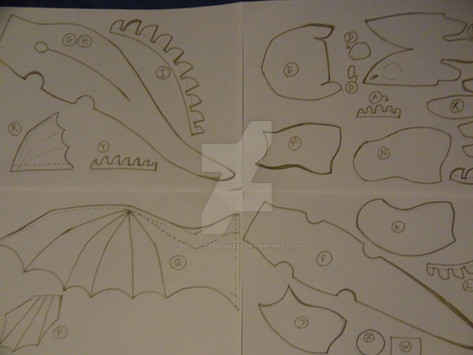
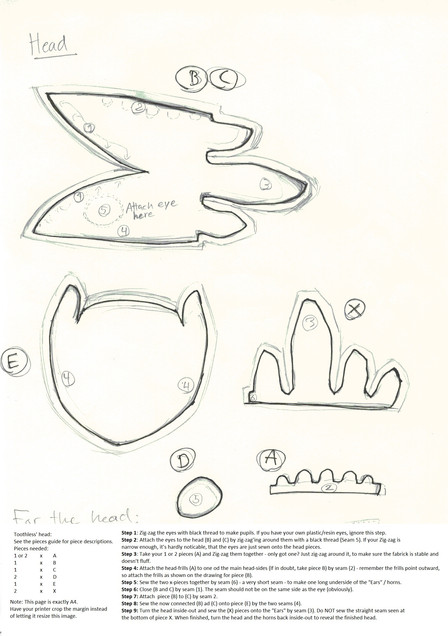
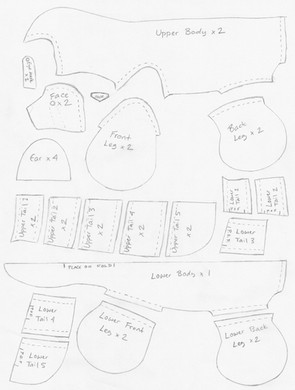
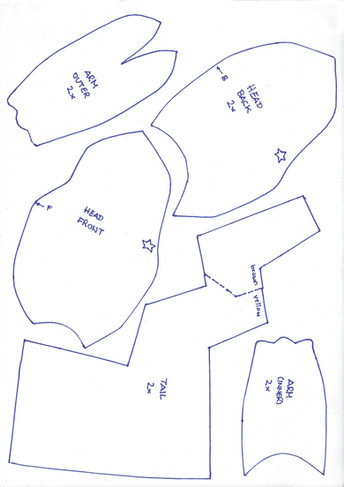
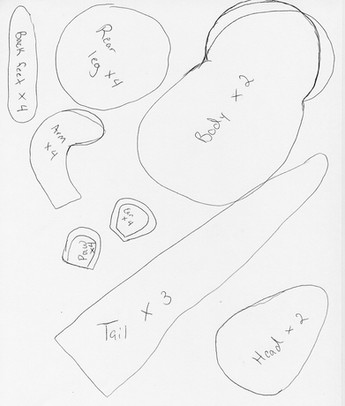
You can find the full pattern here:
Part 1: [link]
part 2: [link]
Part 3: [link]
Part 4: [link]
Pictures of the finished plushie and more tutorials can be found here:
[link]
Also, check out for advice on sewing the plushie in my journal - some things to keep in mind are for instance to make the tail extra long to account for eventual sewing mistakes. I made a mistake and had to shorten the tail of my Toothless (as you can see in the pictures)
- Projecttoothless
