HOME | DD
 Qinni — Step-by-Step Digital Painting Tutorial

Published: 2013-03-29 18:07:40 +0000 UTC; Views: 401859; Favourites: 14881; Downloads: 5780
Redirect to original
Description
Reblog from my Tumblr ?
Please read my commentary before asking any more questions~! thanks
")
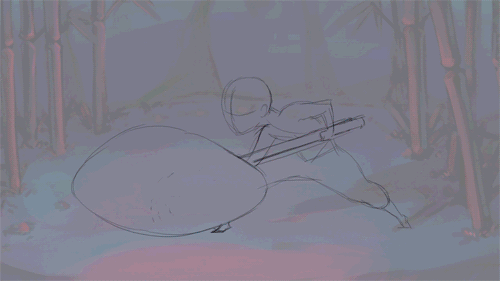
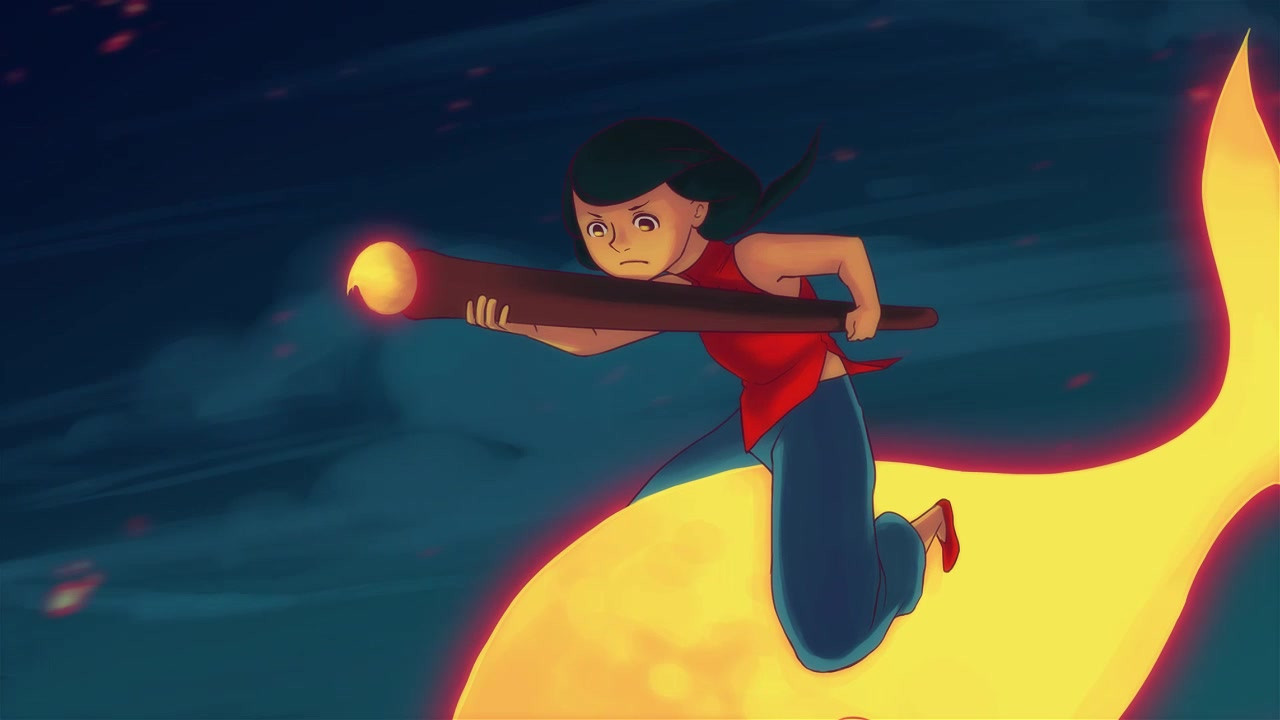
Finished Work:
Edit: I've had a few repeated question of how I work my lineart into the drawing.
I'd like to clarify that i don't really actually have a clean line-art. I have clean-sketches that I work under, but they're not what I personally call lineart. If you zoom in, they are very messy. I do merge the layers together at some point in step 5, and I continue to literally work the colours of the lineart into the skin (which is why i turned the sketch layer into overlay so the colours become very similar and nice to work with). That way I can get an almost none-lineart quality.
also, if you're wondering about canvas sizes, check out my journal about them: [link]
The program I used was Painttool SAI, but I think you can achieve similar effects via photoshop with a low-opacity textured brushes.
I hope this helped : ) Sorry it's so darn long. I kept it as short as I could but it's still a pretty long process.
Please keep in mind this is more of a guide to my painting process and how I technically go about doing this; It's not going to automatically teach you how to render or understand structure or anatomy (which I hope I will cover in more tutorials in the future.), which is very important, of course, to the painting itself. That's why I'll be slowly going through and doing more tutorials on anatomy and structure in the next few months, hopefully
. A good practice for rendering is actually to do still life and human sketches. preferably with a pencil, and not digitally (yet)
 (Smile)") . If you have any questions feel free to ask me
. If you have any questions feel free to ask me Step-by-step animation:
In the mean time, have some of my other anatomy tutorials:
Related content


Comments: 398

Sorry, I didn't see this tutorial before I asked you that stupid question on the final picture.
Sigh, I was kind of hoping this would help me with fish scales, but I have no idea how I'd interpret that into colored pencils
👍: 0 ⏩: 0


Thanks for this awesome tutorial ! I think it is very helpful for me!
👍: 0 ⏩: 0

This tutorial is definitely for the semi pros.
👍: 0 ⏩: 1

sorry, beginners should take a look at anatomy tutorials instead
👍: 0 ⏩: 1
I've been doing a lot of drawing practice lately, but I haven't started on the painting portion much.
There seem to be too many types of ways to paint, do you have any suggestions on where I should start when it comes to learning how to paint realistically?
👍: 0 ⏩: 1
I would say do a few master studies of paintings by old masters/old oil painters you like that paint realistically. other than that, you should probably focus on anatomy and form studying. Do some life-drawings, cafe-sketches, still life, etc.
👍: 0 ⏩: 0

Great tutorial and the finished piece is amazing as well! Thanks a bunch
👍: 0 ⏩: 0

This is very helpful! Thank you for being such a lovely teacher!
👍: 0 ⏩: 0

👍: 0 ⏩: 0

WoW thanks for this awesome tutorial
👍: 0 ⏩: 0

Damn i need Sai tool but it cost money . =_= But this is lovely keep doing good work
👍: 0 ⏩: 1

there are ways to get it free
👍: 0 ⏩: 1
WhAAAAAAAAAAAAAAAAAAAAAAAAAAAAAAAAAAAaaaaaaaaaaaaaaaaaaaaaaaaaaaaaaaaTTTt ? Ö_ö
👍: 0 ⏩: 1
I'm going to leave you to your own devices to get it, but it's pretty easy.
👍: 0 ⏩: 2

'w' Oh my god....
👍: 0 ⏩: 0

Amazing tutorial! Thanks for sharing, this was truly inspiring!
👍: 0 ⏩: 0

This is amazing, but I was wondering how you did your original shading? Every time I try to shade in Photoshop, the strokes overlap and darken. How did you maintain a stable coloring? I'd love to know :3
👍: 0 ⏩: 1
your strokes overlap and darken because your opacity is not at 100% Try to work with a brush that allows you to control your opacity with the pressure of the pen, not manually through photoshop.
👍: 0 ⏩: 1
Ah, that fixed it! Thank you very much! I look forward to more of your fantastic work!
👍: 0 ⏩: 0

i didnt understand what layer to opacity lock .__.
👍: 0 ⏩: 1
the layer in which you merged the sketch and the character.
👍: 0 ⏩: 1

Wow, crazy nice tutorial there. I'll def be using this in my future pieces.
👍: 0 ⏩: 0


Thanks for the tutorial it's interresting to see how you proceed! ^^
I'm really impress by the result of the skin, I never understand how it's could be possible! XD
If you permit I have some questions for you :
Do you remember how many time it's take to you for painting this?
Because I guess that to paint so many details with scales of siren's tail or her skin take you a lot of time...
And at the end you don't keep the lineart model layer don't you? But for the siren we continu to see an effect of contours... Have you redraw those contours?
👍: 0 ⏩: 0

Step 1: Ah, this seems fairly simple! I might actually be able to do this!
Step 2: Yeah. Coming along well here...
Step 3: AGFJSJGSKZ! All the detail is KILLING ME! But I'm finally done!
Step 4: *DIES*
Step 5: *views Step 5 from heaven and dies again*
Seriously. WOW. You put a lot of work into your art - it's amazing! Incredible! And you've been so generous as to make a tutorial too~! <3
👍: 0 ⏩: 0


AWESOME!!
And really useful/helpful too, thank you very much!

👍: 0 ⏩: 0


I would like stop at step 2 or 3 and considered my work finished XD
👍: 0 ⏩: 1
Hihi I second that xD - I am too lazy for adding so much detail, but the result sure looks stunnning (hers, not mine xD !)
👍: 0 ⏩: 0

wow! awesome!! thank you so much for doing this!! >v<
👍: 0 ⏩: 0


thank you so much this helped a ton,ive been looking for a tutorial like this for a while,your work is fantastic!!!
👍: 0 ⏩: 0


This is amazing! The art is gorgeous and the tutorial is the best! Thank you ever so much!
👍: 0 ⏩: 0


SO REALISTIC
LOVE IT
dang, i wish i had photoshop
question: what do overlay, preserve opactity and selection source do?
im still confused on their functions D:
👍: 0 ⏩: 2

If you are a student you can get photoshop 2 for free
👍: 0 ⏩: 1
WHUT
OMG ARE SERIOUS
how?
can i get a link?
👍: 0 ⏩: 1
 (Wink)")
Okay, for overlay, you'll have to test it out yourself because the effect varies depending on what the layer beneath looks like and what the layer you're trying to adjust looks like (colour-wise). Preserve opacity is a lock where once you trigger it, anything on that layer that is transparent cannot be drawn on. I'm not sure what selection source mean. did i write that?
anyways, for most of these functions, you can try them out yourself and play with them to see their effects and how it works on your work, because it varies for every drawing.
👍: 0 ⏩: 1
<= Prev | | Next =>