HOME | DD
 sgeos — Glow Effect Tutorial

Published: 2007-01-07 12:05:22 +0000 UTC; Views: 7611; Favourites: 29; Downloads: 168
Redirect to original
Description
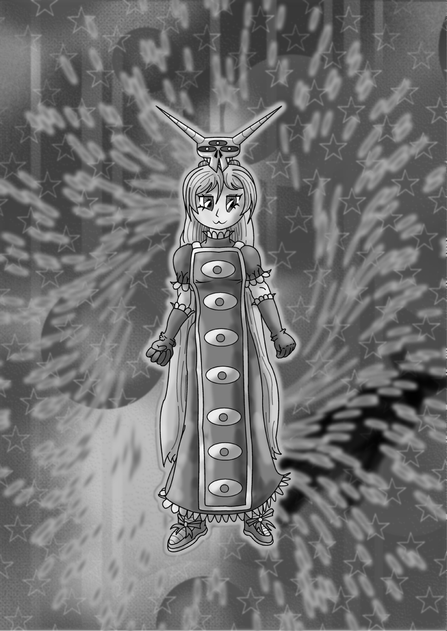
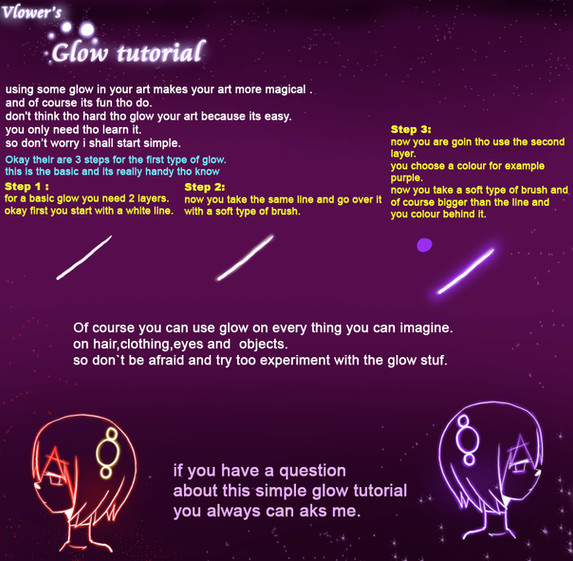
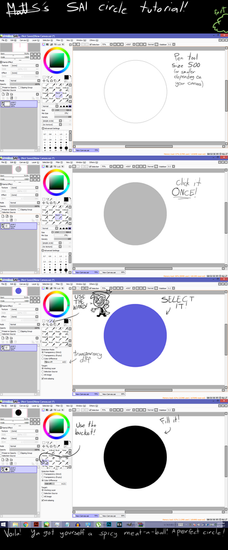
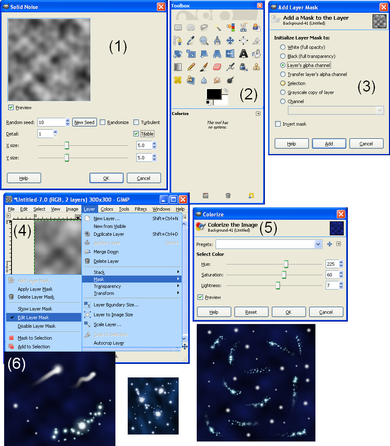
I use a glow effect in a lot of my art. It takes three layers create. I'll explain how to make it using this image. The image is of a sun- it is easy to make (just a circle) and all of the component layers are easy to see. The same technique can be used with different shapes and colors to create many effects.The gimp is free software. It comes with a standard linux distribution. The windows version can be found with google "gimp windows". (The gimp has everything you should ever need, but they tend to be in unintuitive places.) If you do not have the gimp, you will need software that lets you create layer masks. This can be done in photoshop. The details will probably slightly different depending on the program you use.
A layer mask only allows part of a layer to show through. In the gimp, white pixels on the mask will let the image show through, and black mask pixels will hide the image. Grey mask pixels will become semitransparent.
The glow effect itself consists of three layers- inner glow, outer glow and the object body. The layer mask is used to define the shape of the object and the "normal" layer is used to create different lighting effects.
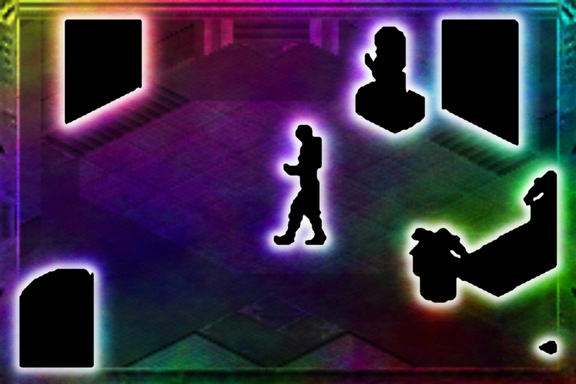
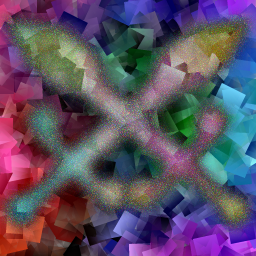
First, start with a black and white silhouette. Copy the layer with the silhouette two times. Add a mask to the "body" layer; you will want to copy the greyscale for the mask. (Remember that white pixels show through, so you may need to invert the colors of the mask.) I slightly blur the mask (2 pixels). The body is yellow in the above image.
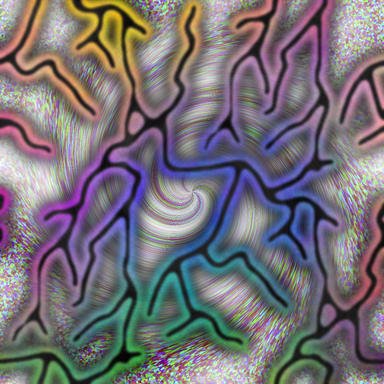
Next, the "outer glow". Add a completely black mask to the layer. Next select your original silhouette using the select by color option. Switch to the "outer glow" layer mask and set your draw color to white. Use stroke selection (*) in the edit menu to create a white outline of your image. I use an outline of 24 pixels in large images, and 6 pixels in smaller images. Deselect and blur the mask. I blur by 80 pixels for large images, and 20 for small images. Last, stretch the contrast of the mask layer. (This will make the glow brighter.) The outer glow is white in the image above.
(*) stroke selection probably doesn't exist in many programs. It draws a line using the outline of your selection. This can be done without stroke select: grow the selection, fill with white, shrink the selection by the same amount, fill with white. Grow and shrink by the same amount (**). For simple shapes you could use circle/rectange tools (which don't exist in the gimp).
(**) Advanced- for a line centered on your original selection (recommended), grow by half the shink amount. For example, if you want a 24 pixel line, grow by 12, fill with white, shrink by 24 and then fill with black.
The "inner glow" is created just like the outer glow, only the values are smaller. I use a 12 (or 3) pixel line and a 40 (or 10 for small images) pixel blur. Don't forget to stretch the contrast- this step is more important for the inner glow. The inner glow is orange in image above.
The inner glow must be on top of the outer glow because it is smaller. The body can actually be above or below the glow layers. Of note is that if the body is below the glow, the outer glow actually shines on the body. (Pay no attention to this if it is confusing.) Feel free to move the body layer around. Background layer(s) (not part of the glow effect) are also recommended unless you really know what you are doing.
The last step is to fill the (normal) display layers with colors, gradients or patterns.
To create a high energy glow (volumetric light; light saber, etc), set both the outer glow and body white. Set the inner glow to another color, such as yellow or green.
To create a neon effect, set the outer glow to a color, and the inner glow to white. The body can be "whatever".
To create rainbow lighting, use multicolored plasma instead of a solid color.
Black glows can also be interesting. Experiment.
Using the same pattern or gradient for body and outer glow usually looks very nice.
Two or more body layers can be used blended body effects- make one of them semitransparent. Only one mask can be applied to each layer in the gimp, so layers may need to merged to create especially complex effects.
Layer masks are very powerful and can be used to create interesting effects. Perlin noise (clouds), ripple effects, etc can be used with wonderful results.
I hope this was useful. Best of luck with your art!
-Brendan
Related content
Comments: 14

So can I use this on line symbols like these ones?
vague-details.deviantart.com/a…
👍: 0 ⏩: 1

I do not see any reason why it would not work. Good luck!
👍: 0 ⏩: 0

I think it's a great idea, but the image is a bit lacking in helping with the description. Perhaps it'd be easier to understand if you broke it down into steps and had an image to go with those steps, including where to find a particular feature?
👍: 0 ⏩: 1

I agree, but I wrote this tutorial when I had time to do such things. Now my time is over commited, so I suspect this tutorial will not have any updates.
👍: 0 ⏩: 0

You think the tutorial could use more detail?
👍: 0 ⏩: 0

I can't seem to find any "Outer Glow" or "Inner Glow" options on the GIMP. Where is such options located, if you don't mind me asking?
👍: 0 ⏩: 1

Those are not options in the gimp, they are just what I named the layers.
You need a selection the shape of the original mask, and then you can either grow it or use stroke select. From there, feather it.
👍: 0 ⏩: 1

Oh, I see. I was confused to that extent since Photoshop has those options and GIMP and Photoshop was much the same.
Thank you very much for clarifying and helping.
👍: 0 ⏩: 1

Very nice. Thank you for sharing your knowledge.
👍: 0 ⏩: 1

Thank you much, Charleyhorse! I hope the information helps.
-Brendan
👍: 0 ⏩: 0

Thank you for putting this here! I'm sure I'll find it very useful!
👍: 0 ⏩: 1

Very welcome. I hope you can put it to good use. Feel free to ask if you have any questions. Deviant art isn't exactly the best way to present a tutorial.
-Brendan
👍: 0 ⏩: 0
