HOME | DD
 torstan — How to make a grungy brush
Published: 2012-02-13 15:12:25 +0000 UTC; Views: 5080; Favourites: 70; Downloads: 186
Redirect to original
Description
How to make a grungy brushOne incredibly useful tool in photoshop is a good dynamic grungy brush.
The human eye looks for detail and texture, or patterns and regularity. If you use a hard edged round brush in your work, there will be hard edged circles in your work. We're very good at picking them out, so your audience will see them. On the other hand, if you use a brush with splattered edges, a random orientation and a variable size then there will be no pattern anywhere. Then the human eye sees other patterns and forms. It sees texture that isn't there, and fills in regions with the texture it believes it should see.
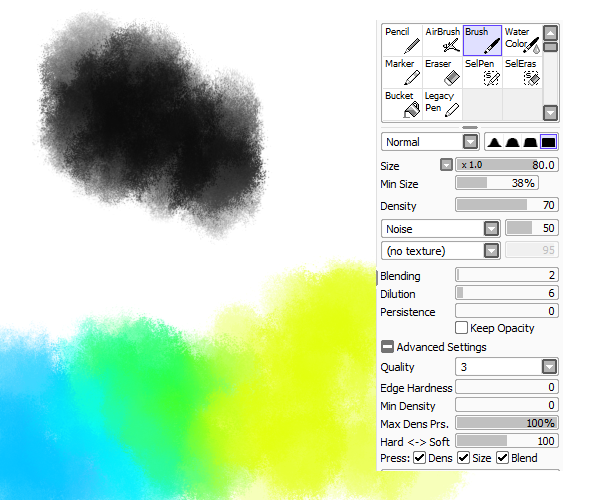
So - build yourself a nice random grungy brush to fill in texture and you're getting your viewer's overactive brain to do 9/10 of the work for you. This is an inescapably Phosothop centric tutorial. You can achieve similar results in Gimp but the process is pretty different.
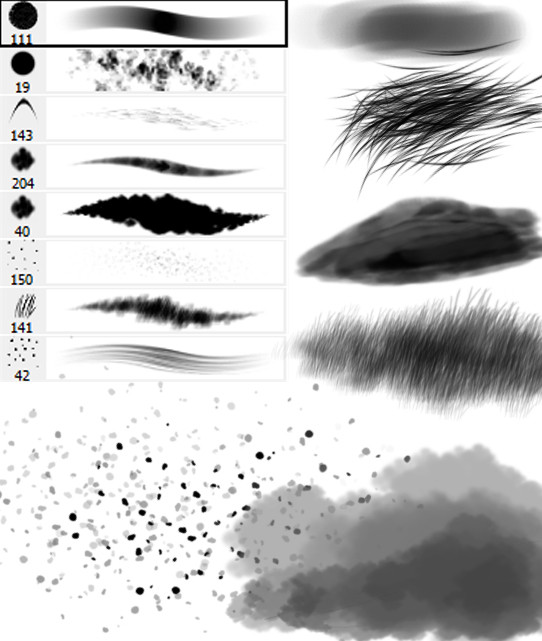
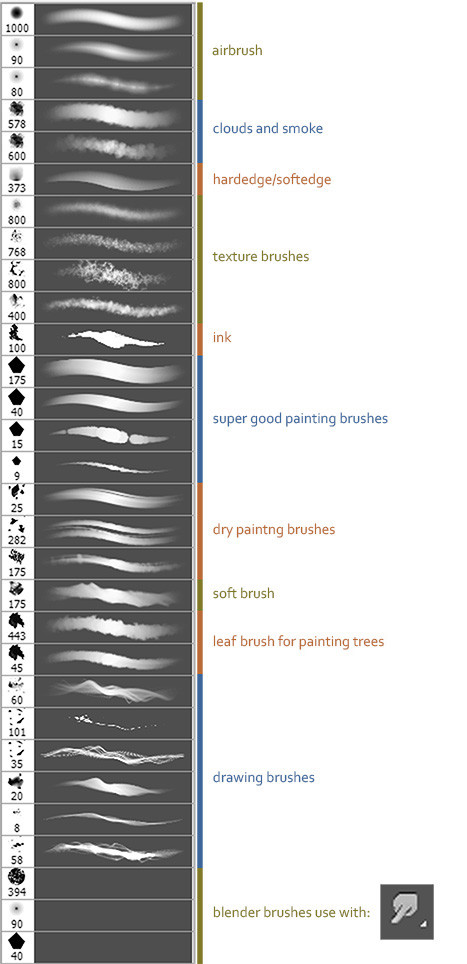
In Photoshop, either create a splattered shape by dropping ink on a page and scanning it in, or pick up this set of free brushes here: [link]
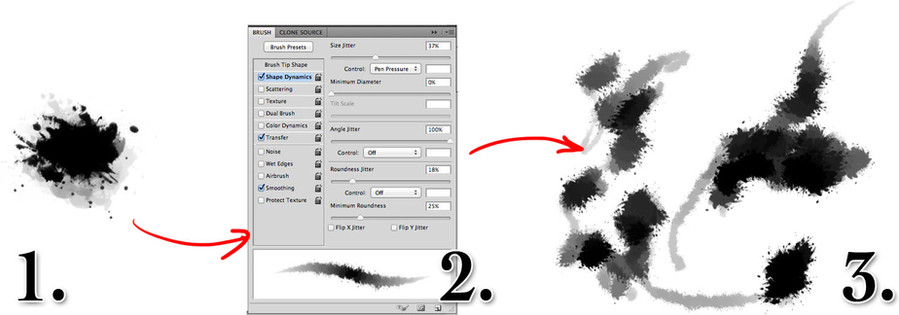
1. Use a collection of the brushes or ink shapes to make an roughly oblong shape with lots of spikes, spatters and edges. Add some opacity variation to build up the shape. Select the full shape and go to Edit->Define Brush Preset.
2. Go to the brush dialog. It's going to look pretty dull. To make it more interesting add some shape dynamics. I set the brush size to be determined by the pen pressure and throw some size jitter on top. Add in 100% angle jitter - this will turn the brush from an obviously repeating shape to a random smooth brush. Now save the brush - by clicking the New Brush Preset button at the bottom right of the brush dialog.
3. Play with your new brush! It should give you a nice variable spattered texture.
Later in the week we'll be using this brush to finish up and colour last week's trees.
As always, feel free to share this round if you find it useful. Previous posts can be found on the tutorial page of the blog: [link]
#fmtips #map #tutorial #photoshop #brush
Related content


Comments: 2

Great tutorial. I agree with your sentiments on using a standard hard round brush. I use one for outlining but for the same reason I also use techniques to modify the outline afterwards to remove this issue. However, I really like the brush style you've created here and will probably experiment with it in the near future.
👍: 0 ⏩: 1

Glad to hear it - I'd love to see what you come up with!
👍: 0 ⏩: 0