HOME | DD
 VanLogan — Sculpting With Light

Published: 2014-04-02 04:21:20 +0000 UTC; Views: 1273; Favourites: 30; Downloads: 4
Redirect to original
Description
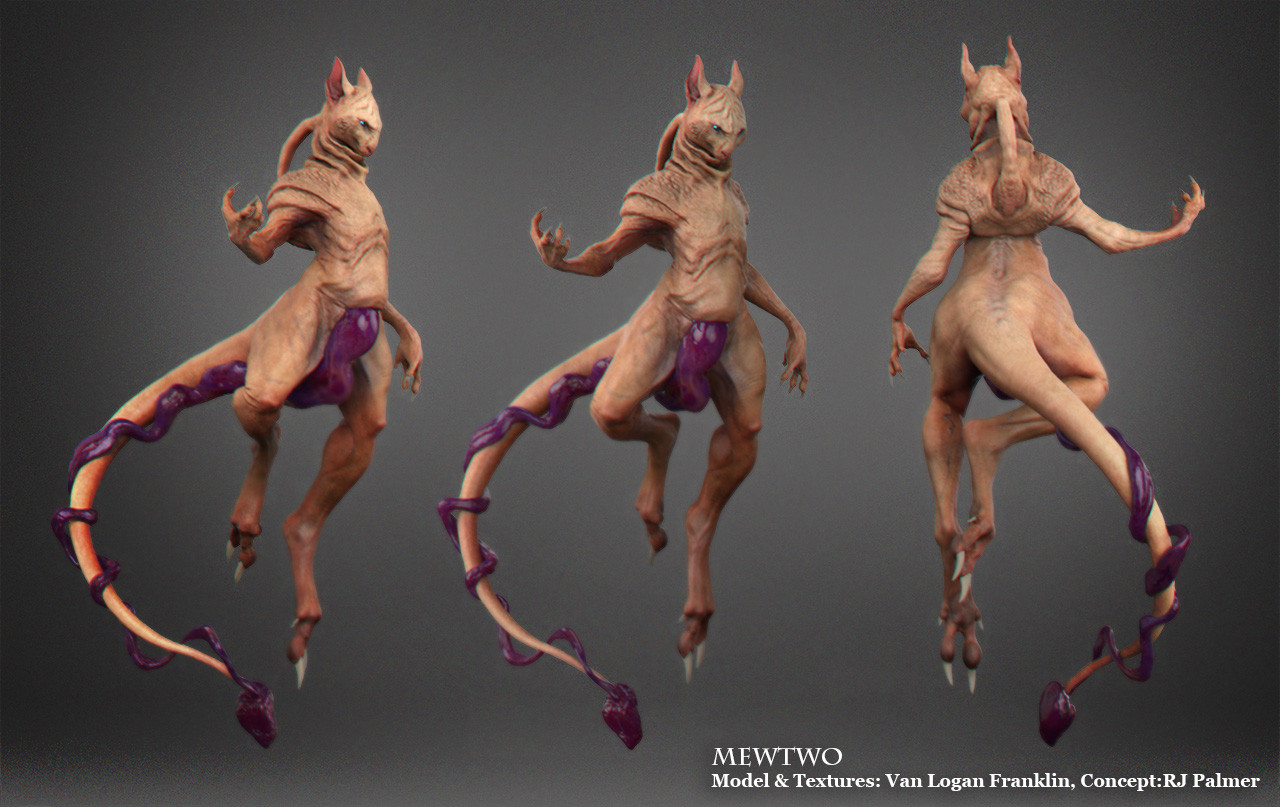
I've been putting this together for some time now. Please let me know what you think. I haven't seen much out there about this technique for digital sculpture so I thought I would share. If you find this helpful, or have any questions please let me know.Related content


Comments: 5

That's pretty cool!
Although it is somewhat difficult to setup lighting scenarios the way you show when the features and functions of the app you're using to model with doesn't really allow such manipulation of it's materials and/or lighting.
So, in other apps - what you're suggesting might be more of a tweak to the overall lighting curve? To increase the perceptible amount of information being displayed?
And what about rendering? In general, how could this technique be useable through render settings in whatever render app you're using? By using HDR lighting schemes perhaps? Or something simpler?
")
👍: 0 ⏩: 1

Thank you.
If the app you are modeling in does not have a way to change the light, this technique cannot really be used. What apps are you using btw?
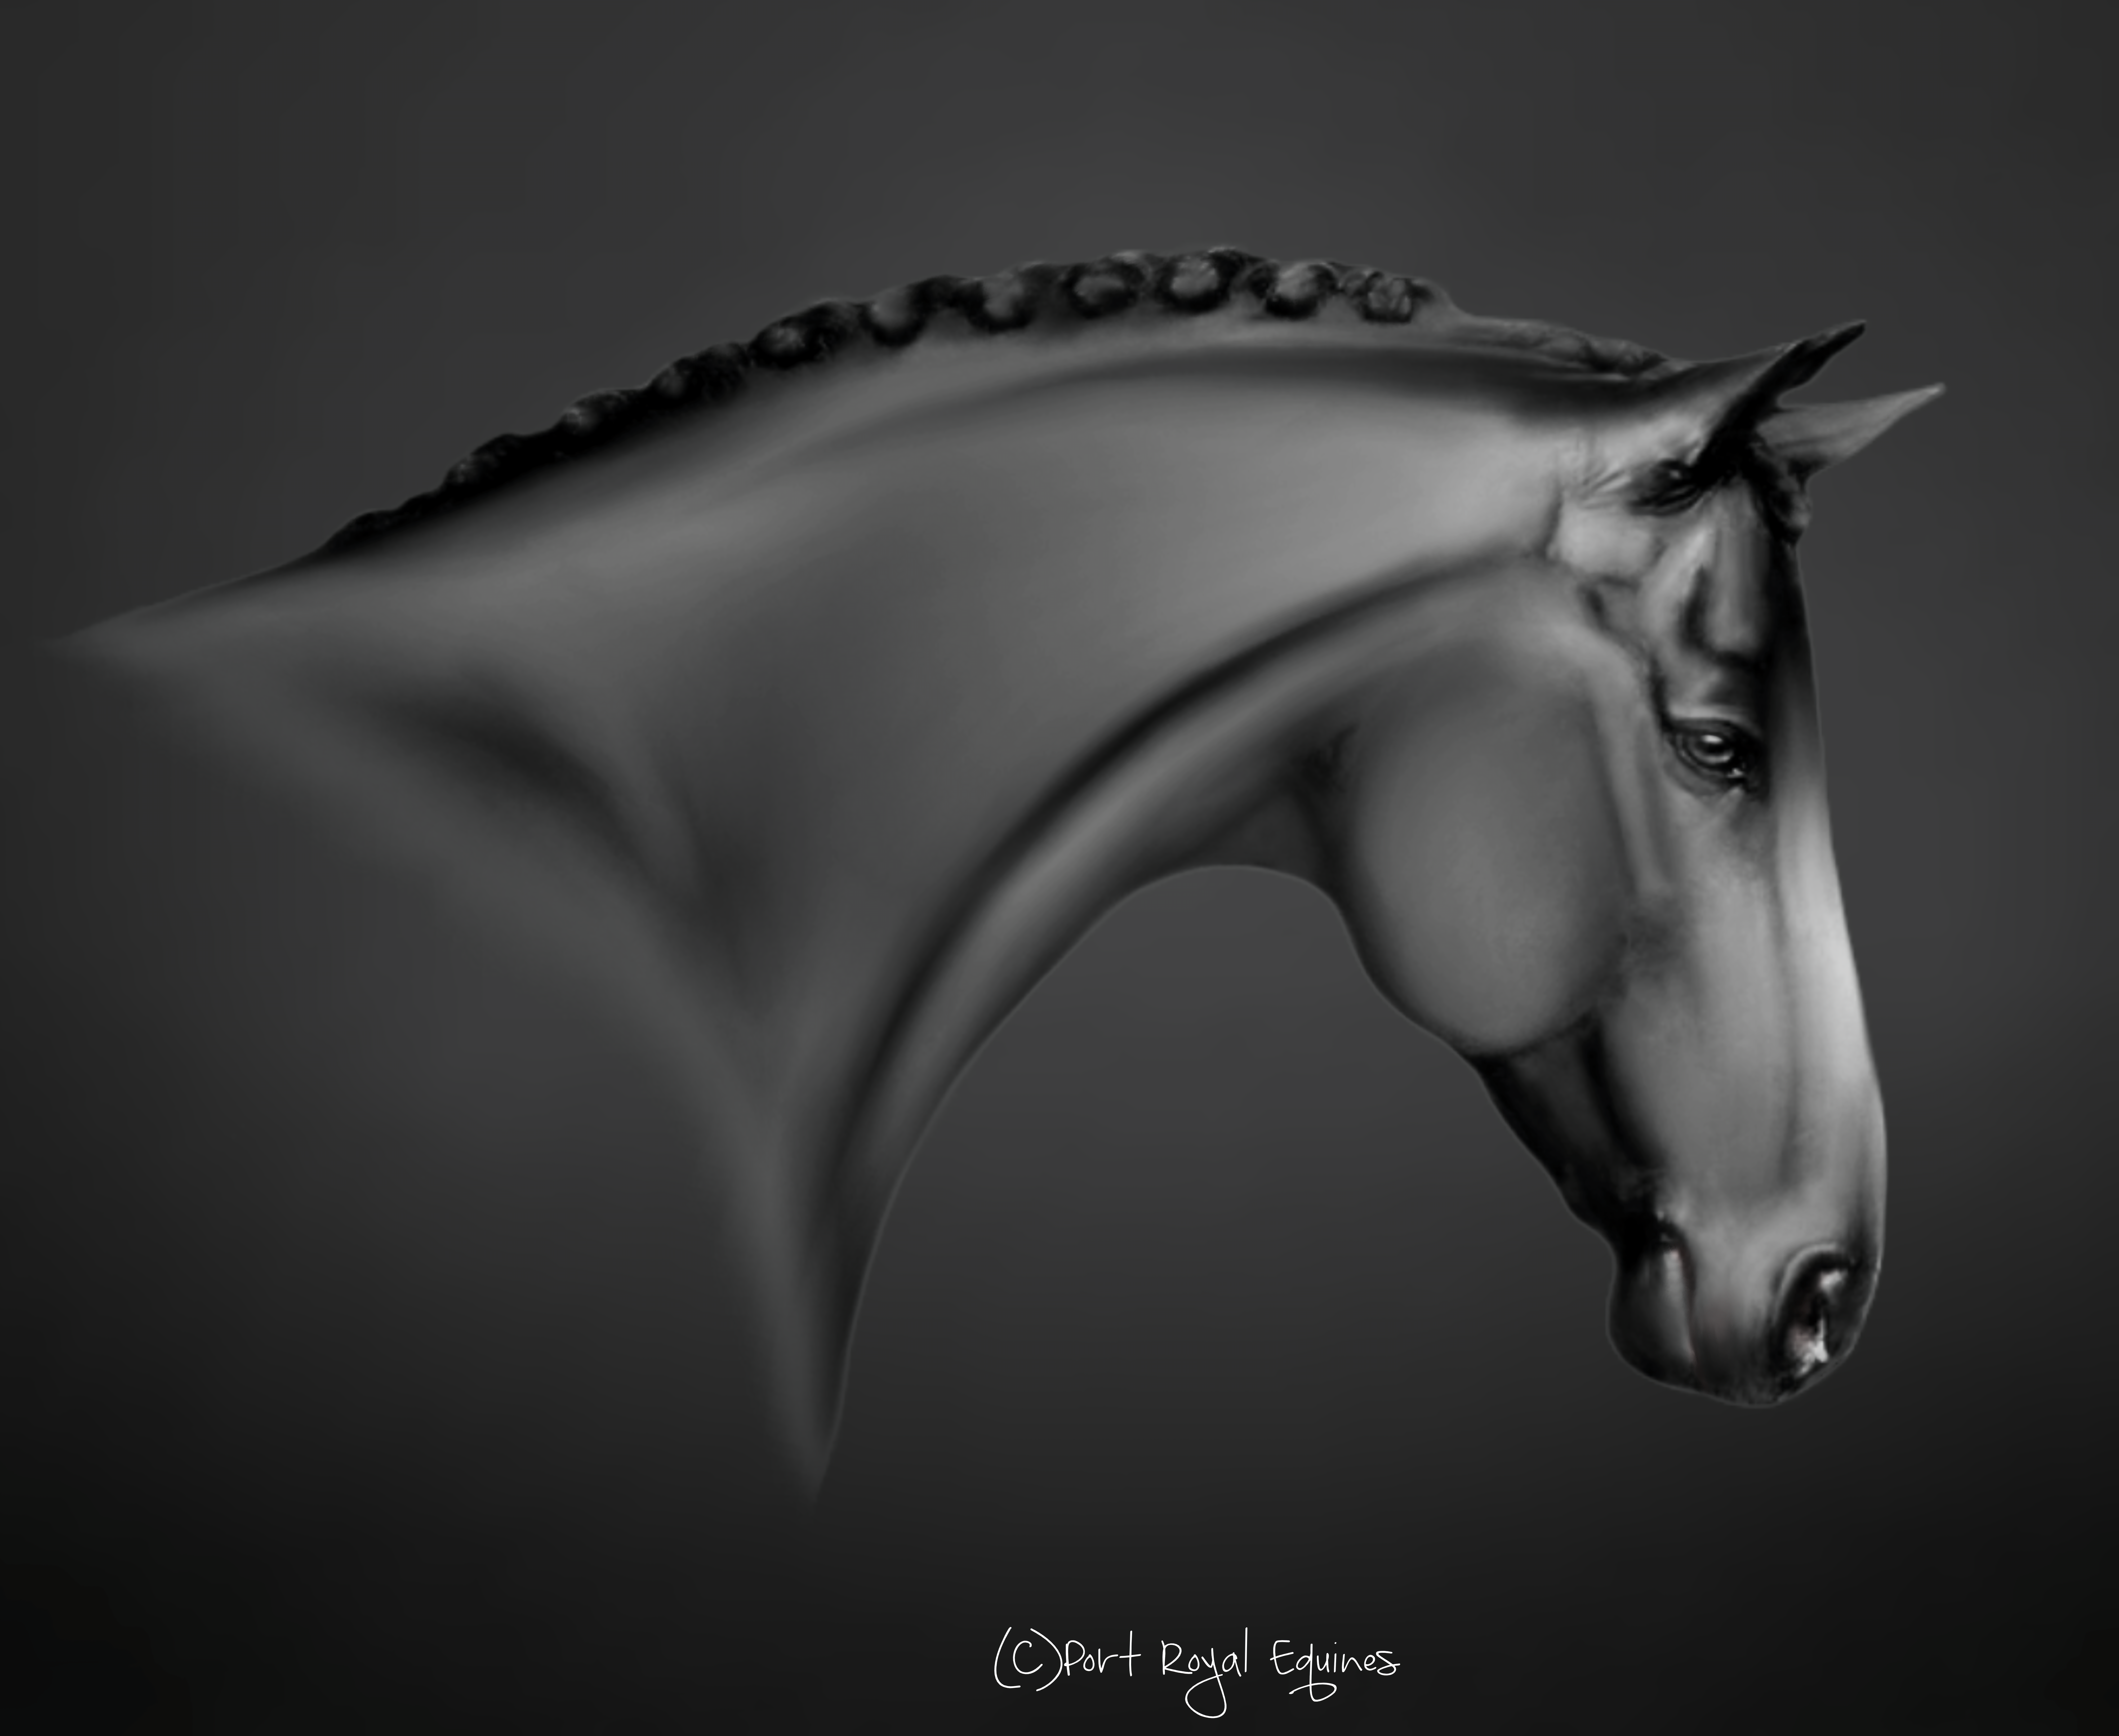
If you can move the light, the main point to this technique is using a raking light, which would be a light that comes from the side of what you are working on. I would recommend adjusting the overall lighting curve to increase the perceptible amount of information.
The strength of this technique is to achieve a subtlety within organic forms. This isn't needed for hard surface or simple objects.
As for rendering, it depends on what you are trying to show. If you are trying to show off details of a model it can be great to use this. I doesn't even need to be done with anything as complex as an HDR lighting scheme. What matters is the placement of the light, so that it rakes across the form.
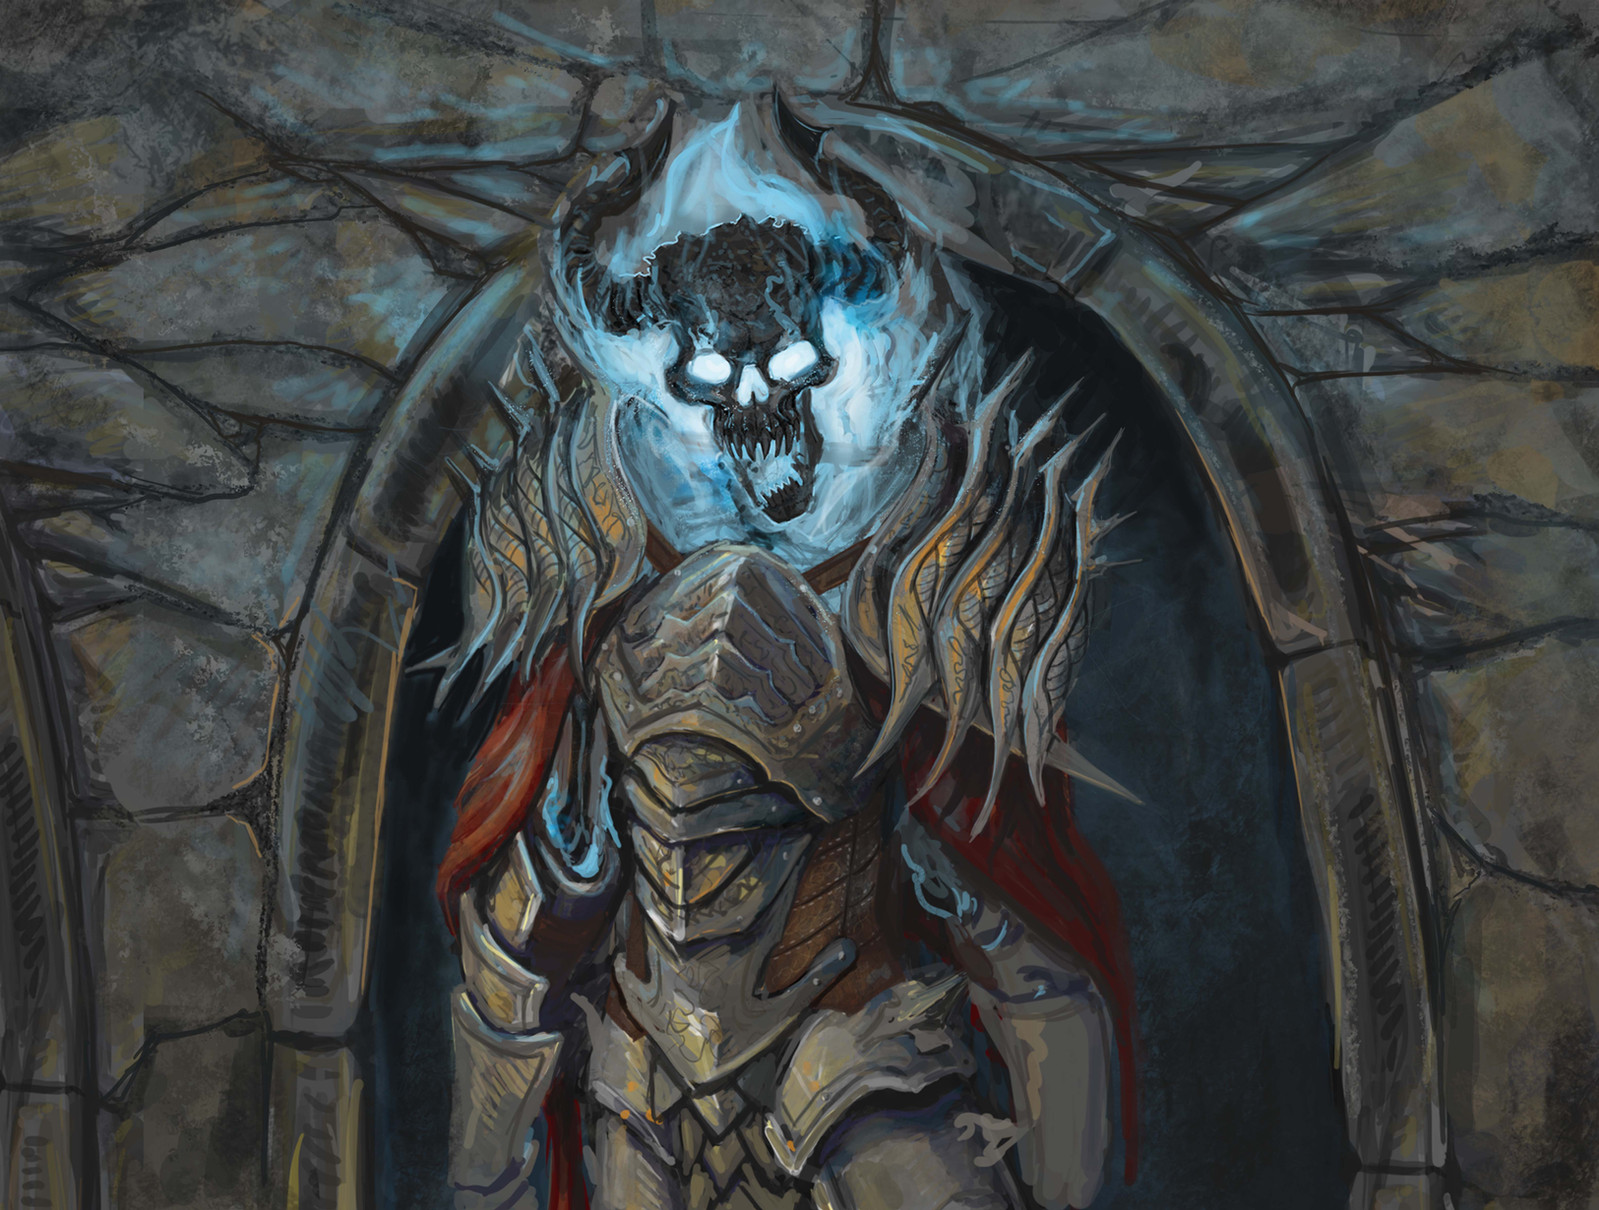
Here is an example of one of my sculpts rendered before I understood this 24.media.tumblr.com/597cdf98e6…
and after fc04.deviantart.net/fs70/i/201…
By placing the light correctly I was able to get a lot more of the visual information to pop.
👍: 0 ⏩: 1
So it appears the overall range is basically from the amount of specular to the depth of the contrast to show most all variations along the most important surfaces of the subject.
Although, I would think multiple light sources might maximize the outcome!
Unfortunately I am currently limited to apps that don't use OpenGL, since Win7 can't install my video drivers correctly. But I should be upgrading soon.
So as a standby I'm using www.crazybump.com to render a lot of my art, and any app I can find that uses DirectX for display - but almost all the apps I used to use render with OpenGL.
👍: 0 ⏩: 1
Yes, more lights will maximize the outcome. However, it can be difficult to move all those light when sculpting. I would suggest using more lights when rendering to get the best effect. The better image of the two I just linked to you had 3 or 4 lights in it to show the most form and detail.
👍: 0 ⏩: 1
Cool! Thanks for the info, helpful indeed!
👍: 0 ⏩: 0