HOME | DD
 Graphica — Tutorial for Panorama Addicts

Published: 2010-08-16 01:25:26 +0000 UTC; Views: 36310; Favourites: 469; Downloads: 725
Redirect to original
Description
Whup whup (Smile)") You should check out my portfolio with more panorama stuff! [link] I'm currently working on an updated version of this tutorial which will be posted there.
You should check out my portfolio with more panorama stuff! [link] I'm currently working on an updated version of this tutorial which will be posted there.-- Edit --
In my tutorial I write, that the tip of the lens should be in center of the rotation. Actually, to be more prescise, it's the optical center which should be centered. I believe this will help: [link] and this: [link]
Thanks to wchild for noting me!
----------
Description:
Damn the title name was too long -.-'
WELL HERE IT IS! The tutorial that some of you have been asking for
You HAVE to view it in full view. If your screen size is smaller than 1024 px in width you'll have to download. Otherwise I don't think you can read it (since deviantart auto crops images).
Here's the links from the text:
Download Hugin . Click on "Download Software" and then on "hugin-2010.1.0.4920.exe"
Download The Gimp
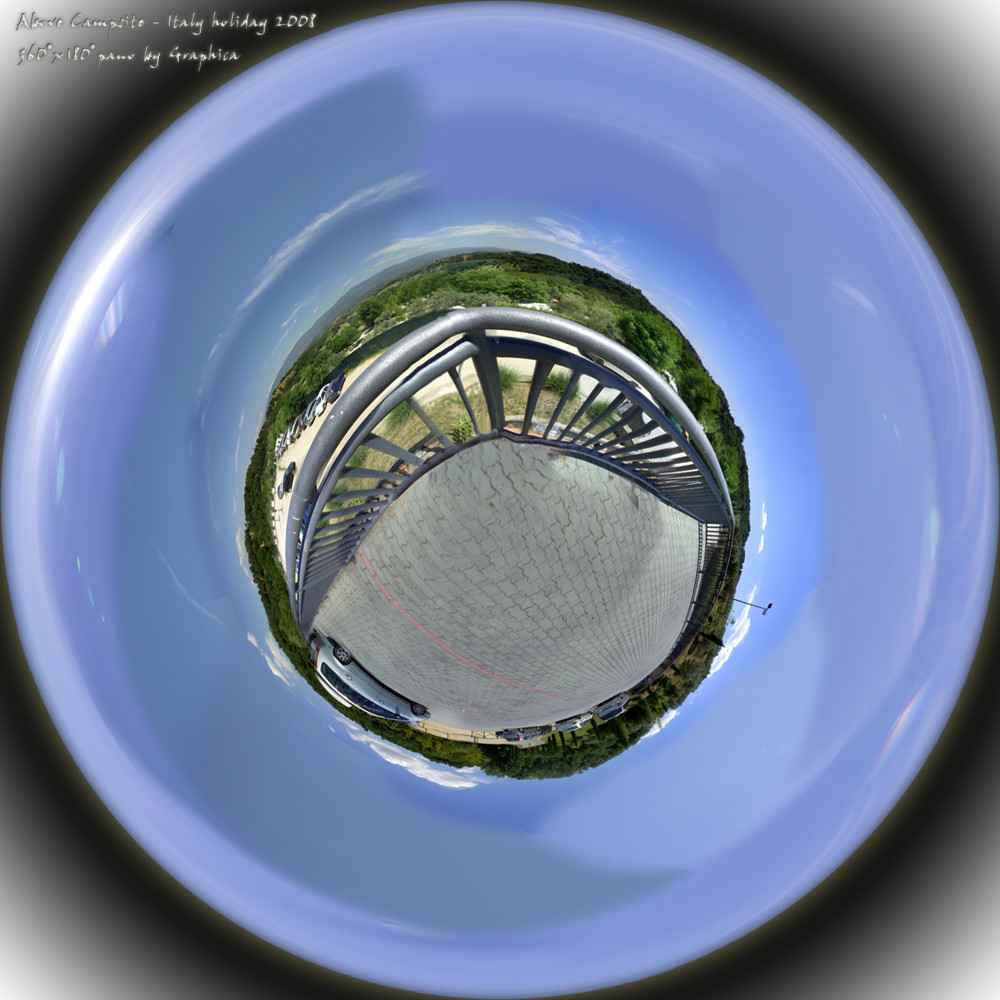
The ending result can be found here:
:thumb175495619:
Thanks to everyone for encouraging me to make this
It has been great fun, but I'm not quite sure I'll do it again  (Wink)") If you ever write a tutorial, write it in another program before copying it into photoshop! ^^
If you ever write a tutorial, write it in another program before copying it into photoshop! ^^If you ever run into trouple then do tell me! I'm here to help

New rule:
I'll post a thumbnail of every deviation which has been created with the help of my tutorial. The only rule is that you have to have a link to my tutorial in the description of your deviation (otherwise there's no proof that you've used my tut
)Post a link to your image in the comments below and I'll check it and add the thumbnail!!!
(I can only add 6 thumbnails to the description so whenever a new is added the oldest is removed)
Other results:
:thumb205621180: :thumb187519650: :thumb181409974: :thumb180818582: :thumb180816430:
Help:
[1]
I've experienced this a couple of times now: Hugin stops during the final stitching process. In the log it says something like this:
enblend: an exception occured
Mask is entirely black, but white image was not identified as
redundant.
make: *** [blend.tif] Error 1
The solution to this is very simple:
Just go to the "Stitcher" tab and under "Processing" next to "Blender" you click on Options.
A little window called "Blender Options" pops up and in the text field you write the following (exactly the way it's written!):
--fine-mask
Now just click Ok and try stitching it again.
This is a simple solution to a very annoying bug within Hugin. Just imagine working on a planet for 2 hours and suddenly it won't stitch xD But this works [2]
Maxtad experienced this problem:
When Trying to find the control points It said something like
"Cannot fine autopano-sift-c.exe. Maybe you have not installed properly or or given a wrong path in the settings."
First make sure that the file you downloaded had this exact name: hugin-2010.1.0.4920.exe
It should be working now, but if not then this should help.
Hugin is one program and autopano-SIFT-C is another program.
Hugin needs to connect the two programs so it can use the features that autopano-SIFT-C has. This should be how to do it:
In hugin:
Click File -> Preferences
Go to the tap Control Point Detectors
At the top of this list there should be a detector called Autopano-SIFT-C (Default)
If there isn't one called that we'll have to create it.
First I'd like you to open Explorer and go into the folder where you installed Hugin and open the bin folder.
In this folder there should be a file called Autopano-sift-c.exe
If there is none such file then download it from here: [link] (Go into Software and download the file autopano-sift-c.exe) and place it in the bin folder.
Now go back to the Control Point Detectors tab inside Hugins preferences and click on New.
In the new window fill out the information as I show in this screenshot: [link] (Of course with the correct position of your autopano-sift-c file)
Now click Ok in the window and in the Control Point Detectors tab select Autopano-SIFT-C in the list and click on Set default.
Now hit Ok
Now go and download the newest version of "The OpenGL Utility Toolkit (GLUT)": [link] Just download the newest .zip file and extract it (you can use winrar for that: [link] ).
Copy its content to Hugins bin folder
Hope I'm not too confusing to follow.
It really should work now!
[3]
This is not really a problem, but none the less it's a help
Here's a couple of tutorials that I've run into that I find useful! (Both made by McRoss )
1: Panorama tutorial Hugin Gives a broad overview to the entire subject and can be a help to those who are confused
It's easy to become! ^^2: Chicos de Sinaloa Process How to make a HDR panorama (Without taking 3 times the pictures like you usually do with HDR
(Just thinking about taking 150 images makes my head hurt xD))Related content


Comments: 136

Forhør to send the link. ^^ here: [link]
👍: 0 ⏩: 0
Hmm try to download this zip file and extract all its content into the bin folder
👍: 0 ⏩: 1

Arg, it's strange. When I click [Create control points], a script box pops up like it's about to find the points, but then it just gives me [Could not execute command: ...]
👍: 0 ⏩: 1
This is a really annoying problem :/
Can't figure what to do... have you tried installing it on another computer maybe? (maybe if you're running another operating system than mine (windows xp)) :S
Sorry I give up
👍: 0 ⏩: 0

Nice tutorial.
For downloading Hugin, Hugin's own site is really easy and quick to use. No need at all to go to other sites.
Just go to: [link]
That way you are also sure to get the latest, most updated, version.
👍: 0 ⏩: 1
That is weird :S When I downloaded the software a year ago, numerous things weren't included, but it seems now that they have changed that.
👍: 0 ⏩: 1

I've just tried making a quick panorama with 18 pictures of my garden... should've taken autofocus off >_<
I'll try and make a new one when I have the time for it and the weather is better.
Thanks for making this great tutorial!
👍: 0 ⏩: 1
You're welcome
👍: 0 ⏩: 0

very nice i,m gonna give this a try
👍: 0 ⏩: 1

I .. FUCKIN' .. LOVE .. THIS .. TUTORIAL !!!
👍: 0 ⏩: 1
xD Great!! Hope you can make something from it!
👍: 0 ⏩: 1
haha trust me.. I WILL! .. or at least.. I'll try xD
👍: 0 ⏩: 0

Thank you for this Tutorial! It's really helped me to finally finish a Panorama photo. I've wanted to do one for a long time, but I never really found software that worked... It's a great tutorial, I really like it! Look what I made: link
(And I have to wonder, hasn't anybody else shamelessly used your offer to post a thumbnail here? O.o ")
👍: 0 ⏩: 1
Nup you're the first (As you've seen the rest are just my own placeholders
I'm really glad that it helped you 
👍: 0 ⏩: 1
Thank you!
I'm trying and trying, currently I have a cut off suitcase in one of the pictures and I really need to get rid of that first
Panorama photos will take over the world

👍: 0 ⏩: 1
Yeah that talking over the world thing might become a problem
👍: 0 ⏩: 0

Hey thanks for this! I got bored with my 'normal' stitched panos and started goofing with polar projection, but this looks much better. Getting everything without missing patches must be tough though.
👍: 0 ⏩: 1
When you've done it a couple of times you know how many needs to be taken
But sometimes I forget to take pictures of the less important thing like:
30 pictures towards the Eiffel Tower
15 pictures away from the Eiffel Tower
Sucks big time when you get home and realize that half your planet is missing because you forgot how important everything is and only focused on that main attraction (In this case the Eiffel Tower)
👍: 0 ⏩: 1
i´ve tried Hugin now on some panos and i like everything except it really botches the exposure every time. my old program nailed it every time with one click of a button. Hugin has more options for exposure but i honestly don´t get how they work.
👍: 0 ⏩: 1
Yeah those exposure settings are somewhat thin air to me as well.
What I understand of it, you can choose one (or more) pictures as references and Hugin will make corrections to the other pictures so the exposure resembles your references more
If anyone can explain what these means (and their differences) then they'll make me one happy guy ^^:
- Low dynamic range
- Low dynamic range, variable white balance
- High dynamic range, fixed exposure
- High dynamic range, variable white balance fixed exposure
👍: 0 ⏩: 1
from the help files i take it those are for when you shoot each shot with exposure bracketing; ie. multiple shots
👍: 0 ⏩: 1
yeah... I actually found it useful for getting a better lightning on this shot [link]
When I first rendered it in Hugin (without using the exposure tab) it got really dark, but the sunset was awesome.
Then I tried using "Low dynamic range" on the pictures and rendered it again and everything was lighter, but the sunset was dull.
I then merged the two renders together in Photoshop and got a much greater picture than Hugin had done originally
👍: 0 ⏩: 1
if you just want to make it darker or lighter, use the preview window (NOT the GL one) and click up or down on the exposure value
👍: 0 ⏩: 1
Ah yeah that's right
👍: 0 ⏩: 1
Finally got around to trying a full spherical pano, worked great! (at least imo) [link]
Will send any questions I get here
👍: 0 ⏩: 1
That is awesome!!
👍: 0 ⏩: 1

exscuse me, but how do you get the big writing?? like where you said new rule and other results?? ive been trying to find out for a while now, but every time i ask somebody, they cant get back to me... can you tell me plz? ó_ò
👍: 0 ⏩: 1
Here's a faq about it 👍: 0 ⏩: 1
If you wanna write bigger letters you can write like this: (just erase the star *)
Hope it helps and read the faq for more ways to edit your text: FAQ #104: What HTML formatting can we use on deviantART? And what is the format for these codes?
omgoodness! thank you soo much >_<~!!! this helps sooo much x3

👍: 0 ⏩: 0

wow, it's really great!
i can't do this, i'm not good enough for it, nut it's the collest thing i have ever seen!
👍: 0 ⏩: 1
Glad you enjoy it
👍: 0 ⏩: 0

Very interesting, am gonna ave to give it a go sometime
👍: 0 ⏩: 1

Hope you can use it for something ^^
👍: 0 ⏩: 1


Maybe I've done something wrong, but once I've opened Hugin and press Align, an error message tells me "Cannot fine autopano-sift-c.exe. Maybe you have not installed properly or or given a wrong path in the settings."
Then when I do into move/drag the images are not straight ie the horizon line is all off. But that might be a result of the last problem.
I exported Hugin to Program Files. Do you have any idea what went wrong? Sorry for the trouble...
👍: 0 ⏩: 1
Did you download it the way I told you to in the tutorial?
The download link that I provide in the tutorial includes the "autopano-sift-c.exe" file so I suggest that you uninstall Hugin and follow the chapter "Overview and preparation"
If you actually did follow that chapter and still got this message then I'm quite puzzled about it 'cause that really shouldn't happen
Hope this'll work!
👍: 0 ⏩: 1
I did follow the link in the tutorial, and I uninstalled and did it again, and it is still happening. It there a setting where I can change the file path? I have looked but I cannot see a settings button anywhere... I'm really interested in trying this so I want to get it working!
👍: 0 ⏩: 1
Ok, I'm not quite sure I can help you then, but I'd like to try.
First make sure that the file you downloaded had this exact name: hugin-2010.1.0.4920.exe
It should be working now, but if not then this should help.
Hugin is one program and autopano-SIFT-C is another program.
Hugin needs to connect the two programs so it can use the features that autopano-SIFT-C has. This should be how to do it:
In hugin:
Click File -> Preferences
Go to the tap Control Point Detectors
At the top of this list there should be a detector called Autopano-SIFT-C (Default)
If there isn't one called that we'll have to create it (I hope this works).
First I'd like you to open Explorer and go into the folder where you installed Hugin and open the bin folder.
In this folder there should be a file called Autopano-sift-c.exe
If there is none such file then download it from here: [link] (Go into Software and download the file autopano-sift-c.exe) and place it in the bin folder.
Now go back to the Control Point Detectors tab inside Hugins preferences and click on New.
In the new window fill out the information as I show in this screenshot: [link] (Of course with the correct position of your autopano-sift-c file)
Now click Ok in the window and in the Control Point Detectors tab select Autopano-SIFT-C in the list and click on Set default.
Now hit Ok
Hope I'm not too confusing to follow.
It really should work now!
I think it's really weird because I've easially installed it on multiple computers. :S
👍: 0 ⏩: 1
Ok, I have done all that. Now I'm getting a completely different error message.
"Could not execute command: C:/Program Files/hugin-2010.1.0.4920/bin..."
And it goes on and gives a list of directories.
If it's too much trouble I understand... my computer must just not like the program. Thanks for the help.
👍: 0 ⏩: 1
I really would like to help you, but I don't think I can then ")
If you're really into this you could try out this other free program called Autostitch. It is not as good as Hugin, but it can get the job done. I'm not sure though, that it can make planets like Hugin can, but maybe you will find it useful.
👍: 0 ⏩: 1
I have solved the problem. I downloaded the Autopano-sift-c by itself from the website and copied it in. Then Hugin said a differnt file was missing. I did a search in all documents, and it just happened that Photoshop had a file called that. I figured it's not like anything could get worse, so I copied it into Hugin files, and it accepted it! Thank you so much for the help. Now all I need to do it get off my ass and actually take the photos!
👍: 0 ⏩: 1
That is really great!!!
Hope you get started! That's why I made the tutorial ^^
👍: 0 ⏩: 1
| Next =>