HOME | DD
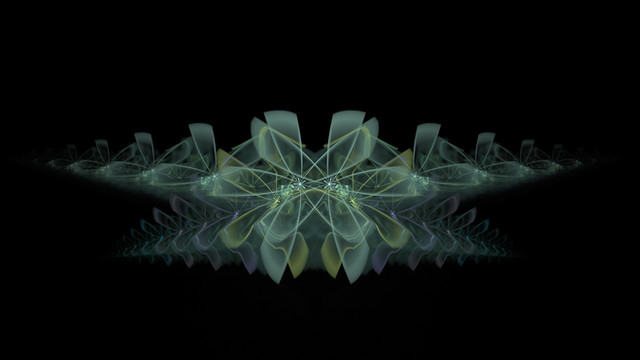
 Yagellonica — Making Patterns 1

Published: 2018-10-30 12:20:31 +0000 UTC; Views: 1239; Favourites: 37; Downloads: 13
Redirect to original
Description
Since some people have asked me how I do/make these patterns, here's a tutorial in 3 parts. It's long because it's comprehensive, sort of, hopefully.The basic design this time isn't my invention. I doodled that shape from somewhere into my trusty old notebook. Some Celtic knotwork pattern or somesuch.
While this is all done on Clip Studio Paint, any digital program should have similar functions (but I do recommend Clip Studio Paint anyway)
Also, while most digital drawing programs have "show grid" function, I don't usually use it simply because I need more than just tiny lines on regular intervals. So, I made my own reference points background (the criss-crossing lines and circles in the background). You don't have to or need to make this, but it does help.
Also when I make patterns, I tend to use the same size canvas: horizontally long for ribbon/border patterns, and square shape for other seamless patterns. This time it's the horizontal canvas with 420mm width by 210mm height, in 600dpi resolution.
And I cannot understate the importance of saving each and every shape separately as a PNG image for later use! Seriously. Build your own library of shapes like this. Then, when you want to create a new pattern, you can use your previous shapes as a base and not having to start from scratch.
This pattern is a relatively simple one and symmetric one. But if you have a pattern/shape that's not symmetric, no worries as long as it fits inside the 2/4 of the canvas and it should continue seamlessly. If it goes over, then you'll have some fiddling to do later on (see tutorial part 2 + 3).
Done on ClipStudioPaint / ClipStudioPaintPro on my Wacom tablet


