HOME | DD
 Athey — Head Modeling Tutorial

Published: 2008-09-19 07:29:38 +0000 UTC; Views: 22515; Favourites: 321; Downloads: 1187
Redirect to original
Description
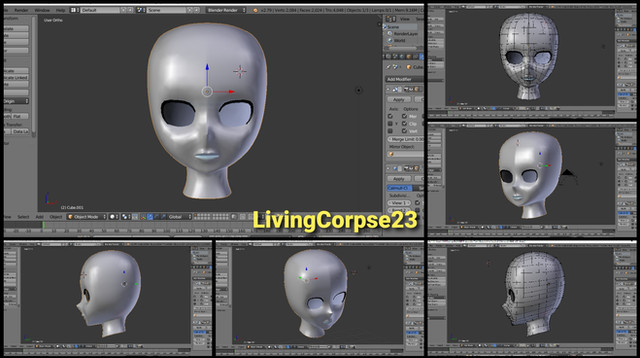
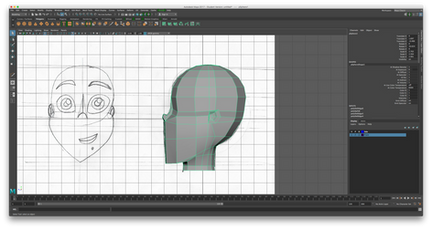
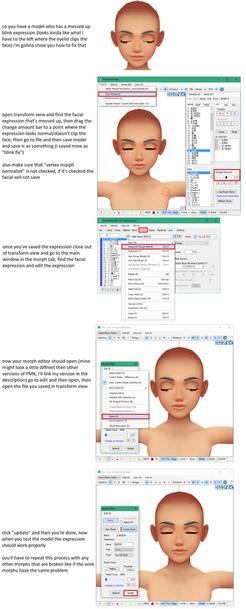
This image is INSANELY HUGE.It's literally over 13,000 pixels tall.
It's a real quicky, as far as tutorials go, and it's not a novice tut, cuz it doesn't show or explain where tools are, etc. but if you already know your way around the program a bit, it should help.
I'm actually making a more full-fledged, legitimate tutorial out of this later on, but here's a smaller version to hold you over.
Related content
Comments: 54

Great tut! I love your method. I'm going to try it for my current character. Just a quick question, the ref image you have in this tut and the one you have in your gallery, how did you draw the edge flow lines on it?? Photoshop??
Thanks
👍: 0 ⏩: 1

Yup - just photoshop. Pen tool.
👍: 0 ⏩: 0

and do you think this can be made in metaseqouia too?
👍: 0 ⏩: 1

It is possible in metasequoia 4.
👍: 0 ⏩: 0

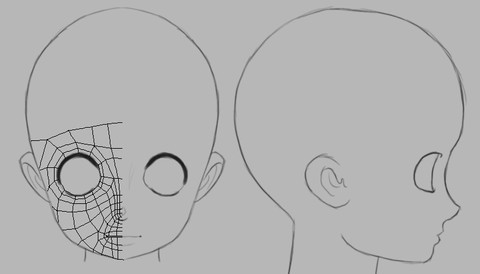
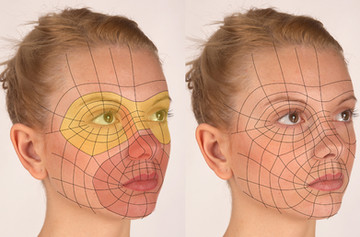
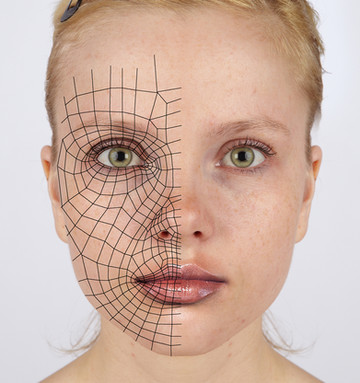
I've come across you again while wading through tutorials. This is a really interesting approach. I actually found a reference image with a bunch of the polys showing similar to your background image. This method would actually make sense now for use with the ref' image...es... forgot the side view 
👍: 0 ⏩: 0

hmmm... I don't get the part where you'll collapse the stack... how do you do that? XP do I right click? or is it a button? XP
-great tutorial!
👍: 0 ⏩: 2

You can right-click on the object itself, or you can right-click on the top modifier in the modifier stack and collapse all. Right-click on the object and convert to editable poly will also do the same thing.
👍: 0 ⏩: 0

mehh.... figured it out... I finished my head now! and ready for texture! XD
👍: 0 ⏩: 0

This is great, I think the key is your original drawing of how the mesh should look, i wouldn't have thought of sketching a mesh.
I'm a novice 3d artist, i keep meaning to teach myself 3ds max... z-brush is so much more fun though! but it is crap for building basic mesh shapes. i discovered Google Sketchup 7 the other day, have you tried it? it's like 3ds but simplified to a really accessable level.
👍: 0 ⏩: 1

The designers at our studio used to occasionally use sketchup to make level layouts. But its so hard to gauge scale in that app, that the lead designer didn't want them relying on it too much. I've never personally used it though.
👍: 0 ⏩: 1

OK, I've finally gotten round to actually doing this tutorial. it works great, but I'm stuck. i cant get the symmetry to work, it is using the models x axis and not the scene's x axis. i have done what you explained about resetting the Xform, and collapsing the stack.
sorry, i hope you don't mind me asking. apart from that, it has gone well, and i am enjoying the cut tool which i hadn't tried before.
~Dan
👍: 0 ⏩: 1

So you went to the Utilities tab (the hammer) clicked Reset XForm, Reset Selected, Collapsed the stack, and its still no go? You also need to make sure that the object's pivot is at the center of the object. Ideally this should also be the center of the world, just because it's easier to model if you do this.
Go to the Hierarchy tab (box w/ three little boxes coming from under it - between modify and the wheel) and click Affect Pivot Only. You can either move the pivot point manually, or down at the bottom of the screen where you can type in X Y and Z, type in 0 for X. Try Symmetry after that.
👍: 0 ⏩: 1

I didn't know this method and I totally need to try it out asap! it seems so much more easy and quick than building all the face from a small plane extruded again and again... thanks a lot for sharing
👍: 0 ⏩: 0

could you use shearing as an alternative instead of rot scale to match the side ref?
👍: 0 ⏩: 0

Thank you very much for sharing this extremely useful tutorial! ♥
I used it for my Super Mario model --> [link]
I'm still working on it, I'm trying to improve, and your skill is really ispiring
thanks!
👍: 0 ⏩: 0

Yup. Maya and Max can both do pretty much the exact same stuff, it's just a different set of tools and learning how to get to them.
👍: 0 ⏩: 0

It's nice to see a different method.
My 3D modeling teacher only shows us like...2 ways to make figures -__-. One was through extruding and the other by using splines. He's obsessed with them, but they can be really helpful. It's just nice to see another method.
I think this looks a lot more effecient, not to mention quicker.
When you mirror one side of the face to the other do you fuse the vertices after?
On the section with the mouth. The..13th picture, what is it that you're doing with the mouth exactly?
can't wait to hear back!
👍: 0 ⏩: 1

13th image, I selected the face that made the space between the lips and deleted it.
And for the 'fusing the verts' thing, this in 3dsmax, and I use the symmetry modifier. It welds all center verts automatically. But it's important that the center verts and the pivot point be on the exact same axis. In my case I always make sure that it's at 0 (just much easier) I make sure my pivot point is at 0 0 0 and my center verticies are all at 0.
👍: 0 ⏩: 0

Very good tutorial
helped me allot when it came to doing some of my projects
👍: 0 ⏩: 0

where do you learn how to do this stuff O.o looks kewl
👍: 0 ⏩: 0

Great tutorial, i have to try this way some time, personally i start with just a plane and just shift+drag edges to get the shapes i want.
It`s a great guide of the edge flow on the face, and i found intersting the way you resolve the part betwen the nose and the mouth, usually most modelers make just loops arround the mouth, i`m curious about how it`s work when you animate the mouth?
Cya
P.S. : sorry for my english
👍: 0 ⏩: 0

Nice tutorial! I actually recently started doing this type of head modeling to get the edge loops consistent.
👍: 0 ⏩: 0

Its HOOOOOGE
I'm about to install zbrush for the first time. Any tips?
👍: 0 ⏩: 1

awsome tutorial, I saw some other modeler make something in exactly the same way. as for me I seem to be a box modeller, things seem to work out really swell so far, but I cant help but feel intreeded by this method.
👍: 0 ⏩: 0
| Next =>


