HOME | DD
 liamwhite1 — Inkscape: Mutual Clipping and Extrapolated Miters
by-sa

Published: 2013-12-10 20:39:33 +0000 UTC; Views: 3719; Favourites: 69; Downloads: 107
Redirect to original
Description
Stroke width bases: fav.me/d6y6w3rYet Another of Spike's Jokes: fav.me/d6w9fip
ParclyTaxel's guide to Mutual Clipping: fav.me/d69usi5
Related content
Comments: 24

How do you convert the strokes to outlines? I'm new to Inkscape.
👍: 0 ⏩: 1

Path —> Stroke to Path
Also Ctrl+Alt+C as a shortcut
Make sure to NOT have open the "Object Properties" dialog when you convert stroke to path. It tends to crash.
👍: 0 ⏩: 1

no the curves of the head
👍: 0 ⏩: 1

How are the alicorn's head strokes any different than the regular horses'?
👍: 0 ⏩: 1

couse celestia head have the nodes are like corners
👍: 0 ⏩: 1

I like to promote learning from the source. If you download my Celestia vector , you'll see that what I have done at the corner is close to what I demonstrate here. Release the clipping paths on the two objects, and see if you can figure out what I did. Or download the image demonstrated here (it's at the back of my gallery) and release the clipping paths.
👍: 0 ⏩: 1

just I try to use masking but wen I do the object disapeer
👍: 0 ⏩: 1

If you want to use masking instead of clipping, set the clipping path to a white fill and no stroke.
👍: 0 ⏩: 1

Not following your train of thought here, I'm sorry to say
👍: 0 ⏩: 1

I cause I try to do shadows but I try your other tutorial and do the same
👍: 0 ⏩: 0

I was actually going to look up tutorials in the club to see what they looked like before I tried my own to show ~VectorizedUnicorn (who, thanks to mentions appearing in dA inboxes, should get this), who asked about the clipping technique to use on a Soarin vector, but then I saw that what I was going to cover already covered in this tutorial.
Looking at my library, my first known use of "lines clipping each other's ends off" (or otherwise mutual clipping) as a technique that I can recall was in April or so (the gray strokes of different widths intersecting in the hat), but I didn't know of the name for it until I stumbled the Mutual Clipping tutorial in September. 

Okay, I might be boasting, but I'm just saying that it's a great technique to know and tutorial after tutorial on the subject only helps more vector artists understand and learn it because it has many uses as I listed (and probably more), so useful it was worth going through the older vectors in my gallery and retrofitting those things I listed with it.
The only drawbacks are that it doesn't look like there's a quick-and-easy fix to edit them later if you want to thicken or thin the stroke width, because you have to clip everything all over again 
Whether or not this is completely relevant I'm not 100% certain, but it's in the name of sharing advice and knowledge, so I hope it's okay.
👍: 0 ⏩: 1

I generally try to avoid using Stroke to Path on visible lines, to ensure that there are no stroke width errors and to allow myself to change the shape and width of a line if I have to. This helps to ensure the best quality on my vectors. Granted, the errors will be small but they will definitely be there. It's kind of a trade off I guess. And Ponyscape is not working terribly well for me; I think there's a memory leak somewhere but I can't be sure.
If you tried something similar to this technique in April, then as far as I know you came up with a portion of this concept before ~Parclytaxel , who published his first work with Mutual Clipping in May: fav.me/d65whoc - "Fifty-Seven Eight Eighty-Five One Sixty-Luna" which seems to be named for the largest known prime 257885161 - 1.
👍: 0 ⏩: 0

Ok, I really wanted to try this technique, yet I fail at the understanding of the simplest things. Maybe I know the things mentioned, but there is no name to the things I do and therefore no connection between them. I feel like living under a stone.
Well, maybe I get some knowledge of definitions and wordings first and retry another time.
Thanks for sharing.
👍: 0 ⏩: 0

Interesting. I'll totally try this out next time I'm vectoring ^-^
Thanks a lot for sharing!
👍: 0 ⏩: 1

You do realise that I was the progenitor of this trick, don't you?
👍: 0 ⏩: 2

You said nothing that is in the Extrapolated Arc Miters section, although it logically follows. Full credit to you for figuring out the trick though
👍: 0 ⏩: 0

Hmmm, interesting. I had to re-read it a couple of times but I think I understand all clipping business. As for the very first part, I suppose I'll just have to play around with it until it makes sense lol
👍: 0 ⏩: 1

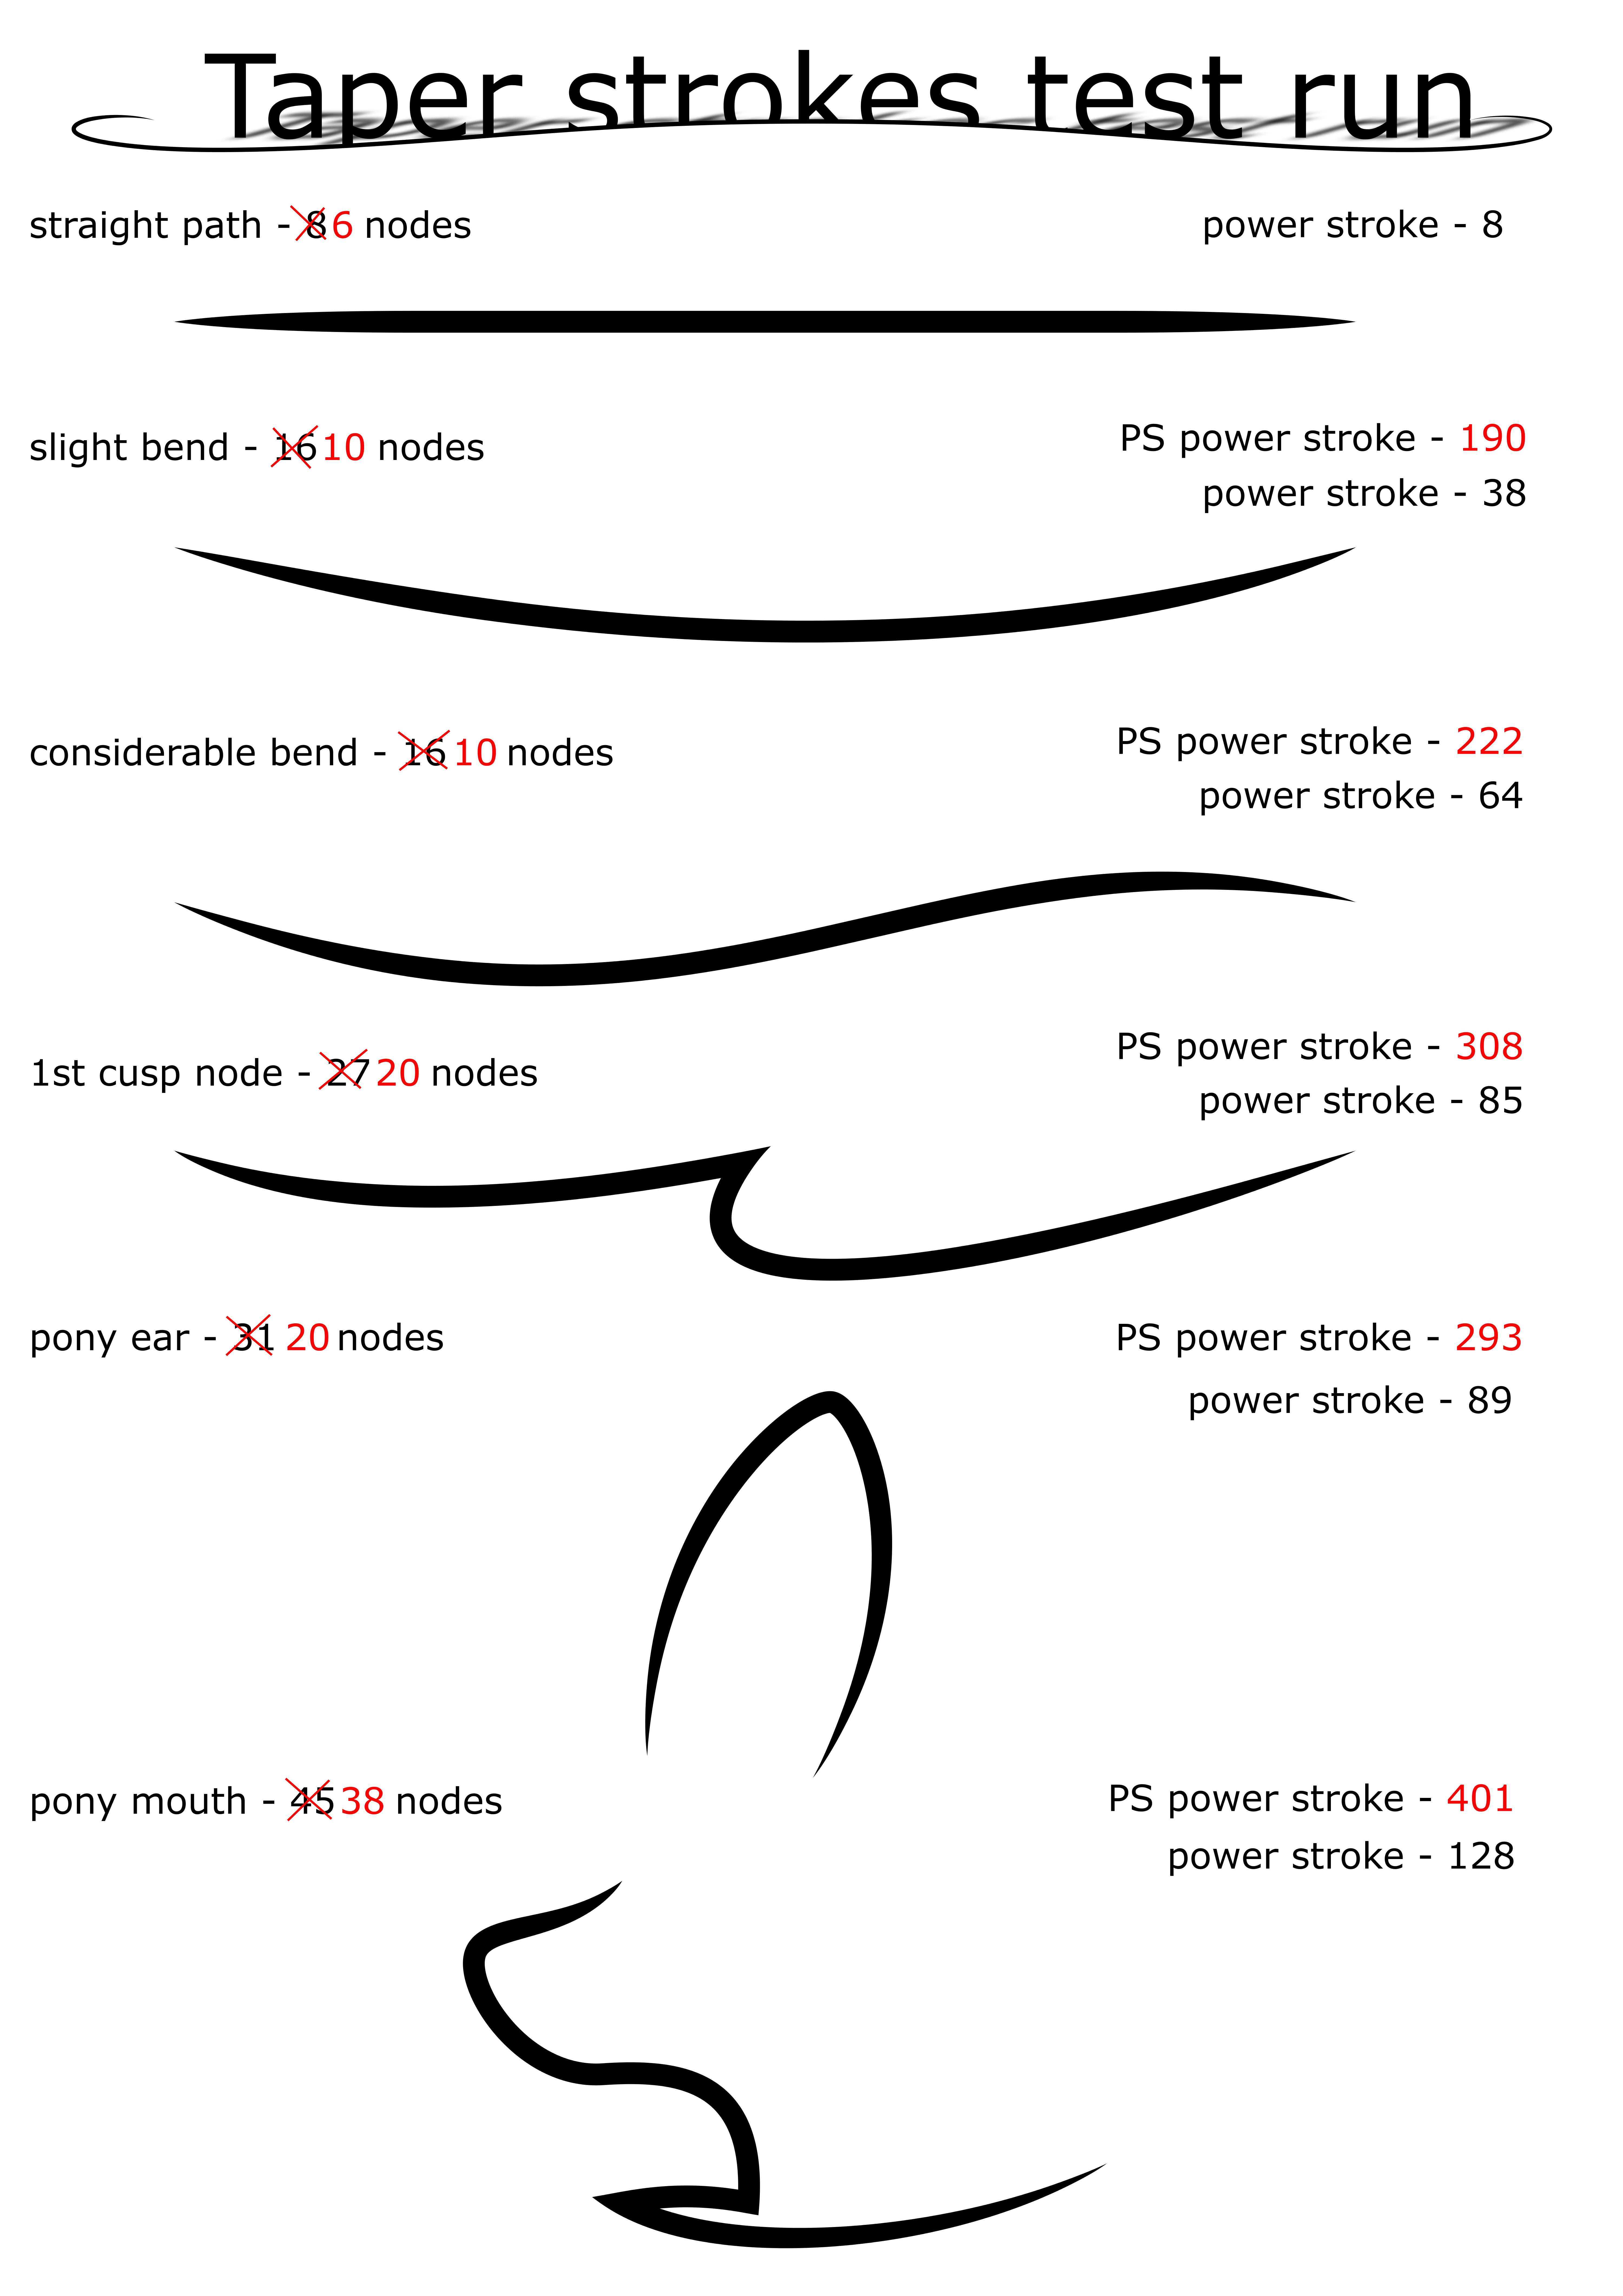
Here's how you use the "ready-made" tapers:
Download the SVG and put it in a place you'll remember
Open Inkscape and open the Path Effect Editor
Start drawing
When you need to taper a stroke:
Open up the "tapers" SVG in a new window of Inkscape
Ungroup everything
Select the taper you need and copy it
Go to the Path Effect Editor in the other, drawing window
If there isn't already Pattern Along Path on the current stroke add one
Click the Paste button
Play around until you get the desired width and fill
There you go, MUCH faster than tapering by hand.
👍: 0 ⏩: 0


