HOME | DD
 YGKtech — Hexagonads Launcher 2.0
by-nc-sa
YGKtech — Hexagonads Launcher 2.0
by-nc-sa
Published: 2012-05-30 00:45:54 +0000 UTC; Views: 65082; Favourites: 111; Downloads: 9424
Redirect to original
Description
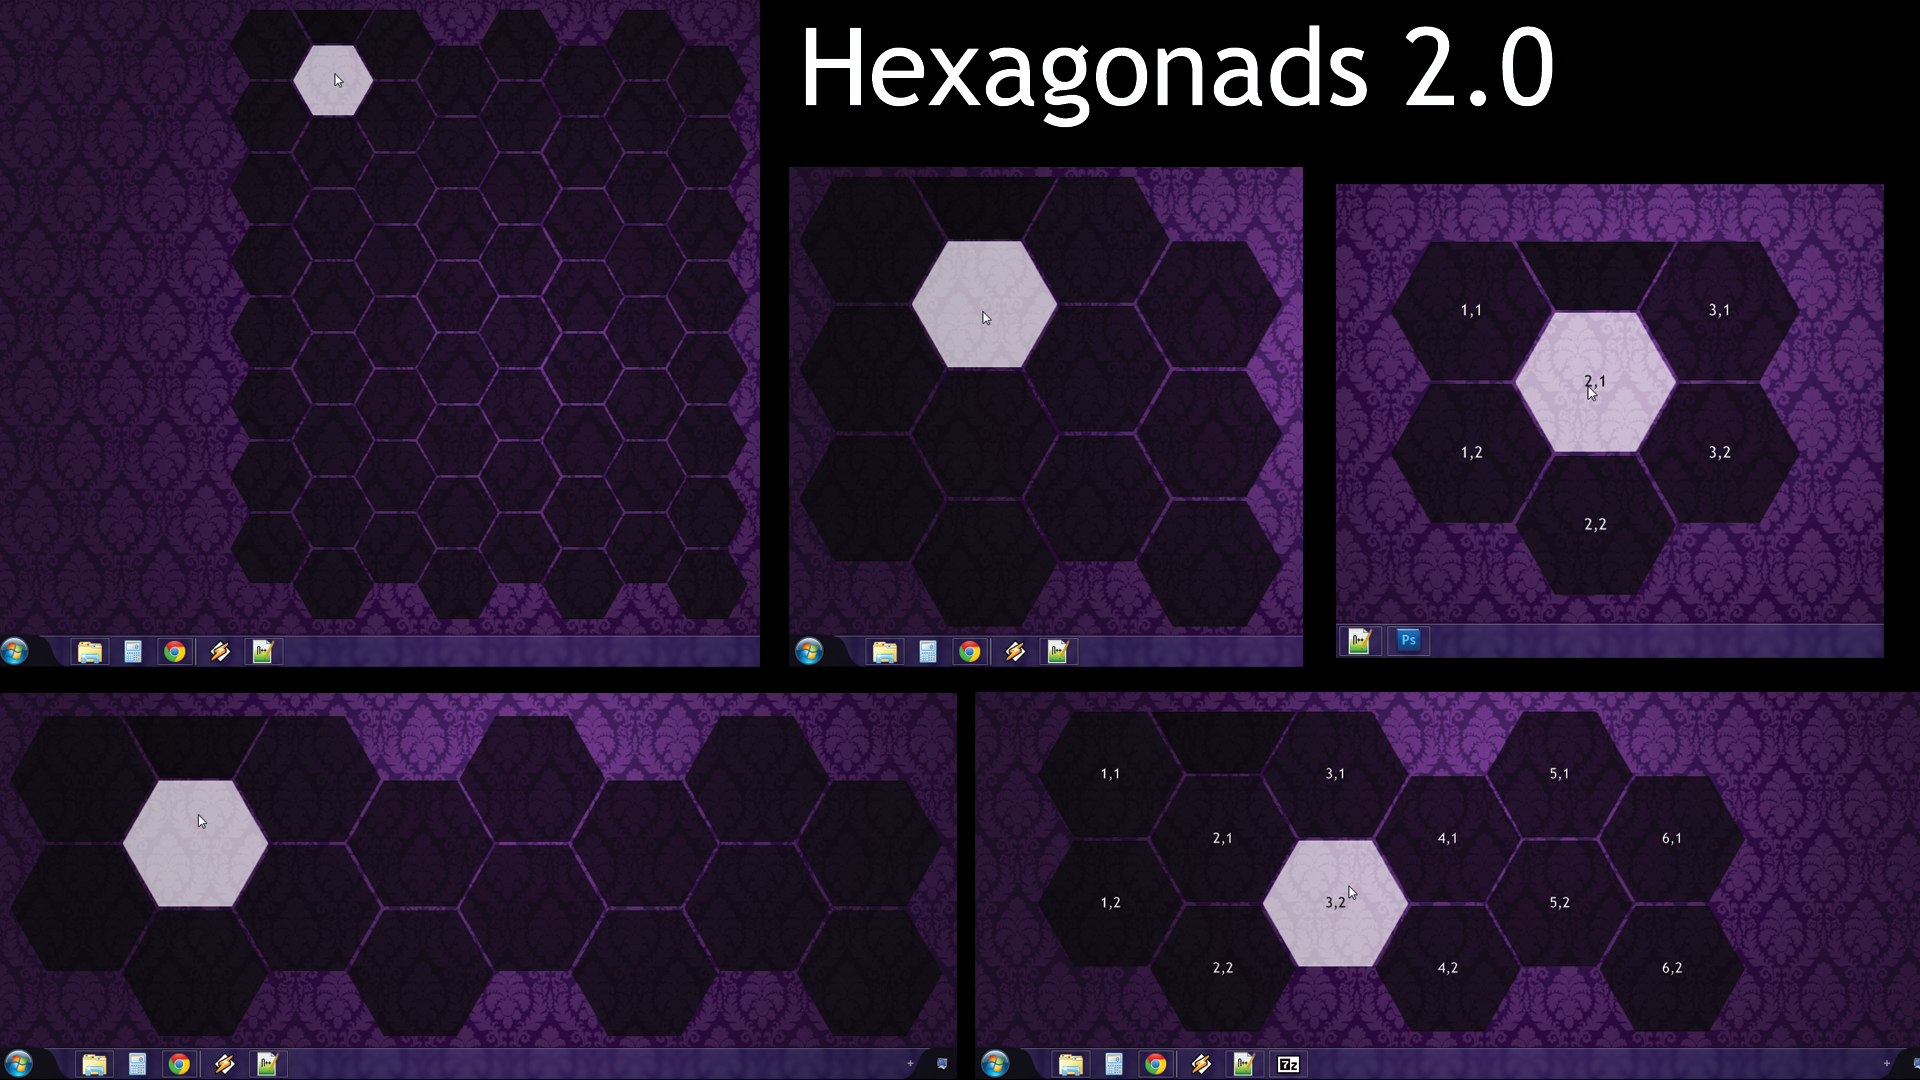
It's finally done. Months in the making, this is my total overhaul of my most popular skin to date, Hexagonads .Every facet of the skin has been re-programmed and expanded. And I mean expanded a LOT. The final version of Hexagonads 1.0 consisted of 647 lines of code. Version 2.0 is the product of 1,591 lines of code.
**************************************************
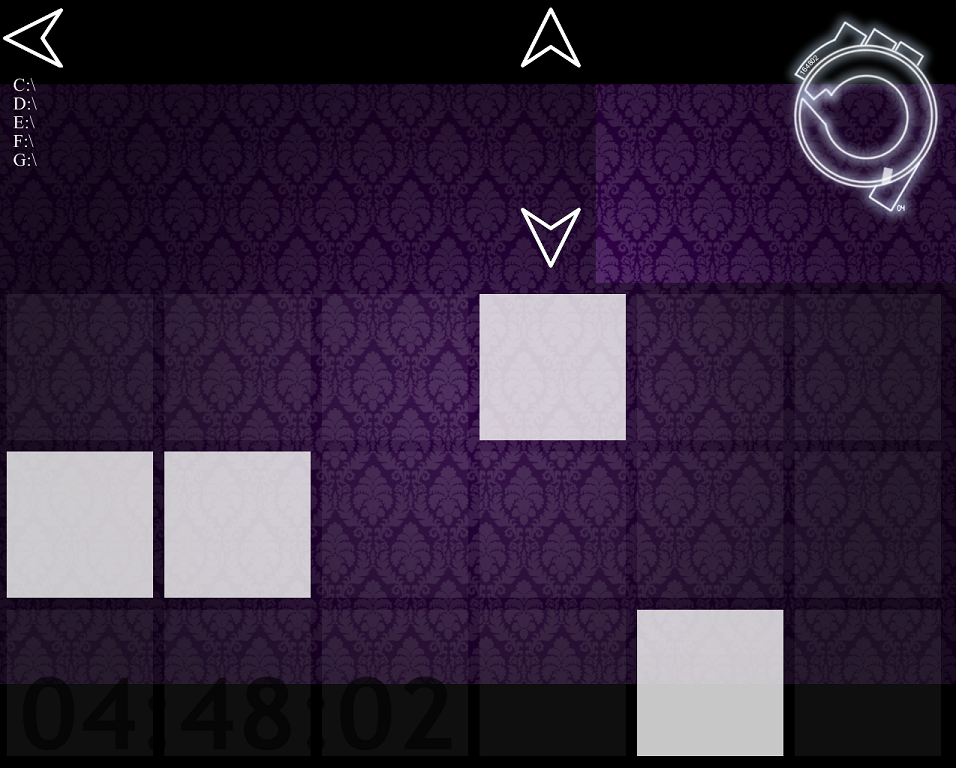
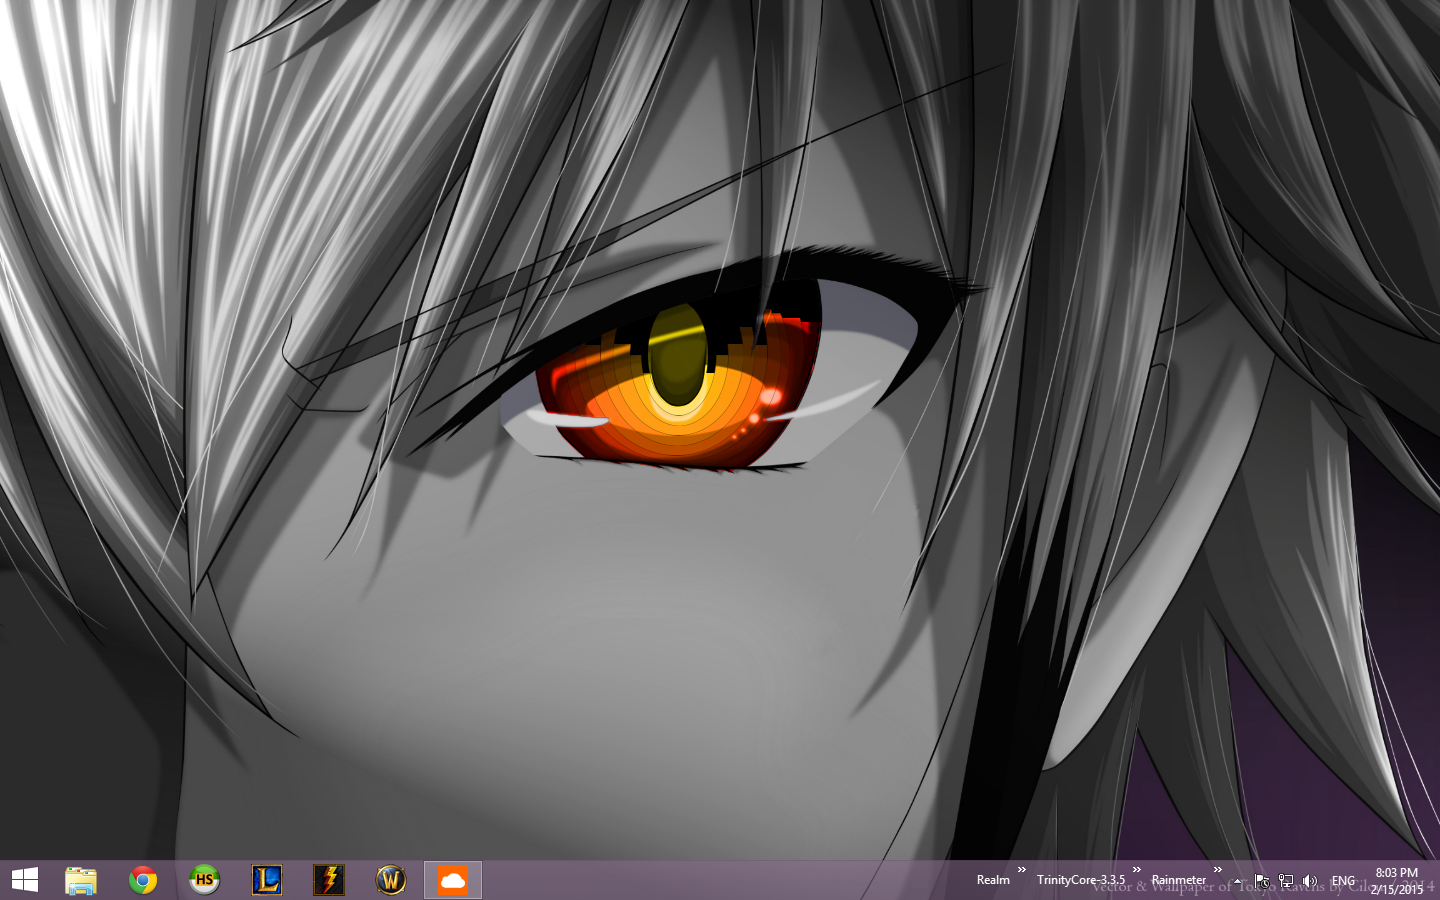
This is an application launcher for Rainmeter, made as part of my ongoing "Project Ghost" suite.
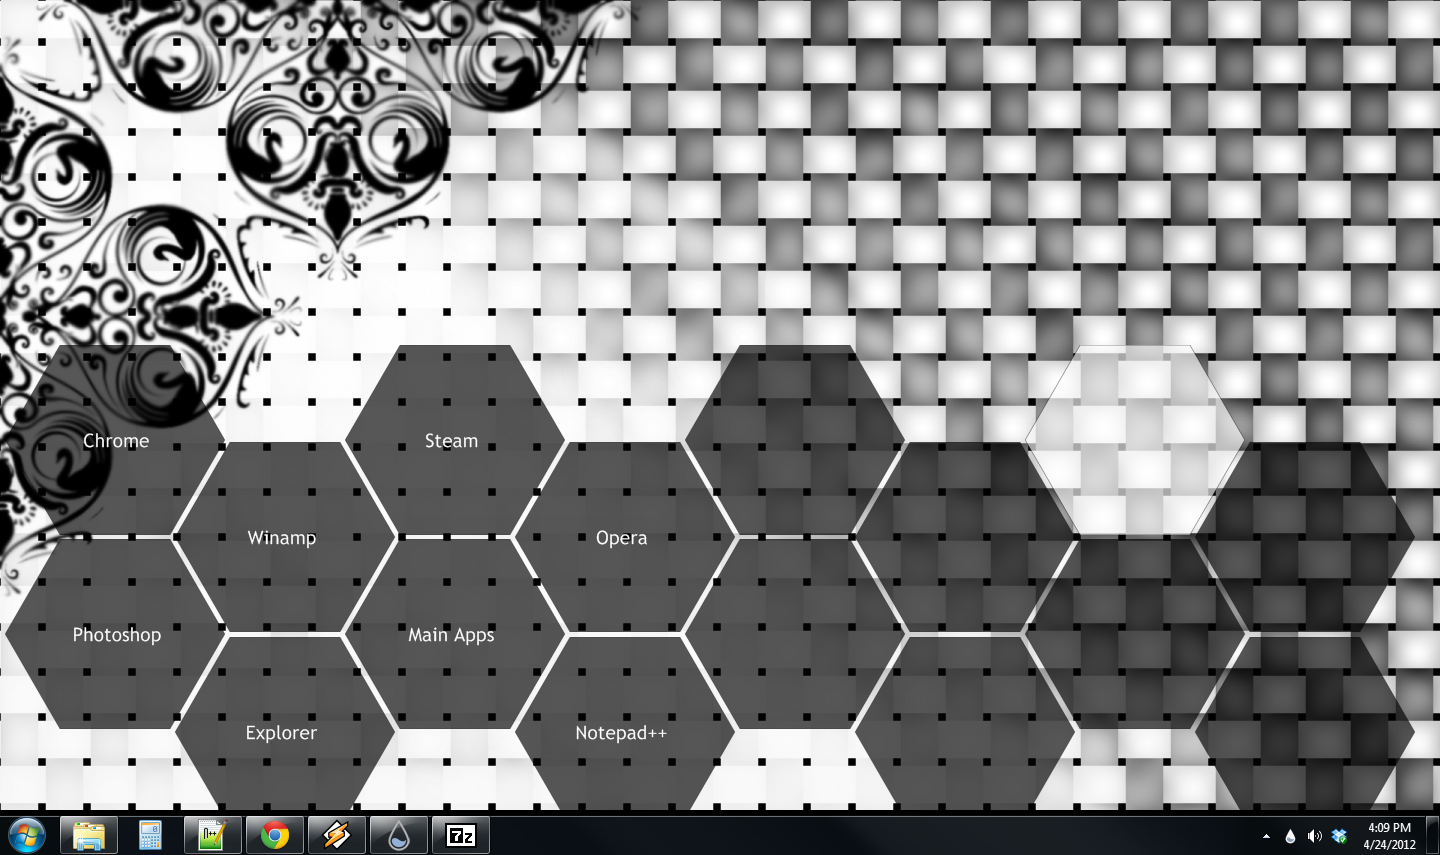
Each hexagon is an button which can be set to open any program or folder on your computer.
The buttons change color when you mouse over them, and flash when clicked.
You can change the dimensions of the array to suite your preferences. The current limit is a 8 x 8 array. To do so, simply change the count.X and count.Y variables in the *.ini file.
Better yet, if you don't like the size of the buttons, the whole skin can be made larger or smaller by adjusting a single variable. Open the *.ini file and find the variable "scale = 2.5". Increasing this number will shrink the skin and lowering it will make the skin larger.
To add programs to the launcher, you will need to find the directory path of your desired program/folder and add it to a "Path#,#" variable of your choice. For example; to set the top left hexagon to launch the windows calculator, open the .ini file and find the line:
Path1,1 =
and change it to:
Path1,1 = C:WindowsSystem32calc
The preview image should help you to find which lines correspond to which hexagons.
Following each "Path#,#" variable is a "Tip#,#" variable. here you can write a title that will be displayed in the middle of the button. There are also settings for removing the titles or enabling Tool-tip's that will use the same text.
Wallpaper in the background is Wallpaper is El-Felipe's Wallpaper
VS is mini'em all by snipes2
NOTE: even though not all 64 hexagons are displayed, rainmeter still creates a frame around the hidden ones, if you simply disable the "keep on screen" option this shouldn't matter. I am working on a way to fix the underlying issues, but it is easy enough to just change the setting for now.
EDIT: replaced a few instances of #black# with #norm#. changing the value of #norm# should effect all hexagons now.
Related content


Comments: 97

👍: 1 ⏩: 1

👍: 0 ⏩: 0

👍: 0 ⏩: 0
👍: 0 ⏩: 0

I have a question. I'm using a wallpaper with the hexagons, so I did some adjusting to get the tiles to match the wallpaper,,, but I am wondering HOW you change the color of the text for the tiles??
👍: 0 ⏩: 1

There are 2 main colors for the whole skin, "norm" and "hover", by default the tiles will use the "norm" color, and the text will use the "hover" color, and when you move the mouse over a tile they switch.
You can set these two color's on lines 187 and 188 of the .ini file, under the section labeled "Color Settings".
👍: 0 ⏩: 1
👍: 0 ⏩: 0

Hi I have a problem, somehow I can't drag the launcher around. I have a QHD display so don't know if that's the problem.
👍: 0 ⏩: 1
sorry i didn't see this earlier, I don't really spend much time on DA any more.
If you right click anywhere on the skin, and go to 'Settings' you should see options for "keep on screen" and "draggable". You want "keep on screen" disabled (it will be enabled by default"), and "draggable" should be enabled (it will be by default IIRC, but you want to make sure it didn't get disabled by accident somehow).
Also make sure you are dragging it from the "half-hexagon" in the top-left corner of the grid, you cannot drag a skin by the buttons.
👍: 1 ⏩: 0

I really like this launcher, Is it possible to increase that limit? I've been looking around in the code (I changed the coding to use icons instead of text) and I'm just curious about it
👍: 0 ⏩: 1
You mean the limit of how many buttons it can have? In short; yes, but it would require a bit of work.
It's been a while since I made this, but from what I remember it should be pretty easy to extend the grid, though it requires a fair bit of code, none of that code is very complicated.
I don't have time right now to work out exactly what's required to get additional rows/columns working, but essentially you'll just need to extend the patterns already present in my code, creating additional [cActiveX#] / [cActiveY#], [mRow#] / [mCol#], [sRow#] / [sCol#] groups to define the positioning, sizing, and such of the added rows/columns, then you just need to fill in new [r#,#] sections and define variables for their actions. It's all just copy and pasting the stuff that's already in there, and changing the numbers accordingly.
The easier approach would probably be to set up another copy of the skin. In your rainmeter folder, if you just copy and paste the Hexagonads folder, you should get a second, independently configurable copy of the skin.
👍: 0 ⏩: 0


hi. i just found rainmeter n tried your launcher its frickin awesome.
thanks! also is it possible to activate more than 1 launcher? ive tried to copy ini and placed it in different folder but somehow when i try to load it doesnt appear.
👍: 0 ⏩: 1
I'm glad you like it
It sounds like you are on the right track, but you're probably just missing a few files. I'll phrase my answer as a generalized guide in case anyone else has trouble duplicating a skin.
The Hexagonads.ini file is just a bunch of instructions telling Rainmeter how to display the hexagons and what to do when they are clicked, the hexagons themselves are image files that Rainmeter has to locate and before it can display the skin; if Rainmeter doesn't know where to find the image files, it can't do anything. Images and resource files actually get overlooked by users new to Rainmeter, because the Manage window where you load skins displays the folders and the .ini files, but hides everything else, so from that perspective it isn't obvious if the skin needs anything other than the .ini file to work (some skins actually don't need any image files, because rainmeter can create simple shapes on it's own).
There are a few different ways you can include resources (image files, color codes, etc) in Rainmeter, but Hexagonads uses a very simple approach: it expects all the image files it uses to be in the same folder as the .ini file.
So, to make a second working copy of this skin, you need to copy the entire folder. Open your file browser and navigate to your Skins folder (the default location is "C:\Users\YourName\My Documents\Rainmeter\Skins"), and locate the Hexagonads Launcher folder, then just copy and paste the whole folder. (Windows will automatically create a new folder named "Hexagonads Launcher - Copy", you can rename it anything you like).
Open the Rainmeter management window, and click "Refresh all", this causes Rainmeter to re-load all of your active skins, and re-scan the folder for new skins. You should see the new folder you created in the list of available skins, expand the folder, click on Hexagonads.ini, and then click "Load". You should see a copy of your first launcher, with all the same buttons and colors, except it will be stuck in the top-left corner of the screen, just disable the "keep on screen" setting as you would when you first set up this launcher.
Some skins may include resources from a different location, the Rainmeter documentation actually suggests storing them in an "@ Resources" folder to improve loading time, but I made this skin just before that feature was added to Rainmeter, just remember that Rainmeter needs to know where to find the files and you should be able to figure out what to do. These instructions should work for the majority of skins, but some skins, especially those used in multi-skin Suites/Layouts may share resources with other skins by including a common file, duplicating these skins may require some extra steps depending on how they are put together, and whether you want the copy to share those resources or be completely separate. This doesn't really come up with any of my skins, but you should be aware of it if you want to tamper with some of the more complicated skins available.
I know this is kind of an over-kill answer already, but let me know if there's anything you'd like me to explain more thoroughly.
👍: 0 ⏩: 1
hello gain and thanks for ur respond. so this is what i managed to do fav.me/d9ho2t6
not sure how to follow u here but im gonna figure it out cuz i liked ur job! lel still new here.
👍: 0 ⏩: 0

Is there any way to have an image in the hexagon rather than just a plain colour and text? Thank you
👍: 0 ⏩: 1
Yes, but you will have to modify the .ini file yourself to do so. I wrote a little guide to doing this when someone else asked the same question a ways back: comments.deviantart.com/1/3051…
and you can see what another user accomplished following that guide here: njrzr.deviantart.com/art/Scree…
Hopefully that helps, let me know if you have any trouble implementing the changes.
👍: 0 ⏩: 1
ShimotoT [2014-10-09 23:59:37 +0000 UTC]
After I worked out my issues, such as not knowing exactly how to work this, it has improved my desktop ten-fold. Great skin!
Once you get used to it, you will learn how to fully customize it. It's great for any desktop!
👍: 0 ⏩: 1

plz help me i really like the skin u have there
but there is alittle problem
it consuming too much cpu resources . and its jamming the others rainmeter theme i have .
i had tried to disable them and running ur skin over and over again but there is no success
plz help me
and plz dont question my hardware
its a decent hardware
i5-4690k a gtx titan z graphic card
and thats to much for a rainmeter to handel .
so plz tell e what is the problem ASAP.
and i cant drag this skin plz fix this to.
👍: 0 ⏩: 1
Interesting, I've never seen this skin cause problems due to resource usage.
open up the Hexagonads.ini (right click -> edit skin), and make sure it says Update = -1 near the top. Unless that value was changed somehow, I cannot think of a reason this skin would be difficult for a high end computer to run. Have you tried reinstalling rainmeter, and are you having trouble with any other skins?
in order to drag the skin, you need to disable the "keep on screen" setting for the skin, which is on by default for all rainmeter skins. Right click on the skin, then click on Settings -> Keep on Screen and you should be able to drag it.
👍: 0 ⏩: 1
i already do that
i already check that update = -1
and my rainmeter version is 3.3.0 beta r2313 64bit
no i am not having trouble with any other skins
plz help me i really want to try your skin
👍: 0 ⏩: 1
Copy the [variables] section of your Hexagonads.ini file and send it to me in a note, also send me the [Project Ghost\Hexagonads] section from your Rainmeter.ini file. I might be able to find something out with those.
Have you tested it with a non-beta version of rainmeter? I don't think the beta would cause problems, but it is the only thing that seems out of the ordinary.
👍: 0 ⏩: 0

I liked this dock, I'm using and making the tweaks that you post, thanks man, I'm just starting using with smplcty, I like to keep it simple, XD
P.D: check the image: fav.me/d7pwc18 , is a little mess with the icons -_-
👍: 0 ⏩: 1
Thanks for the comment, I always like seeing what people are able to do with my skins. Nice work customizing the skin, it ties together nicely with the rest of your desktop.
👍: 0 ⏩: 0

Yes, here's a guide in the most basic terms in case anyone else wants to do so:
1) open the Hexagonads.ini file in a text editor (just right click and select "Edit skin")
2) locate the section labeled [Anchor] (it should be on the 600th line of the text file, in notepad use Ctrl+G to jump to a specified line number)
3) place a semicolon ( ; ) in front of every line in that section, including the [Anchor] tag.
4) save the file
5) right click on the skin and select "Refresh skin"
You should see the half hexagon disappear.
without the [Anchor] it is difficult to re-position the skin, so if you want to bring it back to re-organize your desktop, simply open the Hexagonads.ini file again, and remove all the semicolons you added.
👍: 0 ⏩: 1
ShimotoT In reply to Kyodjinn [2014-10-09 19:21:38 +0000 UTC]
I don't know if this is only me on not, but I found the anchor on line 427 myself.
👍: 0 ⏩: 0

First time using rainmeter and I'm so glad this is the first skin I found. I'm trying to downscale the whole thing but can't seem to find "scale=2.5" anywhere. HELP
👍: 0 ⏩: 1
Sorry I didn't see this comment sooner; if you right click on the skin and select "Edit Skin" a text file should ope, the scale setting will be on line 21 of the text file, just make the adjustment, save the file, and the refresh the skin (also done from the right-click menu)
👍: 0 ⏩: 0

Great skin and I love it, but im having issues changing the color of the font. Do you know what I can do to fix it? and the font face is not changing ether. Thx!
👍: 0 ⏩: 1
This is another quirk I'll need to fix in the next release: there are two key color variables in the skin, #hover# and #norm#, when you mouse over a button, the hexagon changes color from #norm# to #hover#, and the text does the opposite, switching from #hover# to #norm#. I thought this would be a good way to ensure a good contrast between the button and the text, and for the most part it is, but it makes changing the font color somewhat difficult. Whenever someone asks a question about how to make a certain modification to one of my skins I like to reply with a generalized guide so everyone can see how to do it, here we go:
each button label corresponds to a [t#,#] section (for example, the top-left button's label is [t1,1]) in each of these sections I have the line:
FontColor = #hover#
by changing #hover# to a color value or a different variable assigned to a color value, you can change the color of the font when the skin loads. But that alone isn't enough, because in the code for each button I set the font color to either #norm# or #hover# whenever the button changes color, in order to maintain contrast. So even if you change the color of the font when the skin loads, as soon as you move your mouse over a button the text color will change back to #hover/norm#.
The best solution to this I can think of would be to create a new pair of color variables, #Font.norm# and #Font.hover#, which you can do by adding the following lines to the [variables] section:
Font.norm = #blue#
Font.hover = #red#
(here I am using the color variables included in the skin by include =allcolors.inc which copies a list of ~800 color variables into the program, you can find the file in the skin folder to see what's available, you can also use any of rainmeter's color codes, they provide a color picker for these here: rainmeter.net/color simply replace blue and red with whatever color's you would like the font to switch between when you move your mouse over a button, they can be the same color if you'd like)
then rewrite the [r#,#] and [t#,#] sections you use to make use of these variables. Here is how [r1,1] and [t1,1] would look after the change:
[r1,1]
Meter = image
Group = Hex | C1 | R1
MeterStyle = sButton | sRow1 | sCol1
ImageTint = #norm#
ToolTipText = #Tip1,1#
MouseOverAction = !Execute [!SetOption r1,1 ImageTint #hover#][!SetOption t1,1 FontColor #Font.hover#][!update]
MouseLeaveAction = !Execute [!SetOption r1,1 ImageTint #norm#][!SetOption t1,1 FontColor #Font.norm#][!update]
LeftMouseDownAction = !Execute [!SetOption r1,1 ImageTint #norm#][!SetOption t1,1 FontColor #Font.norm#][!update][!SetOption r1,1 ImageTint #hover#][!SetOption t1,1 FontColor #Font.hover#][!update]
LeftMouseUpAction = !Execute [!SetOption r1,1 ImageTint #norm#][!SetOption t1,1 FontColor #Font.norm#][!update][!SetOption r1,1 ImageTint #hover#][!SetOption t1,1 FontColor #Font.hover#][!update]["#Path1,1#"]
[t1,1]
Meter = String
Group = Strings | C1 | R1
MeterStyle = sText
FontColor = #Font.norm#
Text = #Tip1,1#
notice that wherever I set FontColor to #hover# I now set it to #Font.norm# and wherever I set it to #norm# I set it to #Font.hover#, this is because the original code always had text be #hover# when the button was #norm# and vice versa.
adding the new color variables is easy enough, but changing all the button and label sections to use them may be a bit tedious, if you have a good text editor like notepad++ you can use find & replace operations to efficiently make the changes, or if you only use a few buttons you can figure out which meter's they correspond to and make the changes by hand.
As for the font face not changing, all you should need to do is change this line near the bottom of the [variables] section:
Font.face = Trebuchet MS
to whatever font you want, in theory that is. I've has some trouble in the past getting Rainmeter to use fonts, mostly because I don't think there is a way to see all the fonts rainmeter has access to, and without an encyclopedic knowledge of font's I don't really know which ones I can expect to work. I know changing it to Times New Roman works (though that is a terrible font for labeling buttons, too narrow), I would assume you have access to all the fonts MS word has access to, so you can try previewing fonts in there are copying their names into the skin config file to see if they work. Here is the rainmeter font guide for further reference: docs.rainmeter.net/tips/fonts-…
Thanks for your enthusiasm for my skin, comments like this make me want to get back into rainmeter coding, but it's hard to find the enthusiasm/free time as a full time computer science student with a part-time job that also involves programming. I love programming but I can only do so much of it in a day before I get tired of it. Let me know if you have any more questions about the skin, I don't update skins much but I do keep an eye on my messages and try my best to help people who leave a comment.
👍: 0 ⏩: 0

I know this is maybe a bit too much to ask for XD But I really love this and I have it up all and running, but I cant just get the icons to work... Is it possible that someone could show an example of how the code looks for their working setup? It would help me out alot
👍: 0 ⏩: 1
have you followed the guide I posted in the comments? I should probably make a update to include the code by default, but I haven't gotten around to it yet and I'm not likely to do so any time soon.
once you have added to code I posted to your Hexagonads.ini file, you just need to add the name of the image file you want to use to the right [t#,#] meter and it should show up just fine. (you also need to put the image file in the Hexagonads skin folder, the same place the Hexagonads.ini file is located).
If you still can't get it working after doing that, make sure you have the latest version of rainmeter. If it is still not working you can send me your code, or I could try and motivate myself to make a proper update to this.
👍: 0 ⏩: 0

Is there a way to have multiply color for it, than just 1 color throughout? Sorry if it a stupid question ^^"
👍: 0 ⏩: 1
For some reason I never noticed this question, I'm sure you aren't checking back regularly looking for an answer, but I'll post one anyways in case someone else is wondering the same thing.
I short, yes. Is is possible to have each button have different colors, but there isn't a easy way to do it yet. You can change the colors for a specific hexagon by editing the appropriate [r#,#] section of the config file.
Each button has a section in the file like this, and they all have this line:
ImageTint = #norm#
By replacing #norm# with a different color, either using a color code or using one of the many color variables provided by my include files available here: ygktech.deviantart.com/gallery…
you will change the color of the hexagon when the skin is loaded. But as soon as you mouse over or click on the button it will be set back to #norm#, so you will have to replace #norm# in all of the Mouse Action statements as well, so it can be a bit tedious.
If you have a good text editor you can use a "replace all in selected" operation to change all instances of #norm# in a selected region of text with some other string (the variable name or color code for your desired color).
As you can see, the change boils down to replacing a few lines of text, but it can become quite tedious to do it on a large scale. Eventually I would like to make some revisions to this skin to make it easier to customize, and maybe even have it randomize the colors when you click on a button, but don't expect anything out of me in the near future.
As always, if my explanation wasn't clear, let me know what you need help with and I'll do my best to try and help you.
👍: 0 ⏩: 1
Your explanation is clear-cut, helps me understand a whole lot of thing  (Smile)")
👍: 0 ⏩: 0

Hey I had the problem with the half hexagon and when I found the halfhex.png and deleted it everything was ok but now I cannot drag the hexagons anywhere even with the "Keep it on the screen"- Off :/
What I change to the Anchor part to make it dragable from another hexagon? Please help :/
👍: 0 ⏩: 1
If you just delete the LeftMouseDownAction and LeftMouseUpAction portions of [r1,1] (or any other of the hexagon meters) it should let you drag from that hexagon.
👍: 0 ⏩: 1
Yeah it worked fine!Thank you!
👍: 0 ⏩: 0


I'm having issues with the positionning of the plugin. As you can see in this screenshot: [link] , the plugins sticks to the upper part of the screen. I can only change horizontal position. I tried using Rainmeter coordinates positionning, but it goes back to zero every time. Do you have any idea why, and otherwise, what part of the .ini file can i change to fix it ?
👍: 0 ⏩: 1
right click on the skin, go to settings and uncheck "Keep on screen"
Rainmeter enables this setting by default, and I don't know of a way to make rainmeter ignore the disabled buttons, so it thinks the skin is really tall and wont let you move it off the screen.
👍: 0 ⏩: 1
 (Wink)")
| Next =>