HOME | DD
 danimation2001 — Prelude to step 1
Published: 2003-09-02 21:56:28 +0000 UTC; Views: 5855; Favourites: 26; Downloads: 3230
Redirect to original
Description
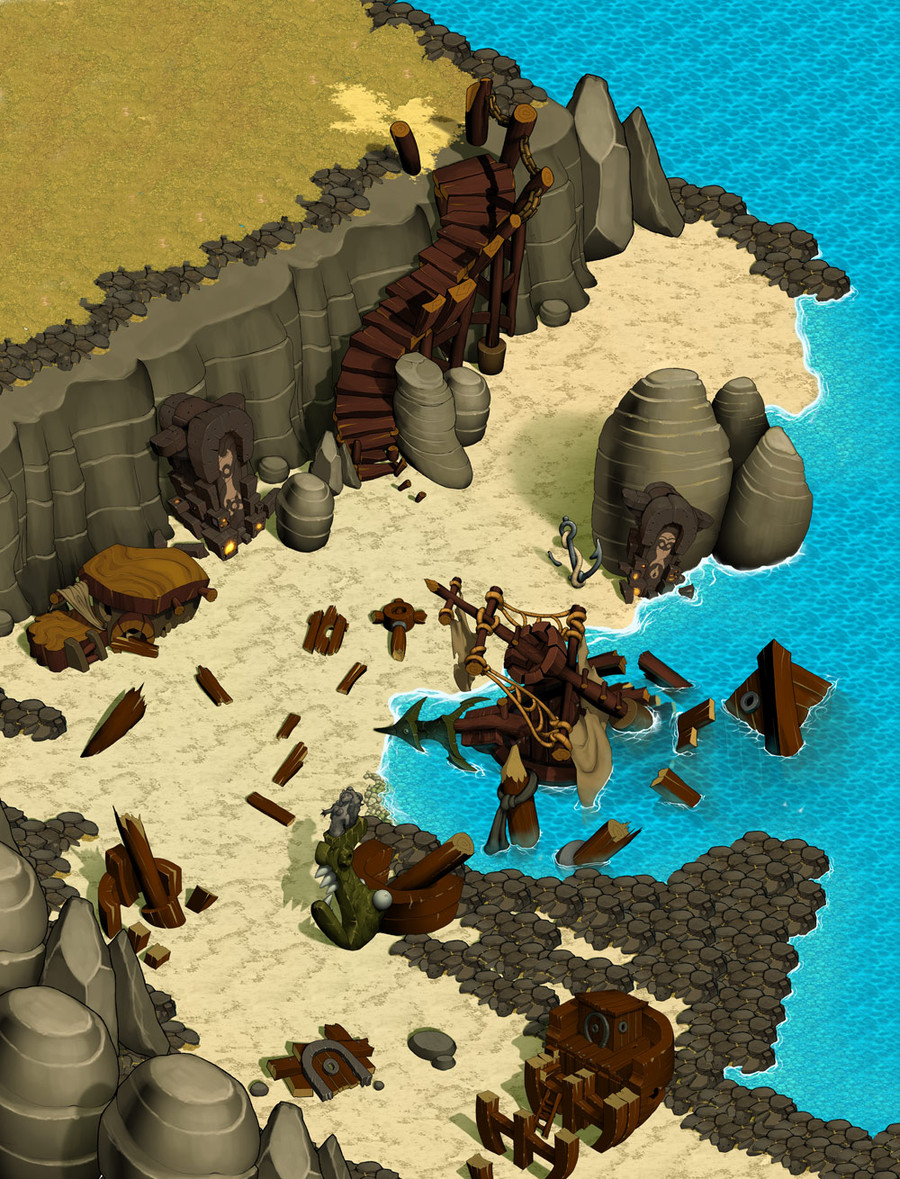
Here's a prelude to step one, Just throwing people, those who don't know Photoshop to well, a bone.Drawing by: XTRVGNZA
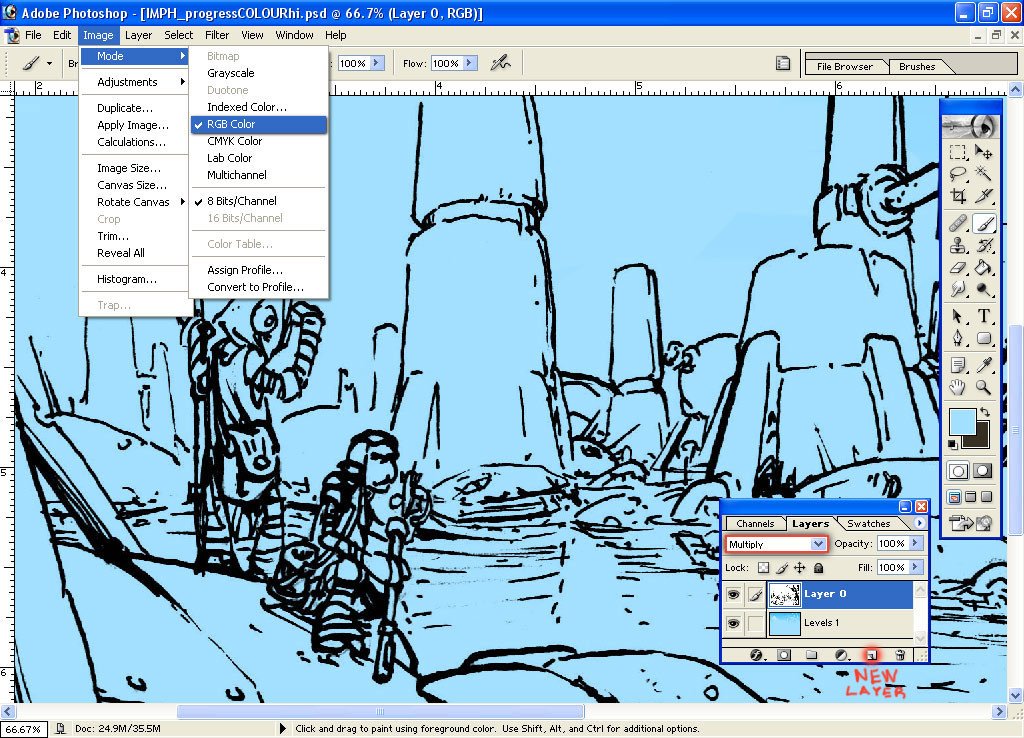
You need to make sure that you're working in RGB format, if you plan to post this on the net.
to check on this go to:
IMAGE - MODE - RGB colors
most of the time you'll be changing it from greyscale to RGB but some times it'll be on bitmap and wont allow you to go to RGB yet. Just go to greyscale first and then from there to RGB.
CYMK is for print, so don't worry about that yet. If you want to preview this version, simply press (ctrl+y) and then press (ctrl+y) again to go back. This will be useful for when you do want to go to print, just to make sure that changing it from RGB to CYMK will not totally screw around with the colors. but if it does don't worry, I'll help you out with that later in another tutorial.
---------------------------------------------------------
You'll usually start off with one layer(line art). Most of the time that layer will have a lock on it that prevents you from working on that layer or moving up.
-To get rid of this lock, simply double click on that layer.
Now that you can work on that layer, change it's mode from "NORMAL" to "MULTIPLY".
-----------------------------------------------------
Next, to create a new layer for the colors, click on the "Create a new layer" button that I highlighted at the bottom of the layers palette. I only like to use one layer because it saves space and to create more would just be a waste of memory.
Make sure this new layer is under the lineart layer. If it's not, then click and drag that new layer beneath the lineart.
---------------------------------
ok so now you're all set on prepping the line art for coloring.
Go to step 1: www.deviantart.com/view/289354…
Related content


Comments: 13

ahh thought that locked layer was untouchable gawd im so dumb! 
thanks so far!

👍: 0 ⏩: 0

 (Smile)")

Or come to Canada!!


👍: 0 ⏩: 0

dan i would just like to express how deeply greatfull i am for this set of processes you are giving us......
you own..... if you ever come to melbourne australia the drinks are on me
👍: 0 ⏩: 0


")


👍: 0 ⏩: 0

!!
we get a lesson from tha' master! w00t!
thanks for doin this dan
👍: 0 ⏩: 0


This is much quicker than my way to get the same result. I think im using this from now on, thanks.
👍: 0 ⏩: 1

is your way to select the entire lineart picture, cut it, make a new channel, paste it into the channel, and then paint on the RGB channel while keeping the lineart channel visible?
just curious, cause there are a few ways to do this...
👍: 0 ⏩: 1
I make a copy of the blue RGB channel then invert it (Ctrl + i) I then load this channel on a new layer and fill it black, then I can delete the original layer and fill underneath the new one.
👍: 0 ⏩: 1
ahh..
see? yet another way it's done... there's always a new way to do everything.. especially in this field!
👍: 0 ⏩: 0