HOME | DD
 GriswaldTerrastone — Perspective Tutorial: RS 1

Published: 2011-05-10 18:45:13 +0000 UTC; Views: 4212; Favourites: 33; Downloads: 94
Redirect to original
Description
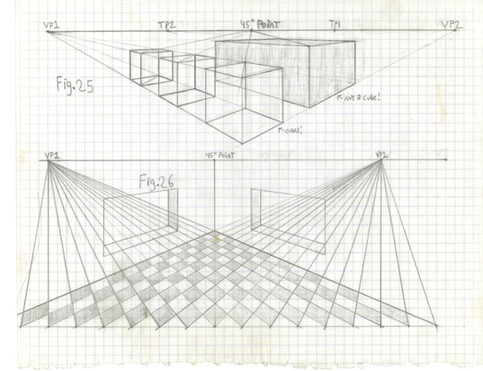
So far you've seen how to draw checkered floors using a Single Vanishing Point and Two Vanishing Points.In both cases, though, it involved drawing squares for the tiles.
It also involved using a "straight ahead" view of things; if you were standing on a huge square, you'd be standing on a diagonal line connecting two corners, looking straight towards one of the corners. This is why the floor back on page 2VP 9 looks the way it does, nice and even.
On page ES 1, we saw that swinging the 45 degree line can make the entire scene "slide" over.
But- what would happen if we wanted rectangles? Now you move the 45 degree point so it is no longer right in the middle, but first, a little refresher...
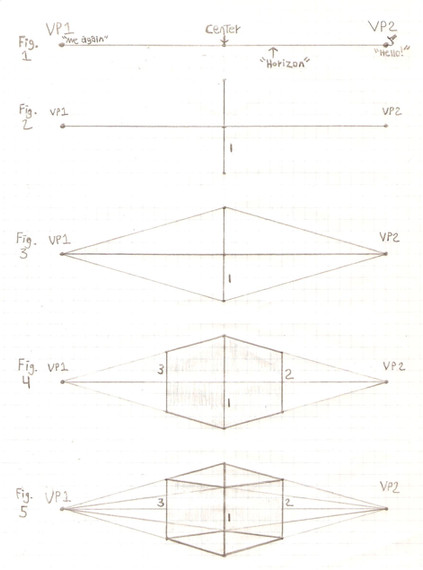
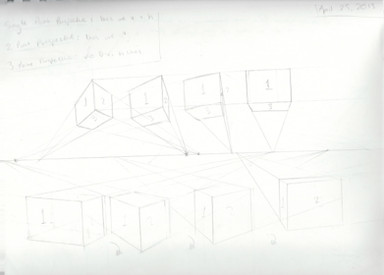
Look at Fig. 1.
Here we have the typical way of doing things- the even "V" of perpendicular lines, with that bisecting line going straight up to the horizon. The 45 degree point will be right between them, nice and even. Everything in Fig. 1 is nice and even, since the line drawn from the 45 degree point goes straight down- going back the way it came.
Even, everything there.
Now- look at Fig. 2.
This is just like Fig. 1, except the 45 degree line was swung over to the right. The result? Everything "slides" over to the right.
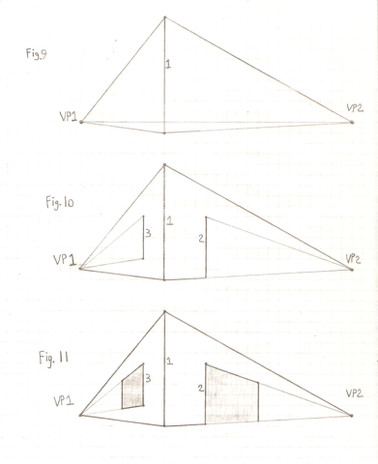
In Fig. 3, this time the perpendicular lines themselves have been moved in such a way that, although they touch the horizon the same distance apart from each other as in Fig. 1 and Fig. 2., they are no longer neat and even.
Notice how the 45 degree point is no longer right in the middle; now it is much closer to vanishing point 2! That must give rectangles, not squares. The "45 degree point" is actually a 65 DEGREE POINT! You always base the angle on the nice, even "V" with its point under the middle of the horizon.
As a result, points A and B are NOT the same distance away from the corner of that first shape. So if we draw in new points based on the two distances, one shorter than the other, as shown, we get (drum roll)...
A total and complete mess.
The dotted line proves that this was NOT done properly. Even the 16 squares within the darkened lines only sort of look right; but this is obviously not good. Rectangles, like squares, must have a line going through their front and back corners in such a way that it will touch the (whatever) point on the horizon.
You cannot handle rectangles the way you did squares. Something different must be done.
And so we shall!


Related content
Comments: 2

THANKS FOR THE TUTORIAL IT IS AMAZING
but i am argentinian and some words in english i don't understeand
in this case What's mean RS?
thank you
👍: 0 ⏩: 1

It's really just the name I gave this part.
Sorry for the delay; I was gone from mid-2013 through 2015.
And thank you for the compliment!
👍: 0 ⏩: 0
