HOME | DD
 rsgmaker — Transparency in create.swf

Published: 2014-04-30 01:09:43 +0000 UTC; Views: 2393; Favourites: 33; Downloads: 6
Redirect to original
Description
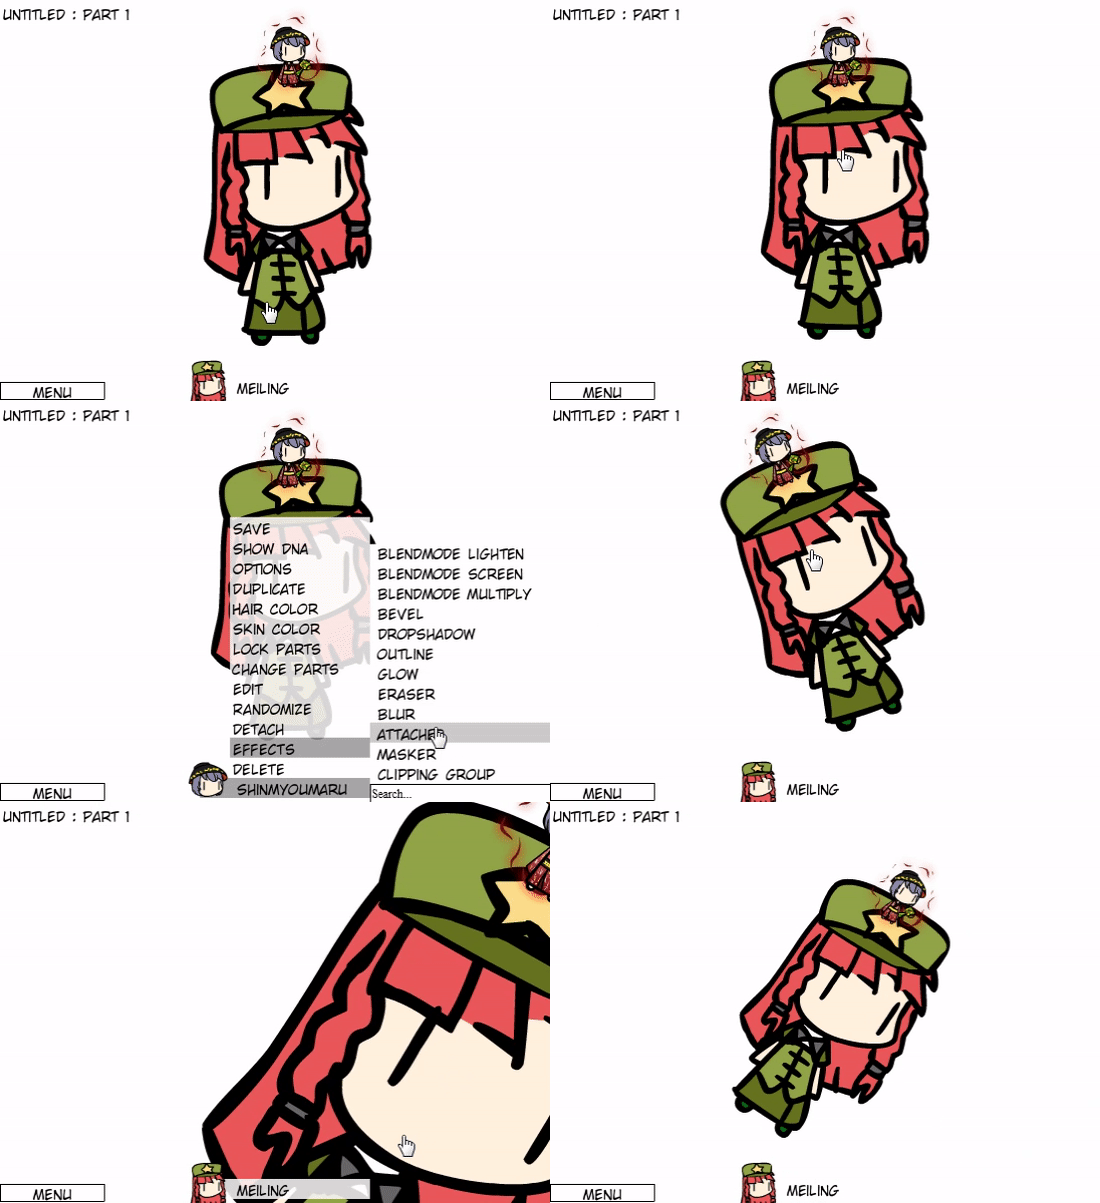
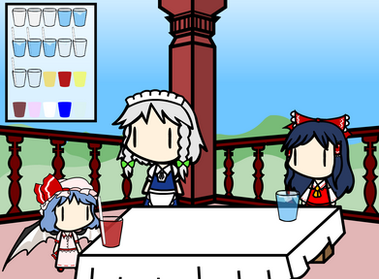
You can also have layers of transparent snapshots to have varying levels of transparencies, make sure to start with the less opaque first, and after getting all the layers reverse the order of transparent layers(the result must be:least opaque on top, most on bottom).also another effect is using a transparent layer with the greyscale filter to lower the saturation of the colors.
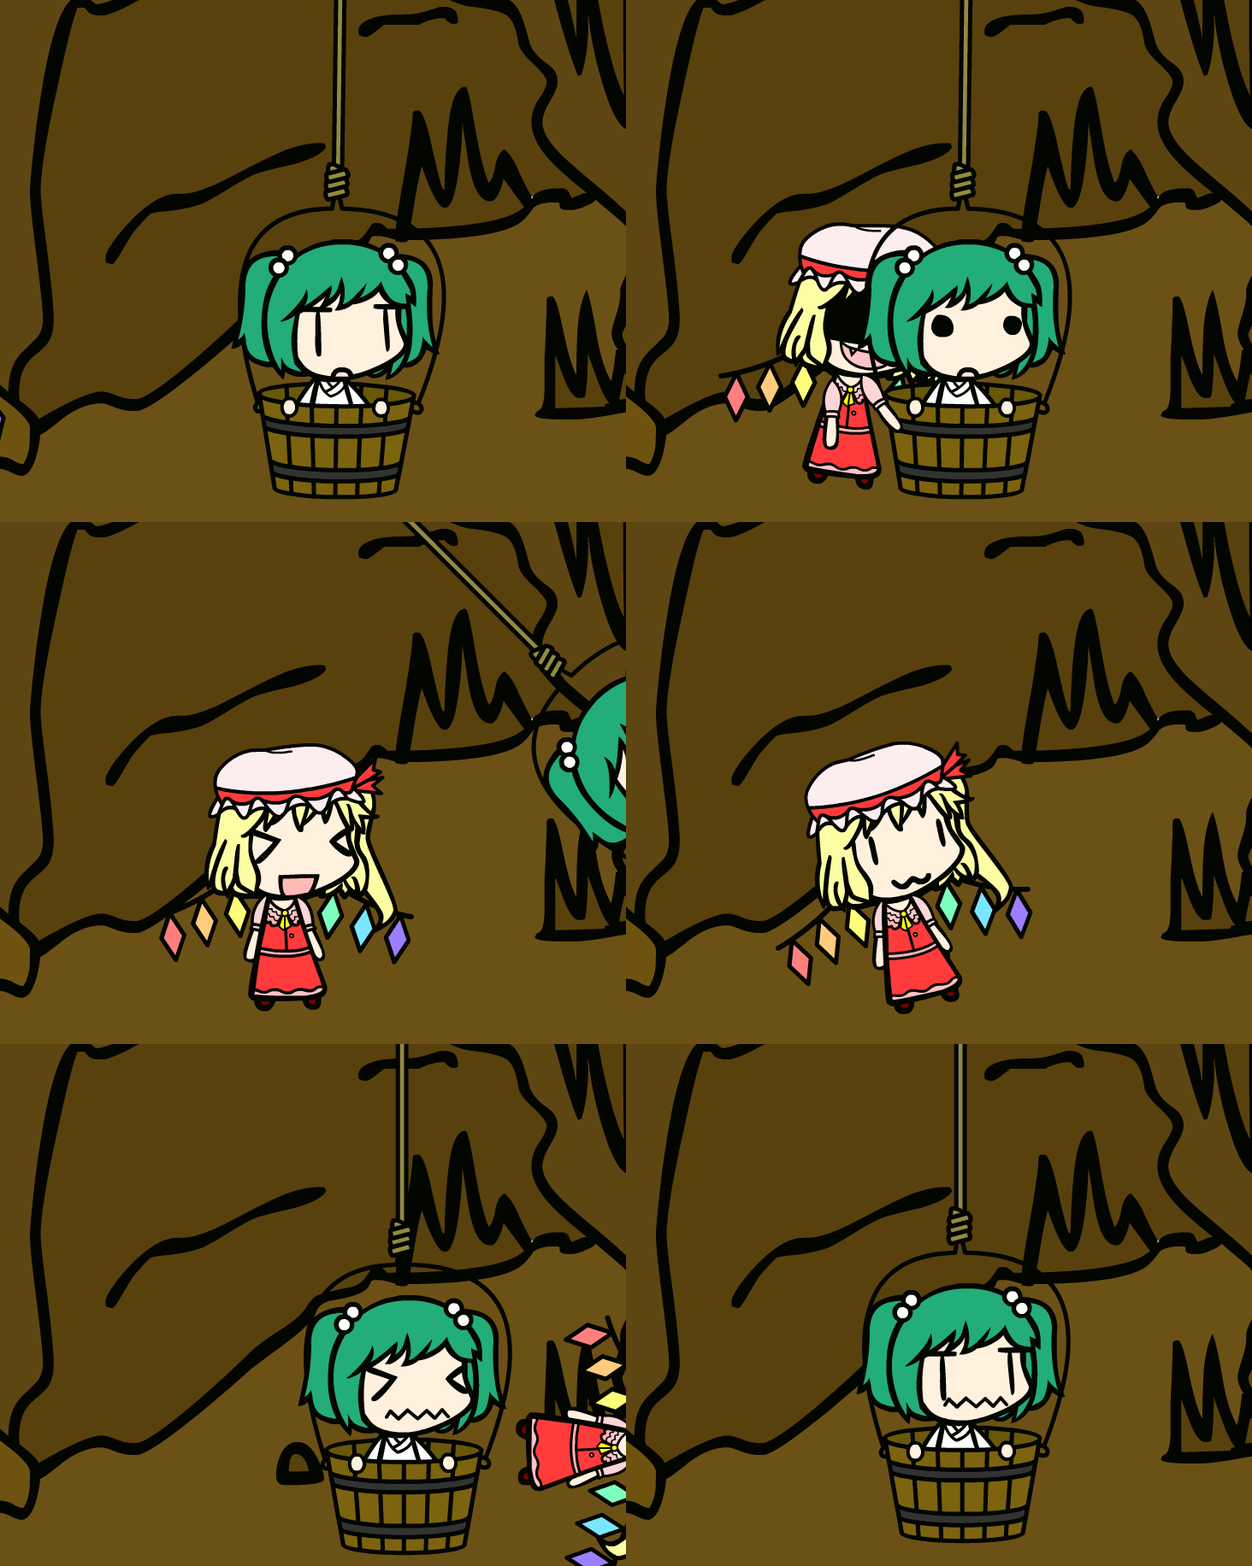
if you move the snapshot slightly instead of pinning it, you can get a shaking effect.
Related content
Comments: 9

I already knew about that, and used it lot, but I still must say, awesome tutorial! :3
👍: 0 ⏩: 1

Thanks, it's a nifty trick it's nice not having to open an editor for this.
👍: 0 ⏩: 0

Thanks,
someone was talking about having to use gimp and layers of several
andysnap captures i realized no one had mentioned this info yet, so i made it a tutorial
👍: 0 ⏩: 0

Well, I knew you could press the S key to produce a screenshot, but I never thought of using it to make transparent objects. The only thing I've used it for is getting an extra background onto the panel. I suppose that even though you think you have something down pat, you learn something new every now-and-again from someone else.
👍: 0 ⏩: 0

Thank you
I was surprised no one had a tutorial for this, snapshots can be pretty handy.
👍: 0 ⏩: 0


