HOME | DD
 Padme4000 — Creating Your Light/Glow Texture

Published: 2014-06-04 17:09:04 +0000 UTC; Views: 3575; Favourites: 34; Downloads: 81
Redirect to original
Description
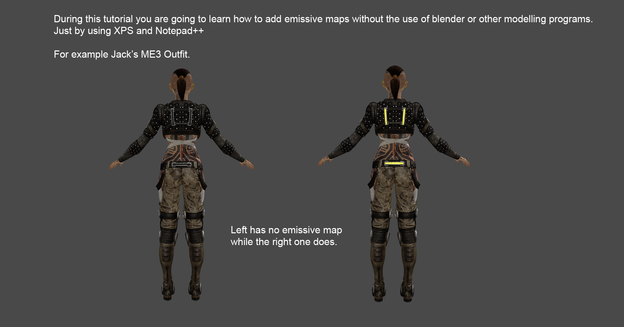
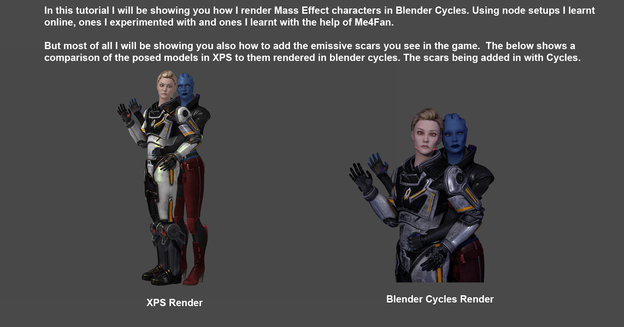
So while making a custom model for Bella-inventore I told her how to add glow/lights to her models if she finds any without them. She agreed that I should post these tutorials.So here is the first tutorial where I explain how to make your new texture which will be the lights/glow texture for your model. The example texture I use is for one of the torso armours for Mass Effect.
Next Part: padme4000.deviantart.com/art/A…
Credits:
Tutorial - Padme4000
Kyle Shepard - AlienFodder
Armour - user-domain-error
Mass Effect/EA/Bioware
Related content
Comments: 11
Very useful tutorial.
Hint:
WYSIWYG („What You See Is What You Get“)
Perhaps you have noticed that if you pick a color and paint it on the second transparency layer, then this color is never the same as you see it in XPS?
This is because in the next part of your tutorial you will use this emission map with the "Render Group number" (RG) 38.
If you keep in mind that the shader for RG 38 will simply ADDED the Glow Texture is to the Diffuse Texture (as a simple mathematical addition) we start understanding how this part of the XPS render works and we have a little more control over it in GIMP.
If you want already see in GIMP what you get in XPS, then just switch the Blend Mode for the 2nd layer in GIMP from "Normal" to "Addition".
Now your GIMP image editor is a system in which the graphics can be edited in a form closely resembling its appearance when saved or displayed in XNALara_XPS
BTW:
The 2nd layer does not need to be "transparency". You can also fill it with "black". Black is in RGB 0/0/0 - and adding zero to any value will not change the result.
Relevant: Eye Emission - Suggestions Please
👍: 0 ⏩: 0

Well, very helpful tutorial, but, what if the part I want to add glow, when I turn it's render group from 25 to 38, can't have any specular map, as the ascii doesn't create a new map for the emission... Please help!
👍: 0 ⏩: 1

You need to create your own map. Changing render groups does not create new textures. You have to create the emis texture yourself and then assign that where the texture should go in the ascii.
👍: 0 ⏩: 1

Can you make a tutorial for it? It can't be loaded...
👍: 0 ⏩: 1

This is the main tutorial I made for making the textures. Then Adding Your Light/Glow Texture to your Model would be adding the texture to the model. If your textures don't have a spec map then all you have to do is open the diffuse texture turn it to black and white and save it and use that as the spec map.
I have set both images to have the original size to be downloaded which is to the right. I sadly can't think of another way to make a tutorial for this.
👍: 0 ⏩: 1

Thanks for that useful piece of information!
👍: 0 ⏩: 1

Glad I could help in some way
👍: 0 ⏩: 0

fantastic! you rock! thank you for this! it is going to be something i will read up on for sure. thank you for taking the time to write this for everyone you are really a great person
👍: 0 ⏩: 1

